Finalement, l’orage annoncé hier n’est jamais arrivé. En revanche, ce matin, un autre type d’orage s’est invité dans l’appartement. Les enfants se sont réveillés avec un comportement particulièrement électrique ⚡️. Le tonnerre de leurs râleries résonne dès le petit-déj’, et nous comprenons rapidement qu’il va falloir agir vite. Mangeons. Habillons-nous. Sortons-les. Peut-être que les grondements diminueront une fois à l’extérieur.
Programme du matin : visite intérieure du château
Je crois cependant que nos filles avaient un programme légèrement différent. À Versailles, elles semblent avoir décidé d’endosser un rôle parfaitement adapté au lieu : celui de reines.
Attendre cinq minutes avant d’entrer ? :— « J’m’ennuie… » Monter un escalier ? :— « C’est fatigaaant… » Observer un tableau ? :— « C’est qui celui-là ? … connais pas. » La chambre du roi ? :— « Quand est-ce qu’on sort ? » Et enfin, devant la galerie des Glaces :— « Comment ça il n’y a pas de boules de glace ici !? »
Il faut déjà manger de la brioche à la place du pain, alors si en plus on ne peut même pas obtenir une glace dans la galerie des Glaces… c’est la Révolution !
Afin d’éviter l’instauration de la Terreur, nous avons rapidement proposé une Restauration.
Grâce à ce subtil tour de passe-passe historique, nous sautons plusieurs salles, quelques siècles et probablement une bonne partie du protocole royal – serions-nous devenus Républicains ? – afin de quitter le château à la recherche d’une crêperie.
Là, autour d’une galette salée, d’une crêpe sucrée et de quelques verres, les grondements populaires font place à la diplomatie. Un accord de paix est finalement signé entre les différentes parties belligérantes. Nous le baptisons : le Traité de Bretagne.
Les Jardins
L’après-midi, heureusement, se déroule dans un climat nettement plus pacifique.
Les filles abandonnent alors leur rôle de souveraines pour adopter celui d’influenceuses Instagrâmme, rapidement imitées par leur mère. Car finalement, entre la Versailles du XVIIIe siècle et celle du XXIe siècle, il existe davantage de points communs qu’on ne l’imagine : mise en scène, posture étudiée, être à la mode, recherche du meilleur angle, longues séances de contemplation de son propre reflet ou des likes des courtisans.
Les voir improviser poses, vidéos et séances photo au milieu des jardins nous fera beaucoup rire.
C’est donc dans cette ambiance que nous profitons de l’après-midi : l’Orangerie, les bosquets, les jeux d’eau, le soleil revenu… et surtout les sourires.
Ce soir, Jean-Christophe reste avec les deux jeunes influenceuses et leur jeune frère pendant que Vera part avec le plus âgé à la soirée musicale Versailles Electro, dont les basses faisaient déjà trembler les jardins hier soir.
C’est là que l’une de nos filles nous annonce très sérieusement être persuadée que dans une vie précédente, elle était Marie-Antoinette. En y repensant, les plaintes devant les escaliers, l’exigence d’une glace dans la galerie des Glaces et les négociations diplomatiques autour des crêpes auraient probablement dû nous mettre sur la voie.
Parfois, certains lieux semblent appartenir à une autre époque au point qu’on a du mal à croire qu’ils existent encore dans notre monde moderne. Versailles fait partie de ceux-là. Grâce à un membre de la famille disposant d’un appartement de fonction dans l’aile des ministres du château, nous avons la chance d’y séjourner quelques jours. Non pas à proximité du château, non pas « avec vue sur » Versailles… mais littéralement dans l’enceinte même du domaine.
Passer la grille d’honneur en voiture
Dès l’arrivée, le décor dépasse l’imagination. Nous franchissons la grille d’honneur du château … oui, l’entrée principale, celle que des milliers de visiteurs photographient chaque jour depuis l’extérieur ! Mais cette fois, la barrière s’ouvre pour nous. La voiture avance lentement dans la cour d’honneur, entourée de façades monumentales et de pavés chargés de siècles d’histoire 😉, mieux vaut avoir de bonnes suspensions.
À droite, l’aile des ministres nord devient notre pied-à-terre pour quelques jours. On peine à réaliser. Dormir ici paraît irréel. Et si nos recherches sont exactes, alors cette aile aurait été occupée par nul autre que le Grand Colbert lui-même. Rien que cette pensée suffit à donner le vertige.
Nous montons les bagages et visitons ce lieux, les enfants sont émerveillés, et nous avons une étrange sensation d’être à la fois des intrus et des témoins privilégiés d’un décor qui semblait jusqu’ici réservé aux livres d’histoire.
Premiers pas dans le domaine
La première journée est courte : nous arrivons seulement en milieu d’après-midi. Le temps de nous installer, de découvrir l’appartement et de faire quelques courses rapides pour le soir, la lumière commence déjà à décliner.
Après le dîner, impossible de résister à l’envie d’aller marcher dans les jardins. Il fait frais, à peine 10 °C, et le soleil joue à cache-cache avec les nuages. Par moments, les rayons illuminent les statues et les bassins ; quelques minutes plus tard, les contrastes disparaissent et le froid nous tient éveillés.
Vera grelotte rapidement, Jean-Christophe lui prête son blouson après une petite hesitation. Lui continue en polo. « Ça pique un peu, mais ça va », dira-t-il plus tard avec un sourire, mais rien qui puisse gâcher cette promenade presque irréelle.
Le contraste est saisissant : Versailles est d’ordinaire associé à la foule, au bruit et aux files d’attente. Mais le soir venu, les jardins changent complètement de visage. Les grandes allées deviennent calmes, presque méditatives. Le vent remue doucement les arbres taillés avec une précision géométrique, Vera trouve qu’ils sont taillés façon Minecraft. Et nous pouvons apprécier quelques oiseaux chantant encore avant la nuit.
Jour 2 – Entre averses et parenthèses royales
Le lendemain matin, nous profitons un peu de la ville avant de rejoindre le domaine du Trianon. Passage obligé par une boulangerie pour acheter du pain frais et préparer un bon petit pique-nique. Non, marcher dans les jardins royaux le ventre vide n’est pas considéré comme un faux-pas. Mais marcher avec des enfants affamés serait une erreur dramatique.
Direction le Hameau de la Reine
Le lieu possède quelque chose d’étrange et de fascinant. On passe brutalement du faste monumental du château à une campagne idéalisée, presque théâtrale. Les petites maisons semblent sorties d’un conte, les chemins serpentent entre étangs et verdure, les jardins à l’anglaise se prêtent à merveille à ce lieu mis en scène, et pendant quelques instants on oublierait presque que tout cela se trouve au cœur de Versailles.
Enfin… jusqu’à ce que le ciel décide de participer à la visite.
Deux grosses averses viennent interrompre notre exploration. Heureusement, elles restent relativement courtes ce qui transforme davantage la journée en jeu de patience qu’en véritable galère. Nous alternons donc marche, vérification du radar de pluie et replis stratégiques sous les abris.
Le mauvais temps donne d’ailleurs une atmosphère particulière au domaine. Les chemins se vident, les gouttes clapotent sur les étangs, les arbres prennent des teintes plus profondes. Même les oies et leurs bébés semblent hésiter entre un plan d’eau et le sous-bois.
Petit et Grand Trianon
Une fois les averses passées, nous poursuivons vers le Petit puis le Grand Trianon.
Jean-Christophe remarque rapidement un détail qui n’échappe probablement qu’aux visiteurs ayant la chance de revenir régulièrement : les fleurs du début avril ont été remplacées. Les massifs restent élégants, bien sûr, mais les nouvelles plantations sont moins généreuses et moins colorées. Le travail des jardiniers est constant, certainement comme à l’époque royale, espérons qu’ils soient mieux compensés.
Les enfants, eux, commencent surtout à suivre le rythme de leurs jambes fatiguées.
L’idée d’une glace apparaît alors comme une évidence. Mais après avoir découvert qu’une simple petite boule coûte près de 4 €, notre enthousiasme subit une légère décélération. À ce tarif-là, même Louis XIV n’aurait pas savouré ce plaisir glacé.
Nous nous rabattons donc sur une solution plus raisonnable : boissons fraîches et parts de gâteau. Pari gagné, puisque ce ravitaillement sucré redonne suffisamment d’énergie à tout le monde pour entreprendre le chemin du retour.
Le calme… ou presque
Le soir venu, Vera et Jean-Christophe repartent seuls marcher dans les jardins. Le château s’apaise lentement. Les visiteurs sont presque tous partis, les allées retrouvent leur sérénité.
Enfin… presque. 😅
Au loin, des techniciens installent une scène et du matériel pour un grand concert électro : Versailles Electro. Entre deux chants d’oiseaux et quelques bourrasques de vent, des tests sonores résonnent soudain dans les jardins royaux.
À certains moments, les basses semblent suffisamment puissantes pour faire vibrer les façades elles-mêmes. On finit même par se demander s’ils n’essaient pas d’ajuster le volume juste en dessous du seuil critique capable de faire exploser les carreaux de la galerie des Glaces située juste au-dessus de la tribune.
Peut-être qu’au premier carreau brisé, quelqu’un note soigneusement la valeur sur une feuille avant d’annoncer très sérieusement : « Voilà. On ne dépasse plus ce niveau-là. »
Espérons simplement que le technicien du son n’éternue pas au moment de tourner le volume sonore. Sans quoi même les célèbres miroirs de la galerie risqueraient de se fendre sous l’effet des basses.
Le contraste est savoureux : Louis XIV n’avait probablement pas anticipé qu’un jour les basses électroniques feraient vibrer son domaine. Et pourtant, étrangement, cela fonctionne.
Versailles continue d’évoluer, d’accueillir de nouvelles époques sans complètement perdre son âme. Peut-être est-ce précisément cela qui rend ce lieu si fascinant : il reste vivant.
Demain, les grandes eaux (non il ne pleuvra plus ! On parle ici des fontaines) et le Château. À suivre…
Six Italian words. The first three announce “only three words”. The last three deliver “you are not alone”. Read it again, slowly. The same word “solo” opens and closes the sentence, but it does different work each time: first as the adverb “only”, then as the adjective “alone”. And the supposedly three-word reassurance, non sei solo, contains exactly three words. The sentence is about itself. It is also, quietly, a little gem1.
I gave it to a small zoo of local language models running on a laptop, asking each to translate it into English while preserving every nuance it could. What followed was more interesting than the question deserved. One model invented wordplay that did not exist. Another saw the cleverness with full clarity, articulated it precisely, and then ignored it. A third produced a candidate translation so contorted it was almost charming. And the model that most clearly understood the puzzle took sixteen minutes to say so.
This is the story of that afternoon.
Why the phrase is sneakier than it looks
Translation, at its dullest, is word substitution. At its more interesting, it is constraint satisfaction under aesthetic pressure: keep the meaning, keep the tone, keep the rhythm, and if there is a clever trick in the source, ideally keep that too. Translating is a highly skilled job.
Solo tre parole: non sei solo hides three small tricks in plain sight.
The first is lexical polysemy. Italian solo is doing two jobs in the same sentence: a quantifying adverb at the start, an existential adjective at the end. Same form, different role, different meaning. English has no single word that pulls double duty in quite the same way; we are forced to split the echo into two distinct lexical items, and the gentle internal rhyme of the original collapses.
The second is self-reference. The opening clause announces the length of the second clause, and the second clause delivers exactly that length. Non sei solo is genuinely three words. The sentence describes itself accurately. Most English candidate translations, like “you are not alone”, break this property: four words, not three. To preserve the self-reference, you need a contraction (“you’re not alone”) or some less natural construction.
The third is register. The sentence is intimate, minimalist, the kind of thing one writes on a postcard or sends as a message at a hard moment. It is not florid, it is not formal. Anything that translates the meaning but reaches for “you are not in solitude” misses the point entirely.
So that is the brief: hold polysemy, self-reference, and register together in six English words, or any possible alternative. Possible, but only just.
The setup
I tested everything through Ollama on an M4 MacBook Air with 24GB of RAM, using the same prompt across all models. Although, I have a PC with a better GPU and cooling, but the GPU memory would not be able to handle most of the tested models. That’s why my passively-cooled MacBook was transformed into a LLM powerhouse.
The prompt asks the model to do five things, in order:
Provide a literal gloss.
Identify any wordplay, double meanings, self-referential structure, register choices, or cultural framing.
Explain the genuinely hard parts.
Offer two or three candidate translations, each with what it preserves and what it sacrifices.
Pick a recommended translation and justify the choice.
The structure is deliberately fussy. Small local models tend to leap straight from “I see Italian” to “here is a translation”, missing every interesting layer along the way. Forcing a literal gloss first slows them down. Forcing multiple candidates with explicit trade-offs makes them name what they are giving up. Asking for justifications stops them waving their hands.
The lineup, more or less in order of running:
llama3.1:8b
granite4.1:8b
mistral-small3.2:24b
gemma4:e4b (small) and gemma4:26b (large), both with native thinking mode
deepseek-r1:8b and deepseek-r1:14b, both with native thinking
qwen3.6:27b, with thinking
gpt-oss:20b, with thinking
All Q4_K_M quantisation, except gpt-oss which uses MXFP4. So roughly comparable on the quantisation front, with one small caveat for the gpt-oss numbers.
How small models fail when asked to be clever
The most striking failure was llama3.1:8b. Asked to find subtlety in the source, it confidently told me that tre is phonetically similar to t’re, “which sounds like ‘there'”. This is invented. There is no such pun. The model, faced with a request to find wordplay, hallucinated wordplay rather than admit it could not find any.
This is the worst sort of small-model failure. A miss is recoverable; a fabrication looks like analysis and is not. If you do not speak the source language, you have no way to check. The model produced clean prose, confident structure, and made-up linguistics underneath.
granite4.1:8b did better as it identified the solo/solo polysemy but its account of what the polysemy actually did in the sentence collapsed into incoherence. It missed the self-referential count entirely.
These are the small-model results in a nutshell: 8B parameters at Q4 quantisation does not appear to be enough capacity to hold polysemy, structural self-reference, and register all at once. Something has to give, and it does.
The analysis–translation gap
A more interesting failure showed up in the larger models. gpt-oss:20b is the cleanest example.
It saw the polysemy: “solo occurs twice, first as the adverb ‘only’, then as the adjective ‘alone'”. It saw the self-reference: “the phrase claims that the whole sentence consists of just three words”. Then in step 3, it noted, in plain English: “the English equivalent — ‘Only three words: you are not alone’ — has four words, so the exact numeric precision is lost.”
It saw the problem with full clarity. Then it proposed three candidates, none of which solved the problem, and recommended one that did not either.
deepseek-r1:14b showed the same shape. Sharp analysis, all candidates fail the count, recommendation flat.
This is more interesting than “didn’t see the problem”. These models did see it. They simply could not turn the seeing into a generation constraint. Identifying a problem and constructively satisfying it are, apparently, separate skills. Constraint identification looks like memorisation and pattern-matching; constraint satisfaction in English requires the model to feel its way to “you’re not alone” (counting the contraction as one word, which is the cleanest fix available) rather than describe its way there.
What thinking mode actually buys you
gemma4:26b with thinking mode enabled was the only model in the batch that caught everything and knew it had caught everything. Its analysis used phrases like “lexical echo” and “semantic mirror”. Its recommended translation, Just three words: you’re not alone, came with an explicit note: treating the contraction “you’re” as a single word preserves the 3:3 word count of the original. It did not stumble into the answer; it reasoned to it.
I then ran the same model with /set nothink. Same weights. Same prompt. Different answer.
The non-thinking version flatly stated, “there is no linguistic wordplay in the sense of puns.” This is wrong. With thinking off, Gemma’s failure mode collapsed neatly onto Mistral’s, missing the polysemy entirely.
That single comparison — same model, same query, thinking on versus off, opposite verdicts on whether wordplay even exists — is the cleanest demonstration I have seen of what reasoning-at-inference-time actually contributes. It is not just a quality boost. It is the ability to revise a first impression. Without thinking, the first pass is the answer, and a confident first pass can be confidently wrong.
A small experiment with Mistral
mistral-small3.2:24b does not have native thinking. So I tried to fake it.
Upon a suggestion from Claude (see credits at the bottom of this post), I added a “step 0” to the prompt:
Before writing the visible sections, work through the source carefully: list the words individually, check whether any word appears more than once, decide for each repeated word whether the meanings are the same or different, and check whether the announced word count matches any clause in the sentence.
With this addition, Mistral suddenly caught the solo/solo polysemy it had missed completely on its first pass. The capability was in the base model; what had been missing was the procedure for using it. The hypothesis was cleanly confirmed as Mistral could see polysemy, which it simply did not bother in one pass.
There was a twist. With the new instruction, Mistral lost track of the self-referential count, which it had caught in the original run. As if attention is a budget: spend it forcing one feature, lose it on another. Whether that is a real effect or a coincidence on this single sentence, I genuinely cannot tell.
The same run also gave me a textbook example of confabulation under structural pressure. One of Mistral’s candidate translations claimed to “preserve the shift from ‘only’ to ‘alone'” while sacrificing “the explicit count of three words”, but the candidate phrase was Three words only: you’re not alone. The words “three” and “words” are right there. The count is preserved. The model invented a sacrifice that did not exist, because the prompt asked for three differentiated candidates and only two of them were genuinely different.
The cost of cleverness
Capability is one axis. Speed is another, and there were surprises here too.
Model
Eval rate (tok/s)
Wall clock
gpt-oss:20b
25,6
40 s
gemma4:26b
25,6
53 s
llama3.1:8b
20,8
21 s
deepseek-r1:8b
19,0
1m 14s
granite4.1:8b
18,6
27 s
deepseek-r1:14b
10,8
1m 41s
mistral-small3.2:24b
7,2
50 s
qwen3.6:27b
2,8
15m 57s
A 24B model running at 7,2 tok/s on the same hardware as a 26B model running at 25,6 tok/s is not what parameter-count instinct would predict. The biggest single factor turns out to be embedding dimension. Mistral’s 5.120-wide embeddings cost roughly 3,3× more compute per token than Gemma’s 2.816-wide ones, and that ratio matches the speed gap almost exactly. On Apple Silicon, where memory bandwidth is the binding constraint for inference, narrow-and-deep beats wide-and-shallow.
qwen3.6:27b is more puzzling. It has the same 5.120 embedding as Mistral and DeepSeek 14B, yet ran at 2,8 tok/s, far slower than width alone explains. With 17GB, the model is comparable in size with gemma4:26b, and it is at the limit of what a MacBook Air with 24GB can run without memory pressure being too high. But the Gemma model was able to answer in less than a minute, so likely it is deeper, or has unoptimised inference paths in Ollama for that architecture, or pays an overhead for its 262.144-token context length. Whatever the cause, sixteen minutes for a single-sentence translation is not interactive. Quality-wise it was strong. Usability-wise it is unusable.
And the commercial chatbots?
A fair sanity check: how do the cloud-hosted models do on the same prompt?
ChatGPT (free version, GPT-5.5 as of writing) and Perplexity in default mode both performed at roughly the level of mistral-small3.2 or granite4.1: identifying one of the two layers, missing the other, recommending a flat translation. Defaulting to a consumer-friendly model presumably trades depth for cost, and the trade-off shows.
Perplexity with the Sonar model reached the gemma4:26b level: both layers caught, count preserved. Gemini in Fast+Thinking mode matched it too. So far, no surprises.
Claude with Opus 4.7 in Adaptive mode (which appears to engage thinking) also matched gemma4:26b on the first pass. But when I pushed it to convey everything from its own analysis in the translation rather than declaring trade-offs, it came back with something none of the other models had produced:
Three words alone: you’re not alone.
That is genuinely clever. The word “alone” appears twice, doing different work each time — first as a postpositive adverb meaning “merely” or “by themselves”, then as the predicate adjective meaning “solitary” — directly mirroring the solo/solo echo of the original. The post-colon clause is exactly three words. Register holds. It is the only translation across the entire test, local or commercial, that preserves all three constraints simultaneously.
The wider observation, perhaps: the gap between the best commercial cloud chatbot and the best local model on a MacBook Air is now smaller than the gap within either category. A well-chosen local model beats a default-mode commercial chatbot. And the difference between a thinking and non-thinking variant of the same model is larger than the difference between one good thinking model and another, regardless of where it runs.
Takeaways, more or less
A few things I will be carrying forward from this afternoon.
Parameter count is a poor proxy for almost everything. A 24B model can be slower than a 26B one and produce weaker analysis. Architecture, training, and inference mode all dominate. “Size class” is a simplification that hides every interesting variable.
Thinking mode does real work. When a task requires anything more than one-pass pattern-matching — counting, cross-referencing, constraint satisfaction — disabling thinking will silently cripple the model. The same gemma4:26b confidently denied wordplay existed without thinking, and confidently dissected it with thinking. If your local model supports /set think, leave it on for anything subtle.
Identification is not satisfaction. Several models cleanly described the problem and then produced answers that ignored their own description. Knowing the constraint and respecting it during generation are separate capabilities, and the second one is rarer.
Confabulation is the worst failure mode. Llama 3.1’s invented phonetic pun, and Mistral’s invented preserves/sacrifices justifications, are more dangerous than missing an answer. Missing leaves you uncertain; confabulating leaves you confidently wrong. Smaller models do it more, but no model is immune.
Local LLMs on a laptop are remarkable but not magical. A MacBook Air can now run models that catch literary wordplay in a foreign language. It can also run models that hallucinate confidently and sound convincing whilst doing it. The gap between those two modes is, increasingly, the more important question.
For what it is worth, my favourite translation remains the one gemma4:26b reasoned its way to:
Just three words: you’re not alone.
Three words. Precisely. With deliberate intent — and in a sentence about being seen, that is the whole point.
The full prompt and raw model outputs are available on request.
Credits: The translation prompt and the draft of this post were developed in conversation with Claude Opus 4.7 (Anthropic). Any errors of judgement remain mine 😉.
As I had an appointment in Münster today, I took the opportunity to go for a short walk through this beautiful town once again.
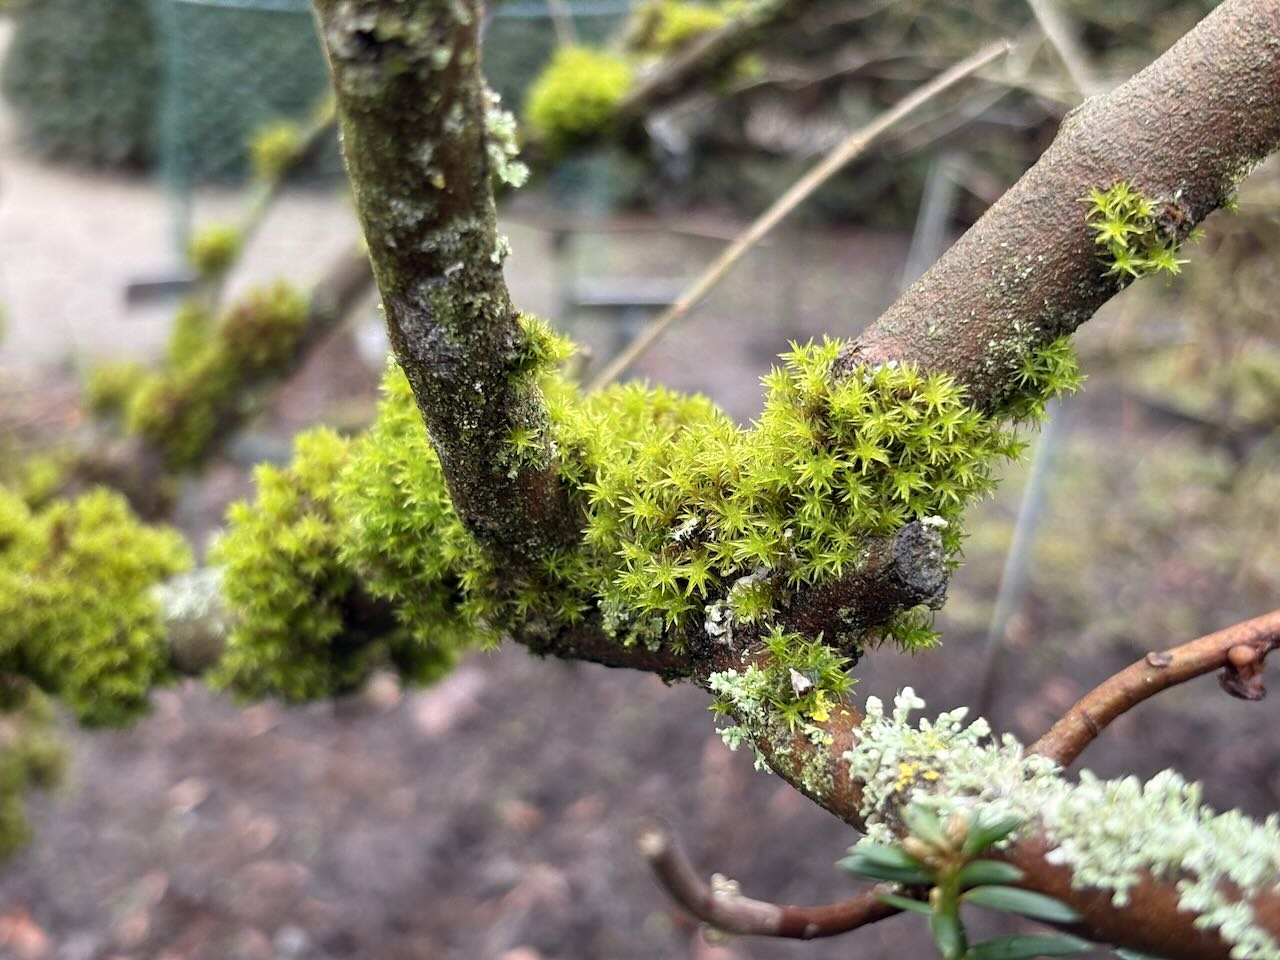
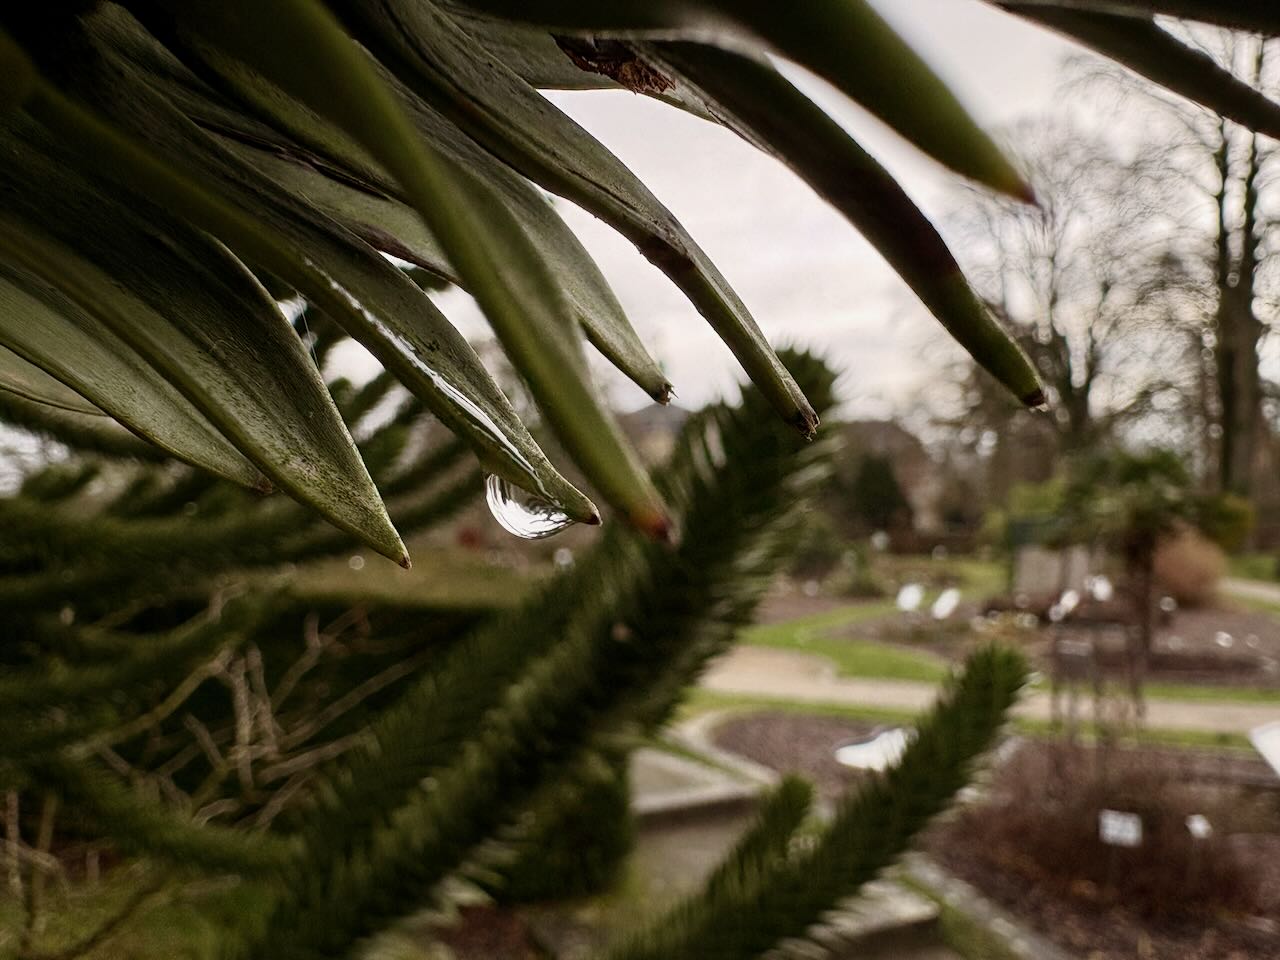
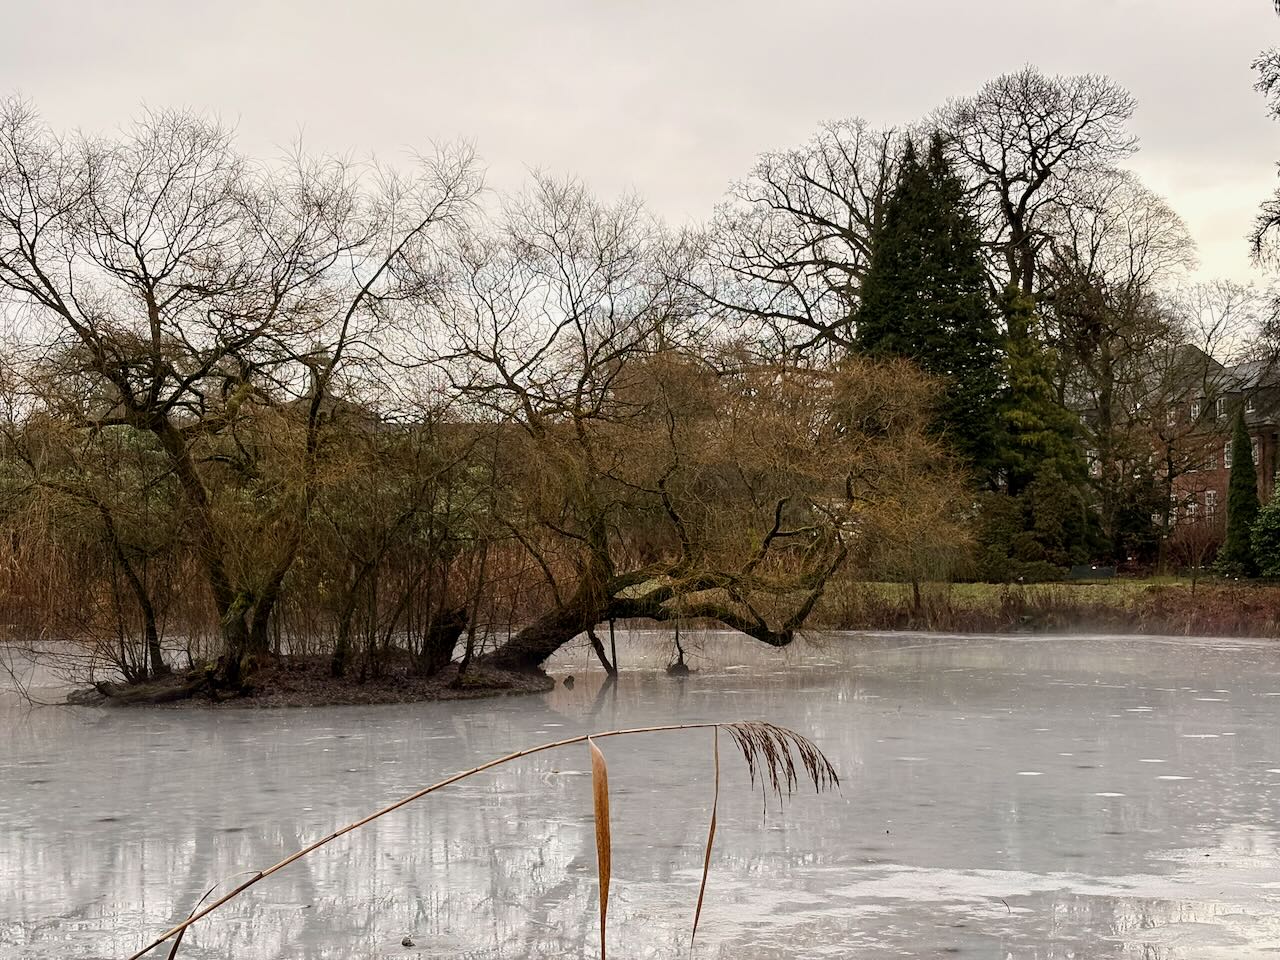
I went back to the Botanical Garden. In winter, it has a completely different atmosphere, and there is almost no one there. Today, the small pond was still frozen, and because the air was relatively warmer, a thin layer of fog hovered above it.
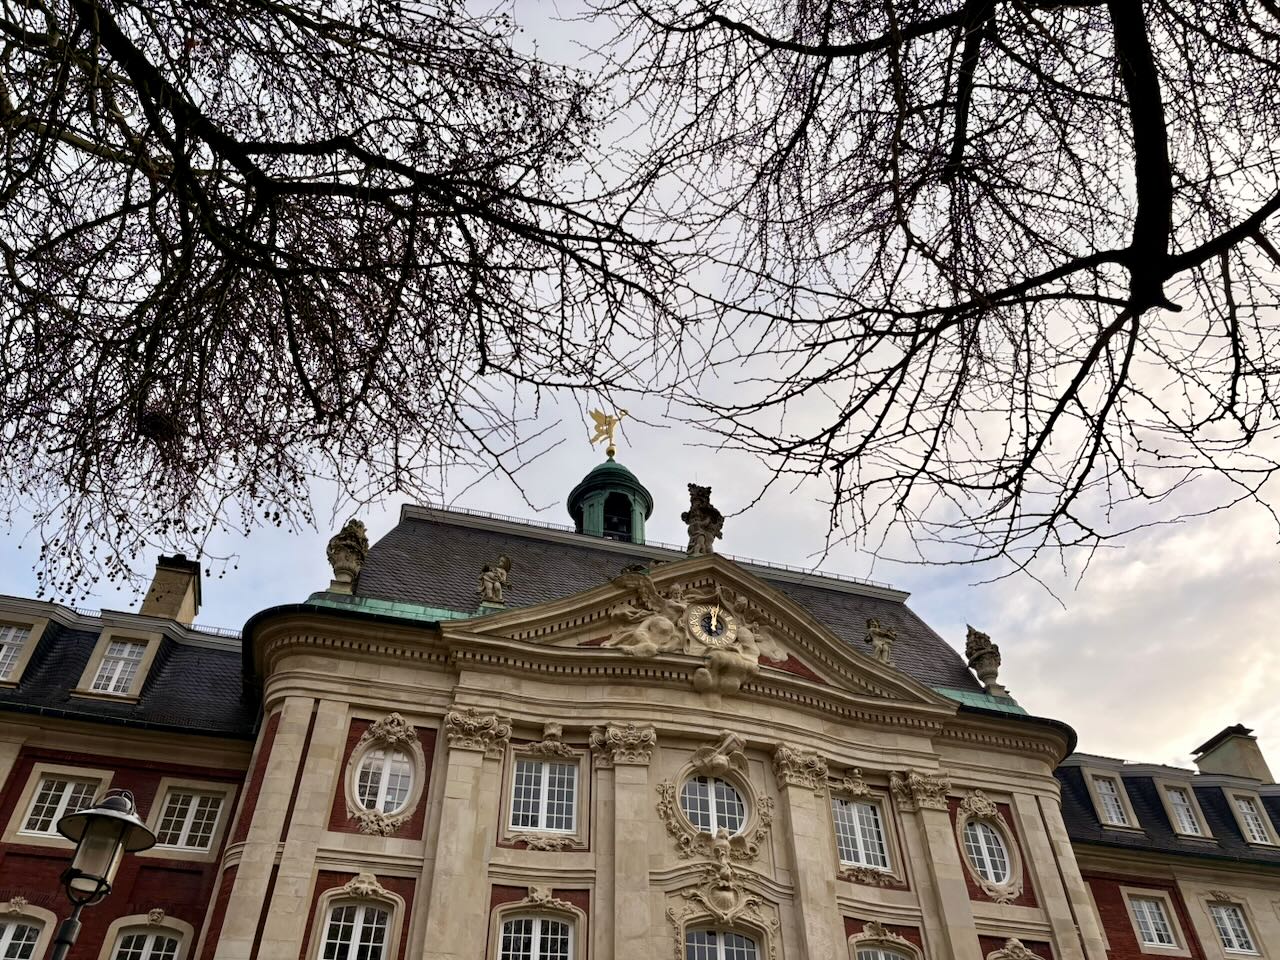
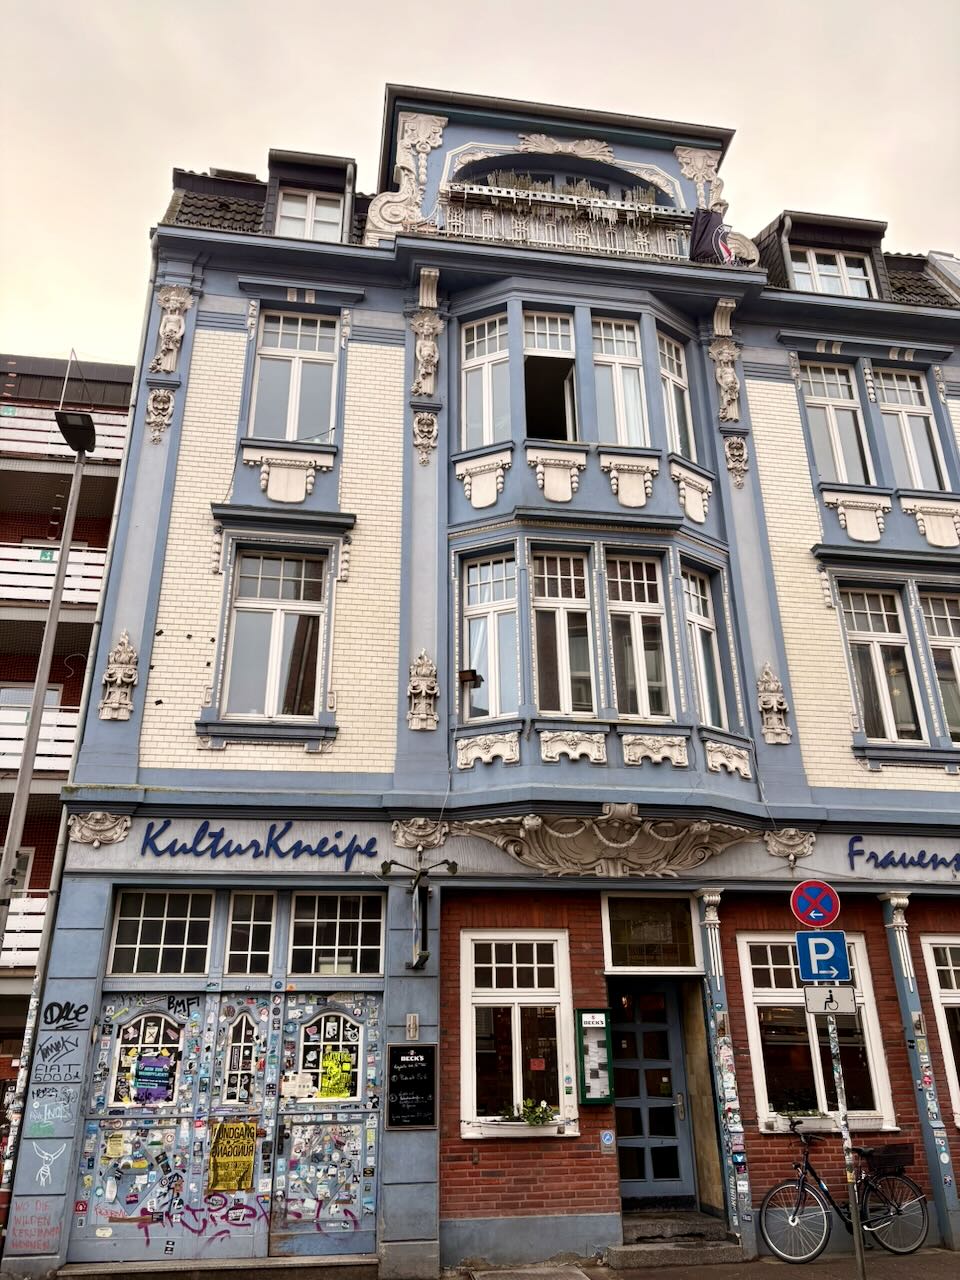
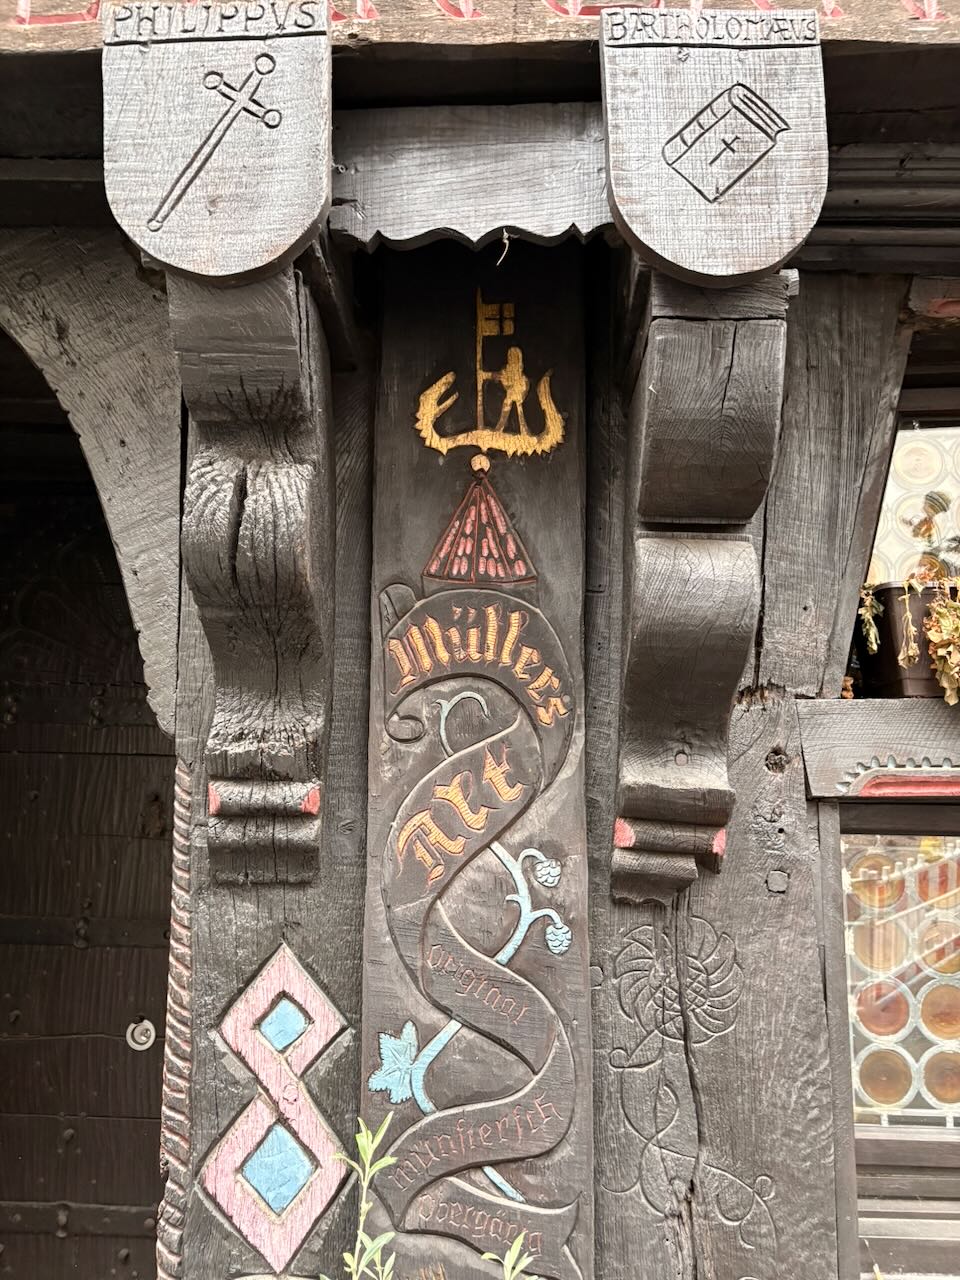
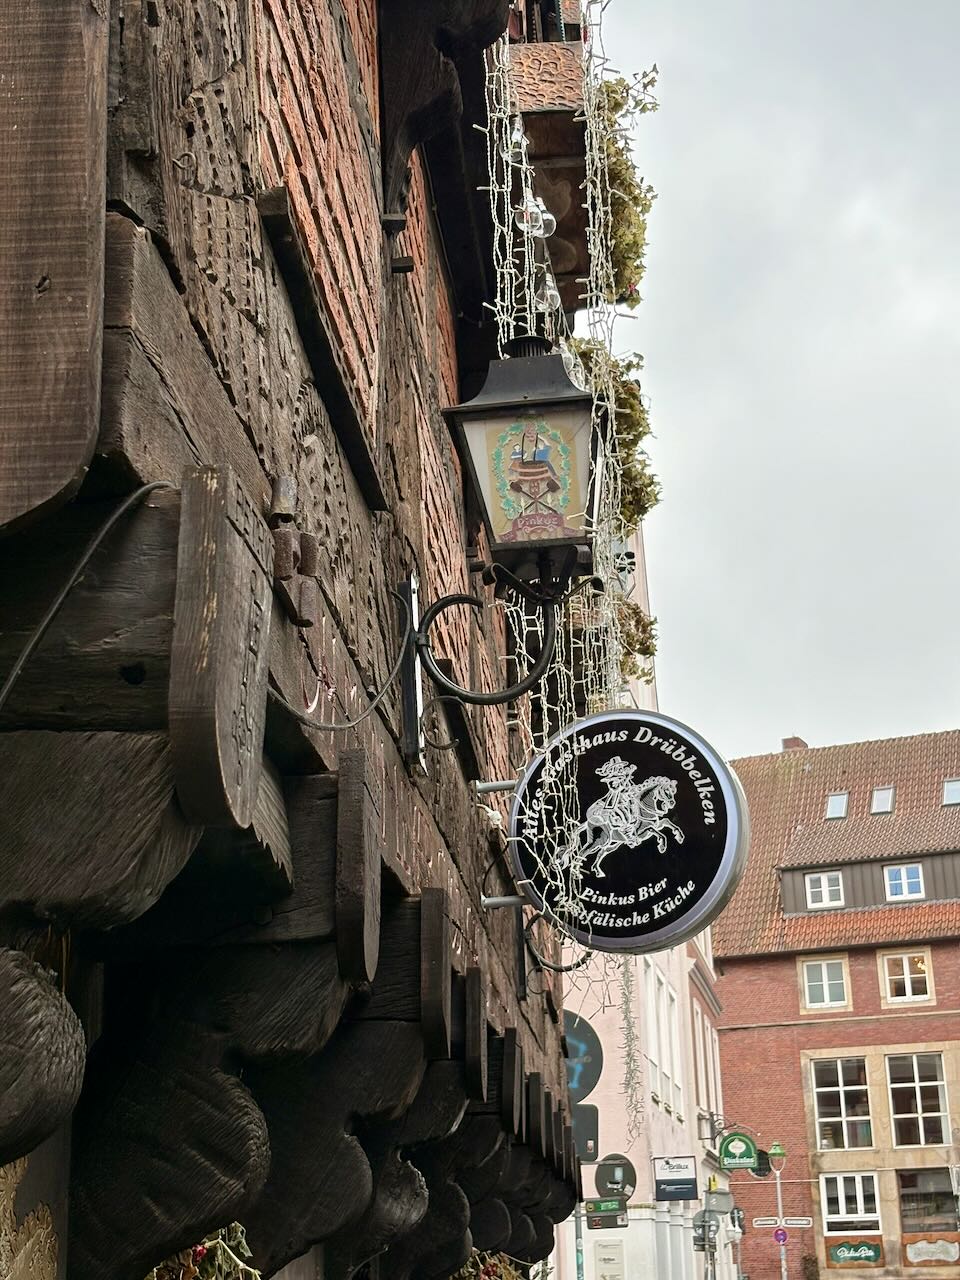
After this, I walked briefly through the city center before heading back to my vehicle. Two buildings from two different eras caught my attention.
Along the way, snowdrops are popping up in the parks. They aren’t blooming yet – it is still winter – but their leaves are emerging from the bulbs, for those who pay attention.
It’s these small moments that remind me why I love exploring – and re-exploring – even familiar places.
Und nun hier eine deutsche Version des Gedichts über den Leuchtturm von Eierland (allerdings ohne Reime, das ist mir nicht gelungen).
Der Leuchtturm von Eierland
Allein auf dem Achterdeck, heut Abend, zittert ein Schimmer - Trauer im Blick. Der Wind vom Meer, pfeifend in der Dunkelheit, bläht das Segel - und das Herz verirrt sich.
–––
Das Leuchtfeuer von Eierland atmet in seinem Nebel und säumt die Düne, auf der ein erstarrter Schatten wacht. Der Wind des Wattenmeers, voll Bitterkeit, trägt das Seufzen eines nie ausgesprochenen Wortes fort.
Seul sur la dunette, ce soir, un halo tremble - tristesse d’un regard. Le vent du large, sifflant dans le noir, gonfle la toile - le cœur s’égare.
–––
Le fanal d’Eierland respire dans sa brume et ourle la dune où veille une ombre engourdie. Le vent des Wadden, plein d’amertume, emporte le soupir d’un mot jamais dit.
I decided to try the little I’ve learned about sketching to colouring a mandala with pencils. I might want to try to colour some future sketches and before I f*🫢§ them up by bad colouring 🙈, I thought it a good idea to try first with mandalas. 😁
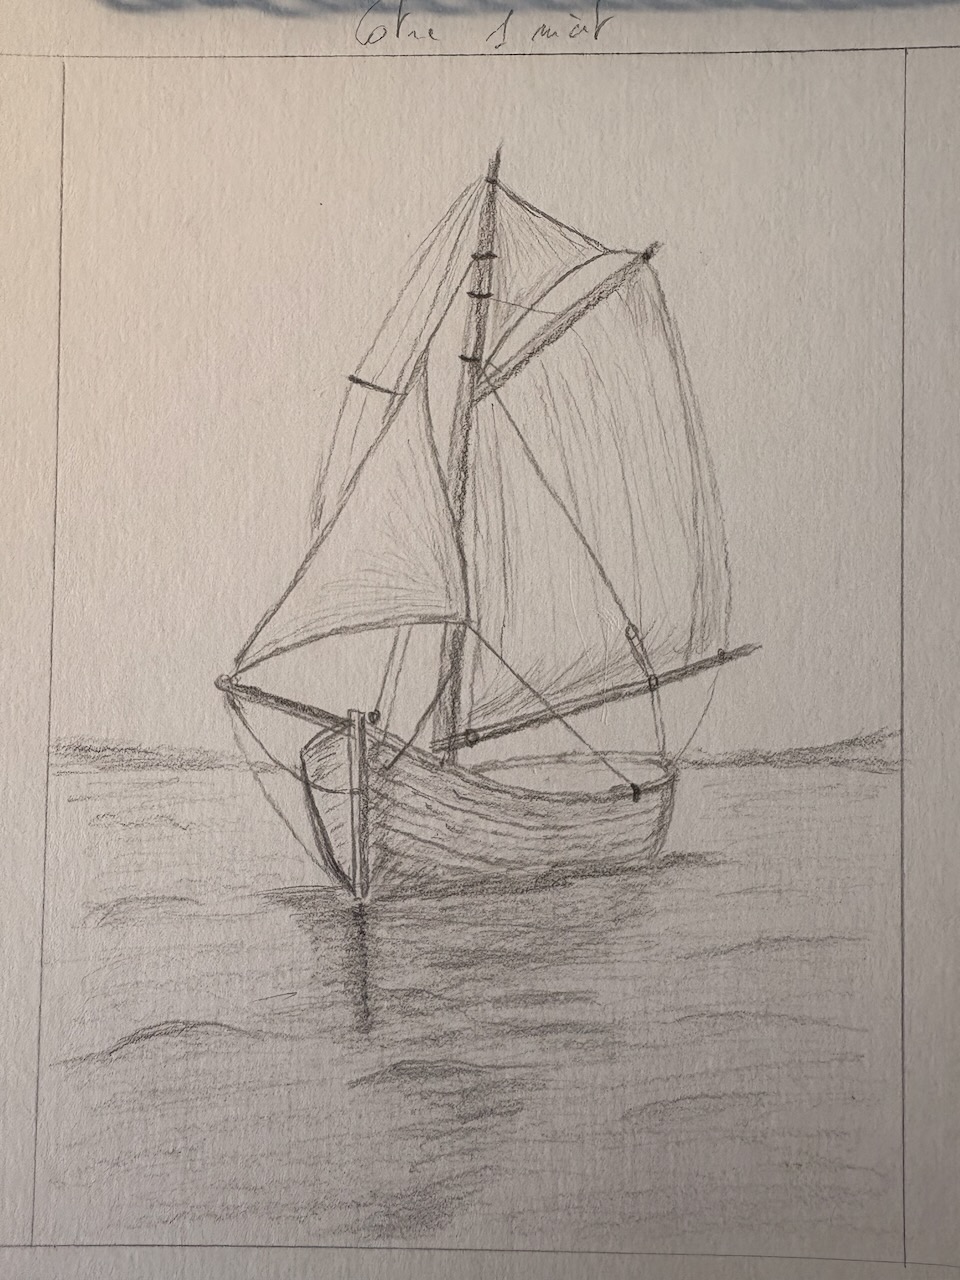
Je souhaite créer une esquisse de mon poème sur le voilier. N’ayant trouvé aucun dessin inspirant ou instructif pour apprendre à dessiner un voilier, j’ai décidé de me tourner vers l’intelligence artificielle. J’ai spécifié le type de voilier que je souhaitais, un côtre à un mât, et j’ai décrit la scène. Une fois satisfait du résultat, j’ai demandé à l’IA de générer une image que je pourrais utiliser comme base pour mon dessin.
Ce travail est encore en cours, mais je tenais à en montrer les étapes.
Every summer, there comes a time when you must pack the car, ignore the nagging feeling that you’ve forgotten something crucial (spoiler: we most certainly did, but I like the blissful feeling that if I would remember what, then I wouldn’t have forgotten it in the first place, or would I? 😉), and head south toward cheese, baguettes, family, and hopefully a bit of rest. This year, our plan was simple: visit family in France, give the kids a change of scenery, and perhaps steal a few moments of peace in between. What else?
Week One – Family Affairs and Slightly Grumpy Hikes
We left on a Sunday – early for us – miraculously organised the day before (wrote this one down in the family history book). Vera heroically took the wheel for most of the 10-hour drive, while JC, having tossed and turned like a seal after a meal all night, could barely manage 1-hour drives. Still, we arrived in one piece. Bravo, Vera!
Monday greeted us with classic French summer weather: greyish skies, a stubborn 22°C, and the kind of light and sporadic drizzle that makes you unsure whether to wear a raincoat or not. We opted for a walk, the adults at least. The kids were less enthused, already dreaming of lakes and ice cream.
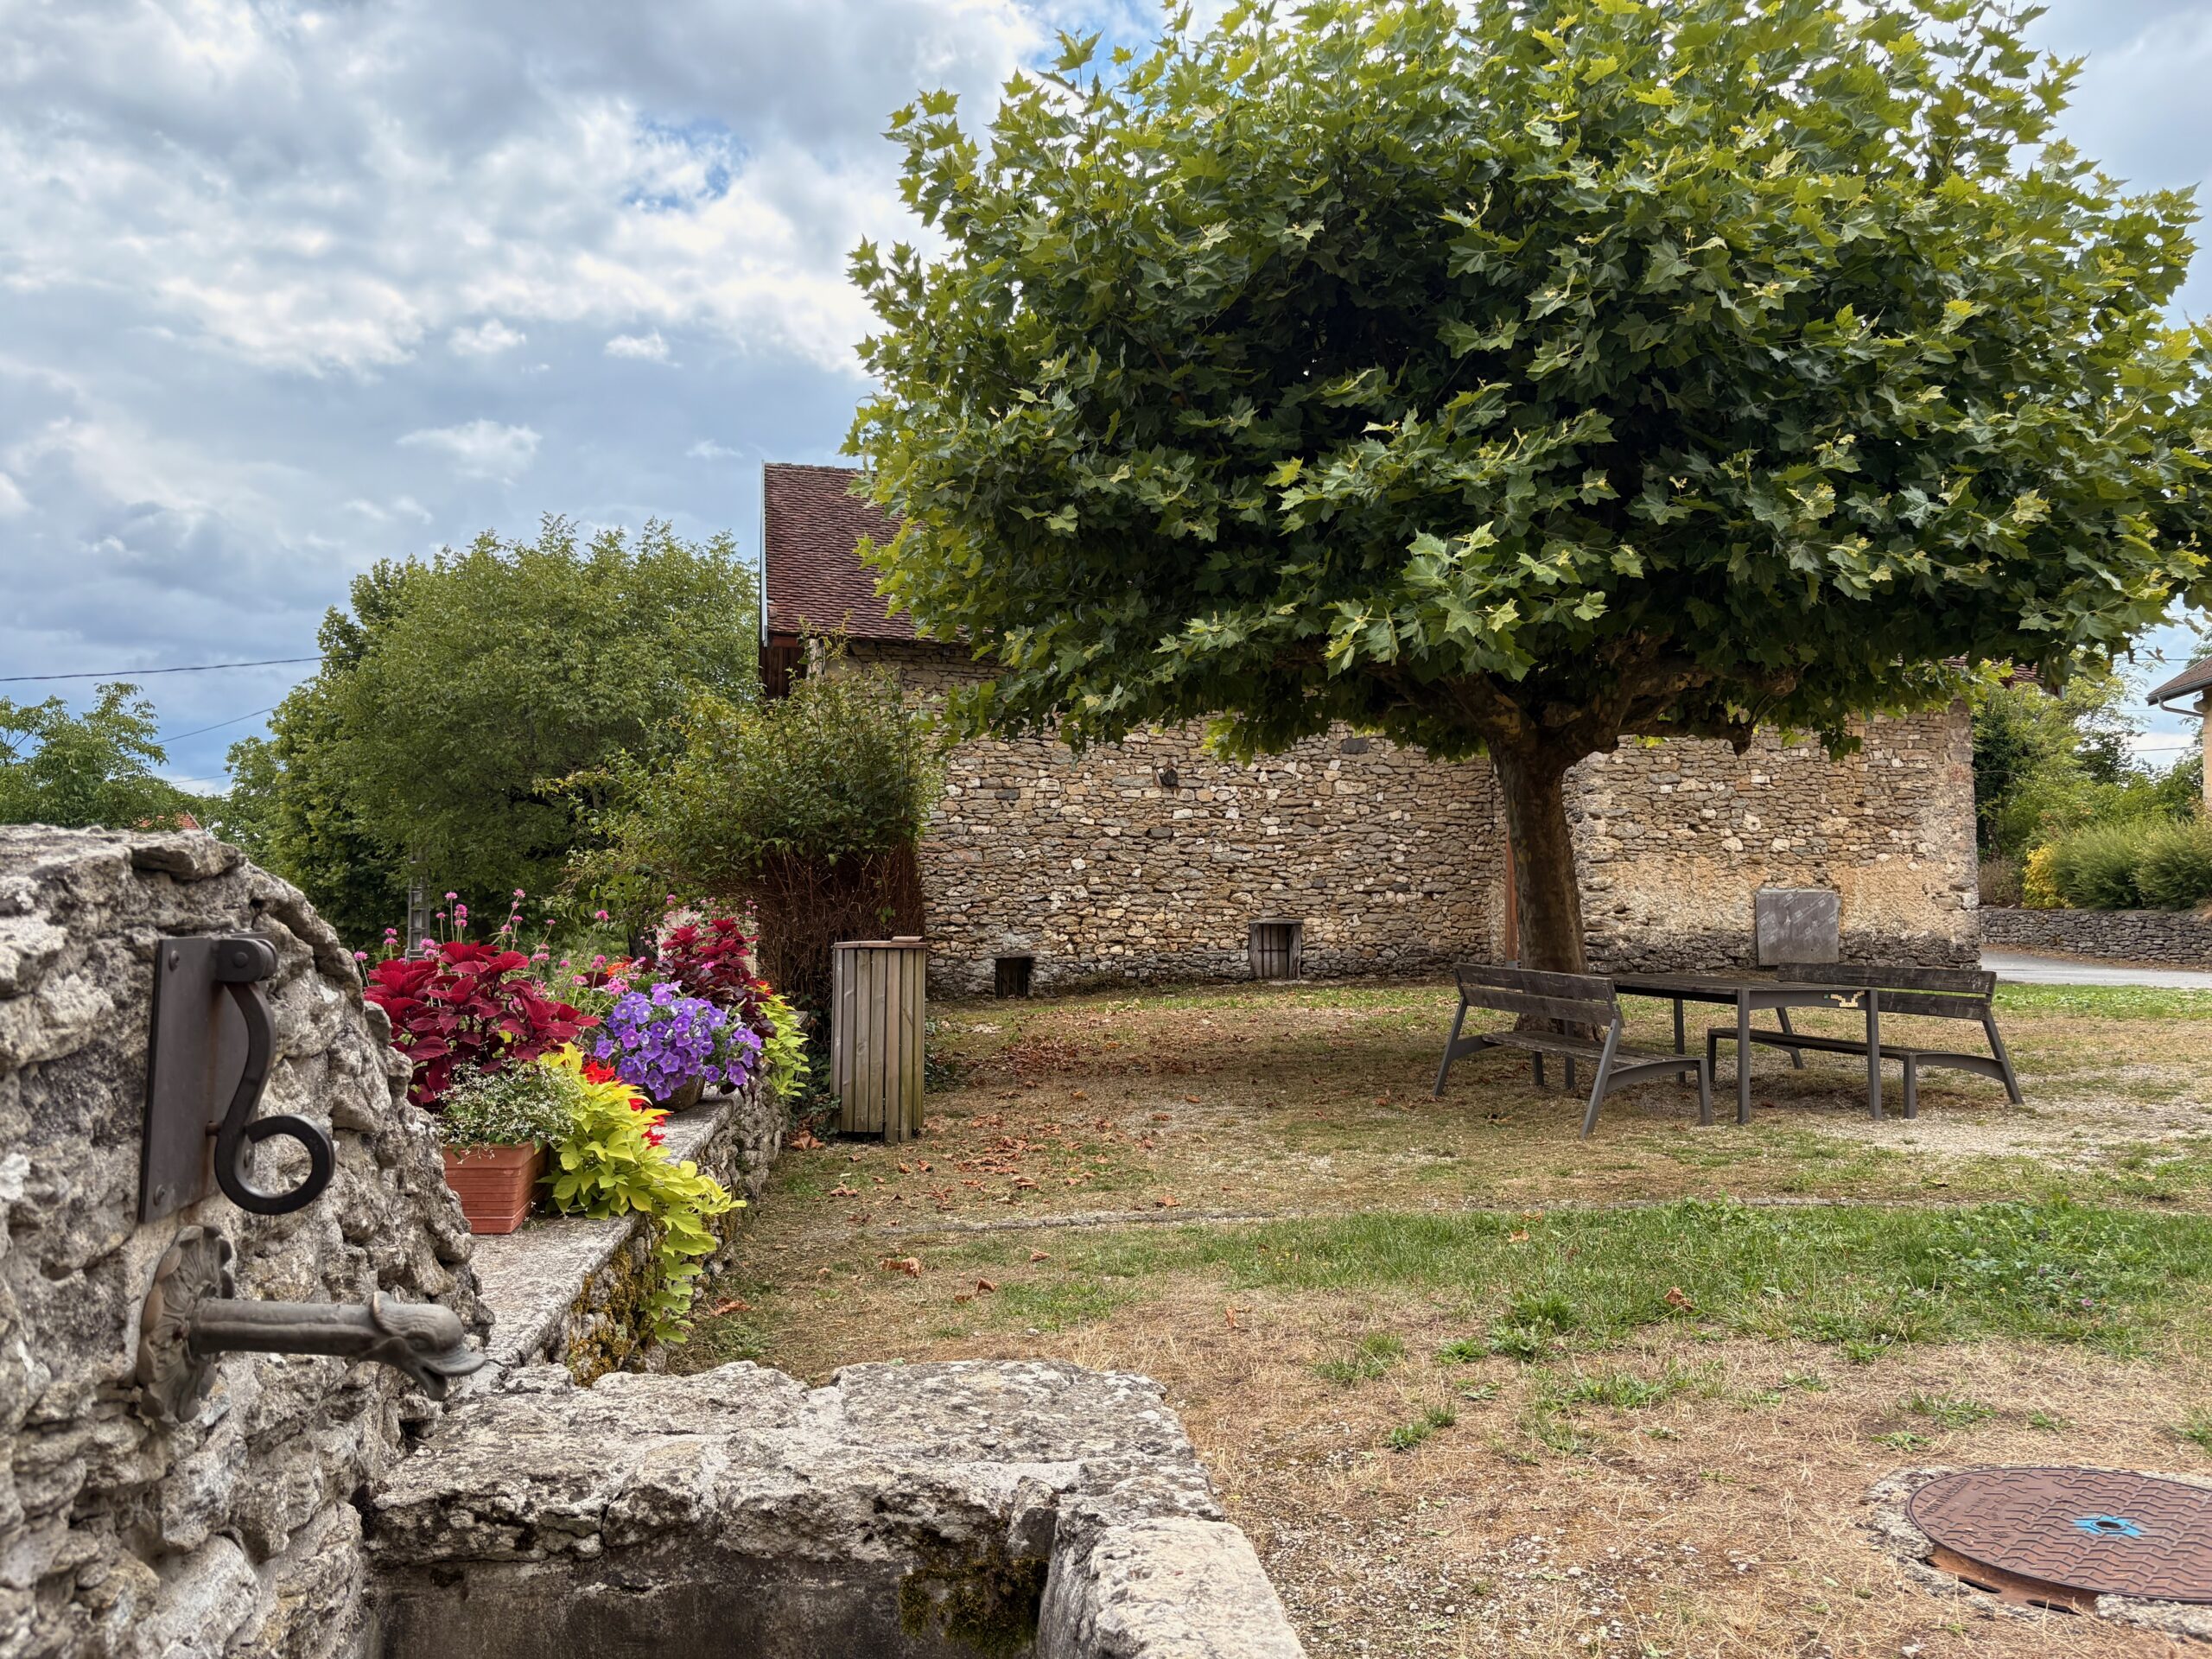
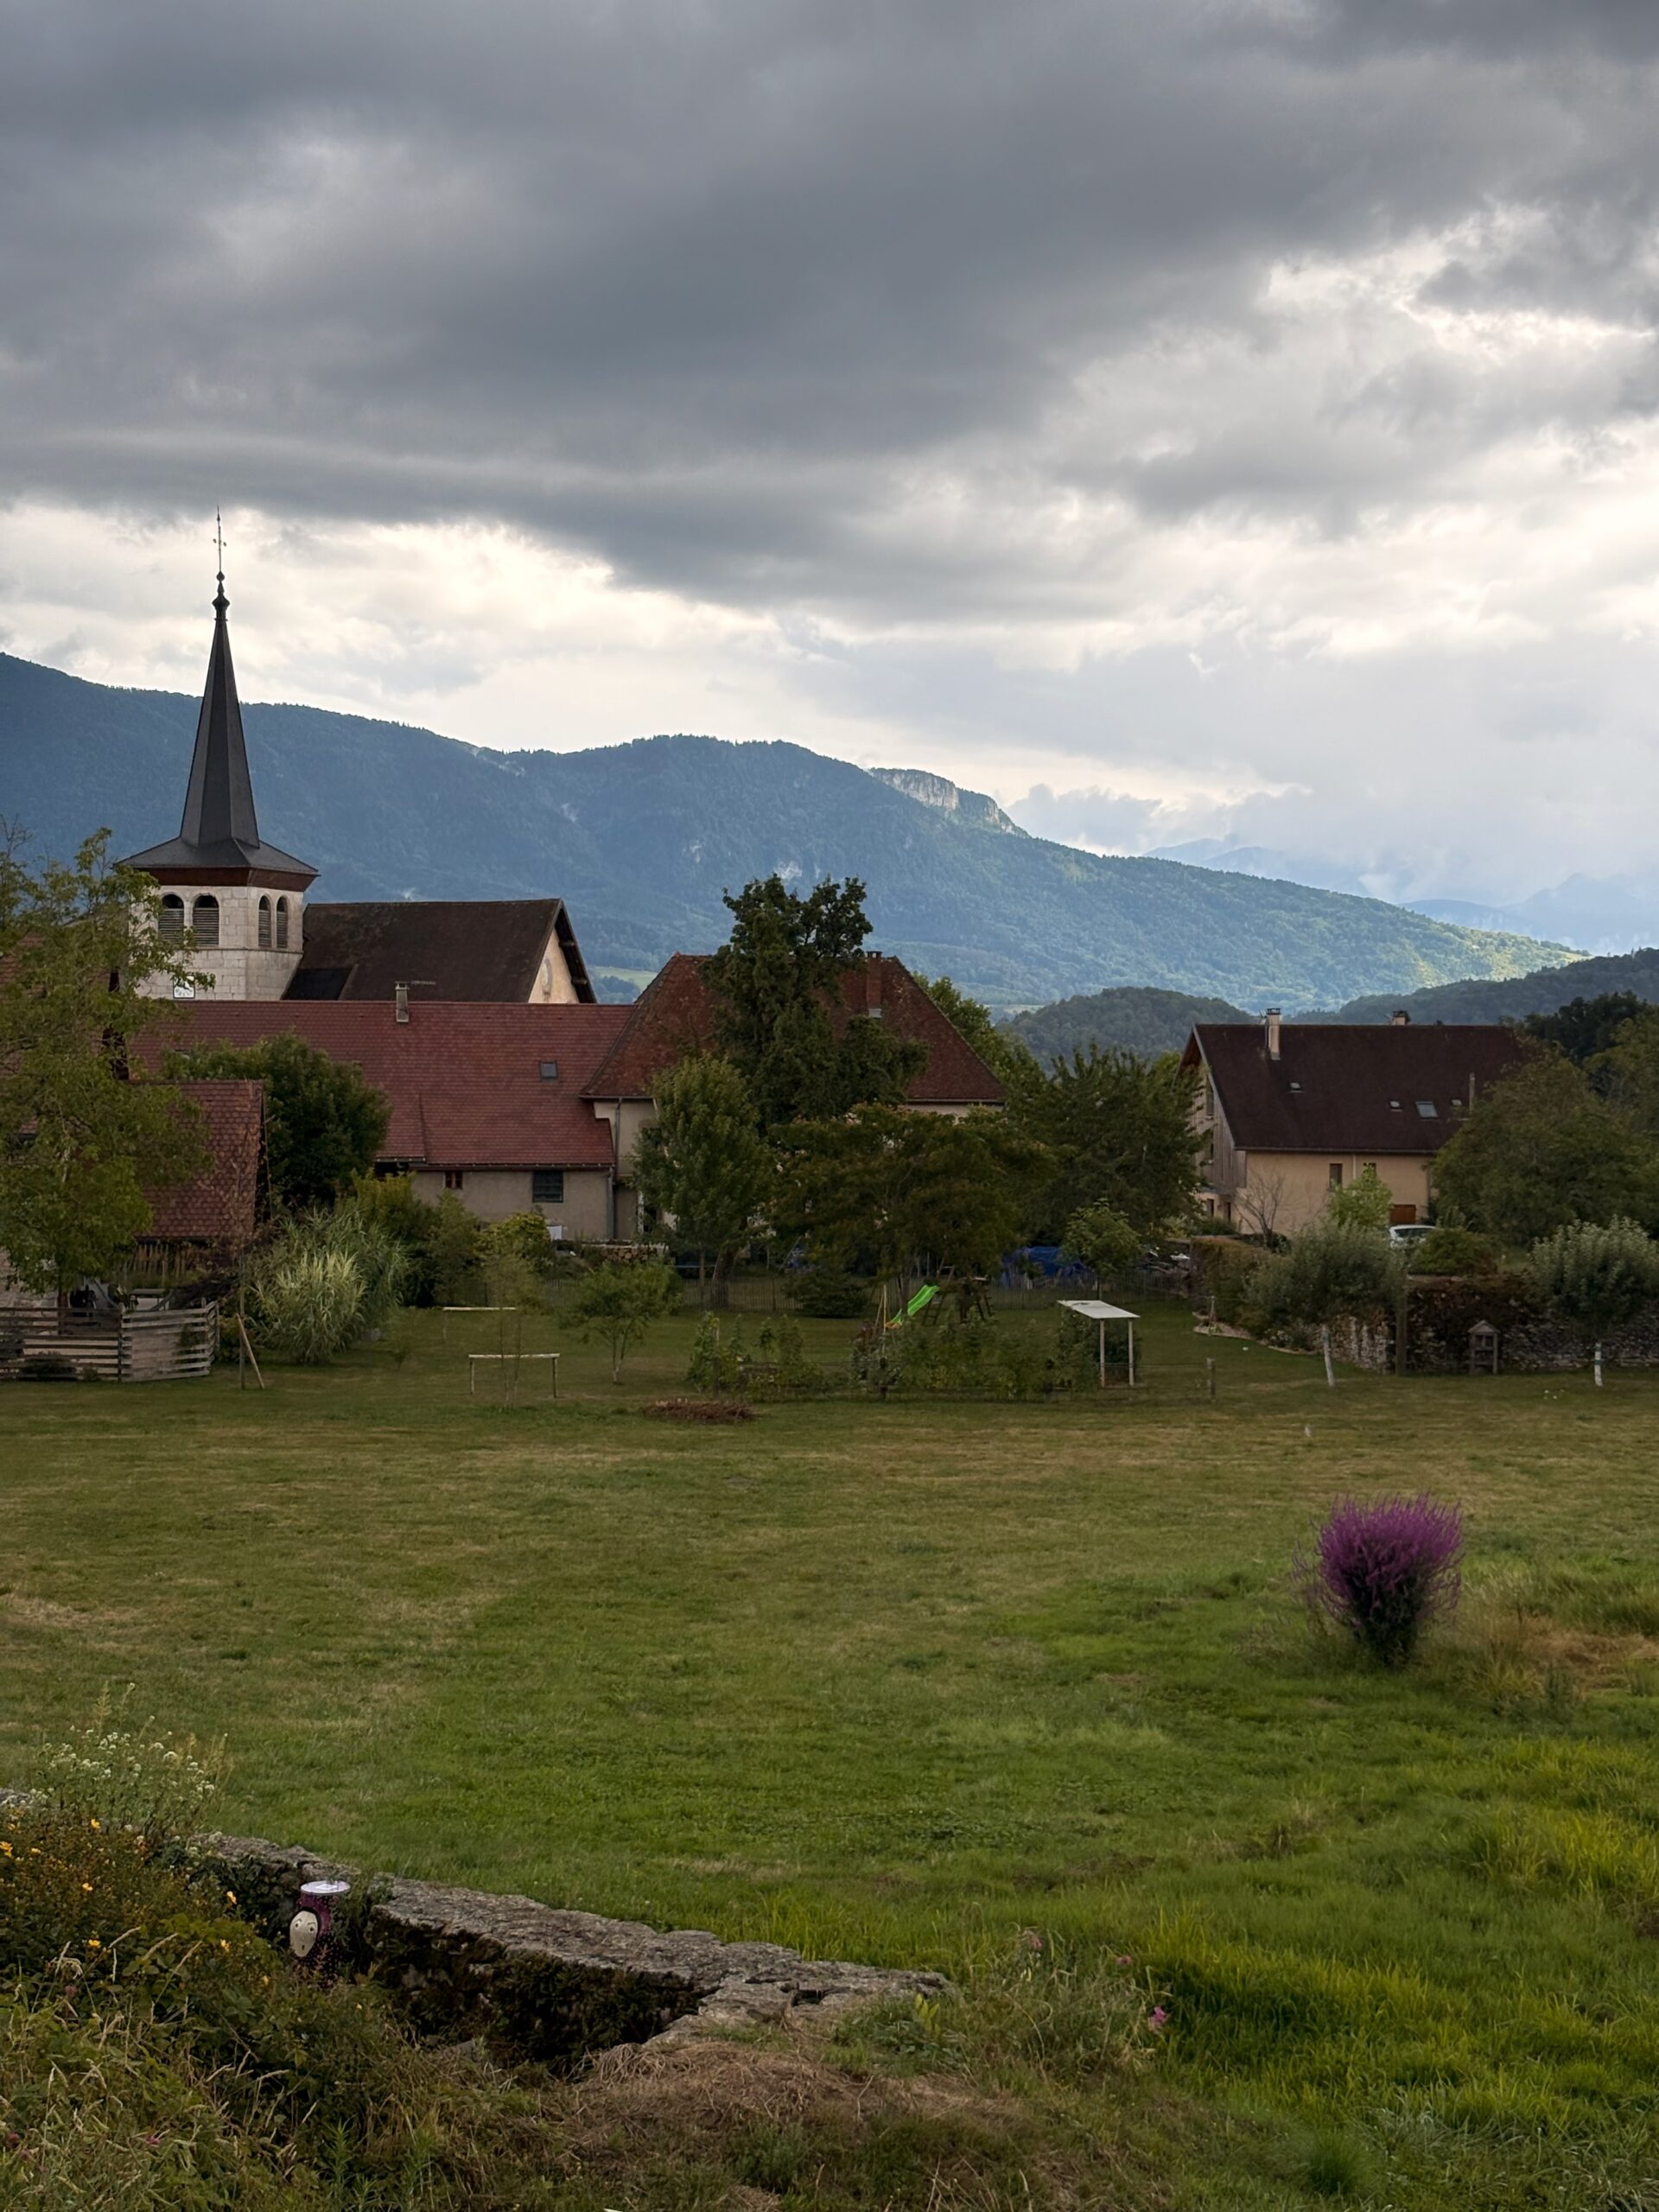
The city center of DullinView of Dullin
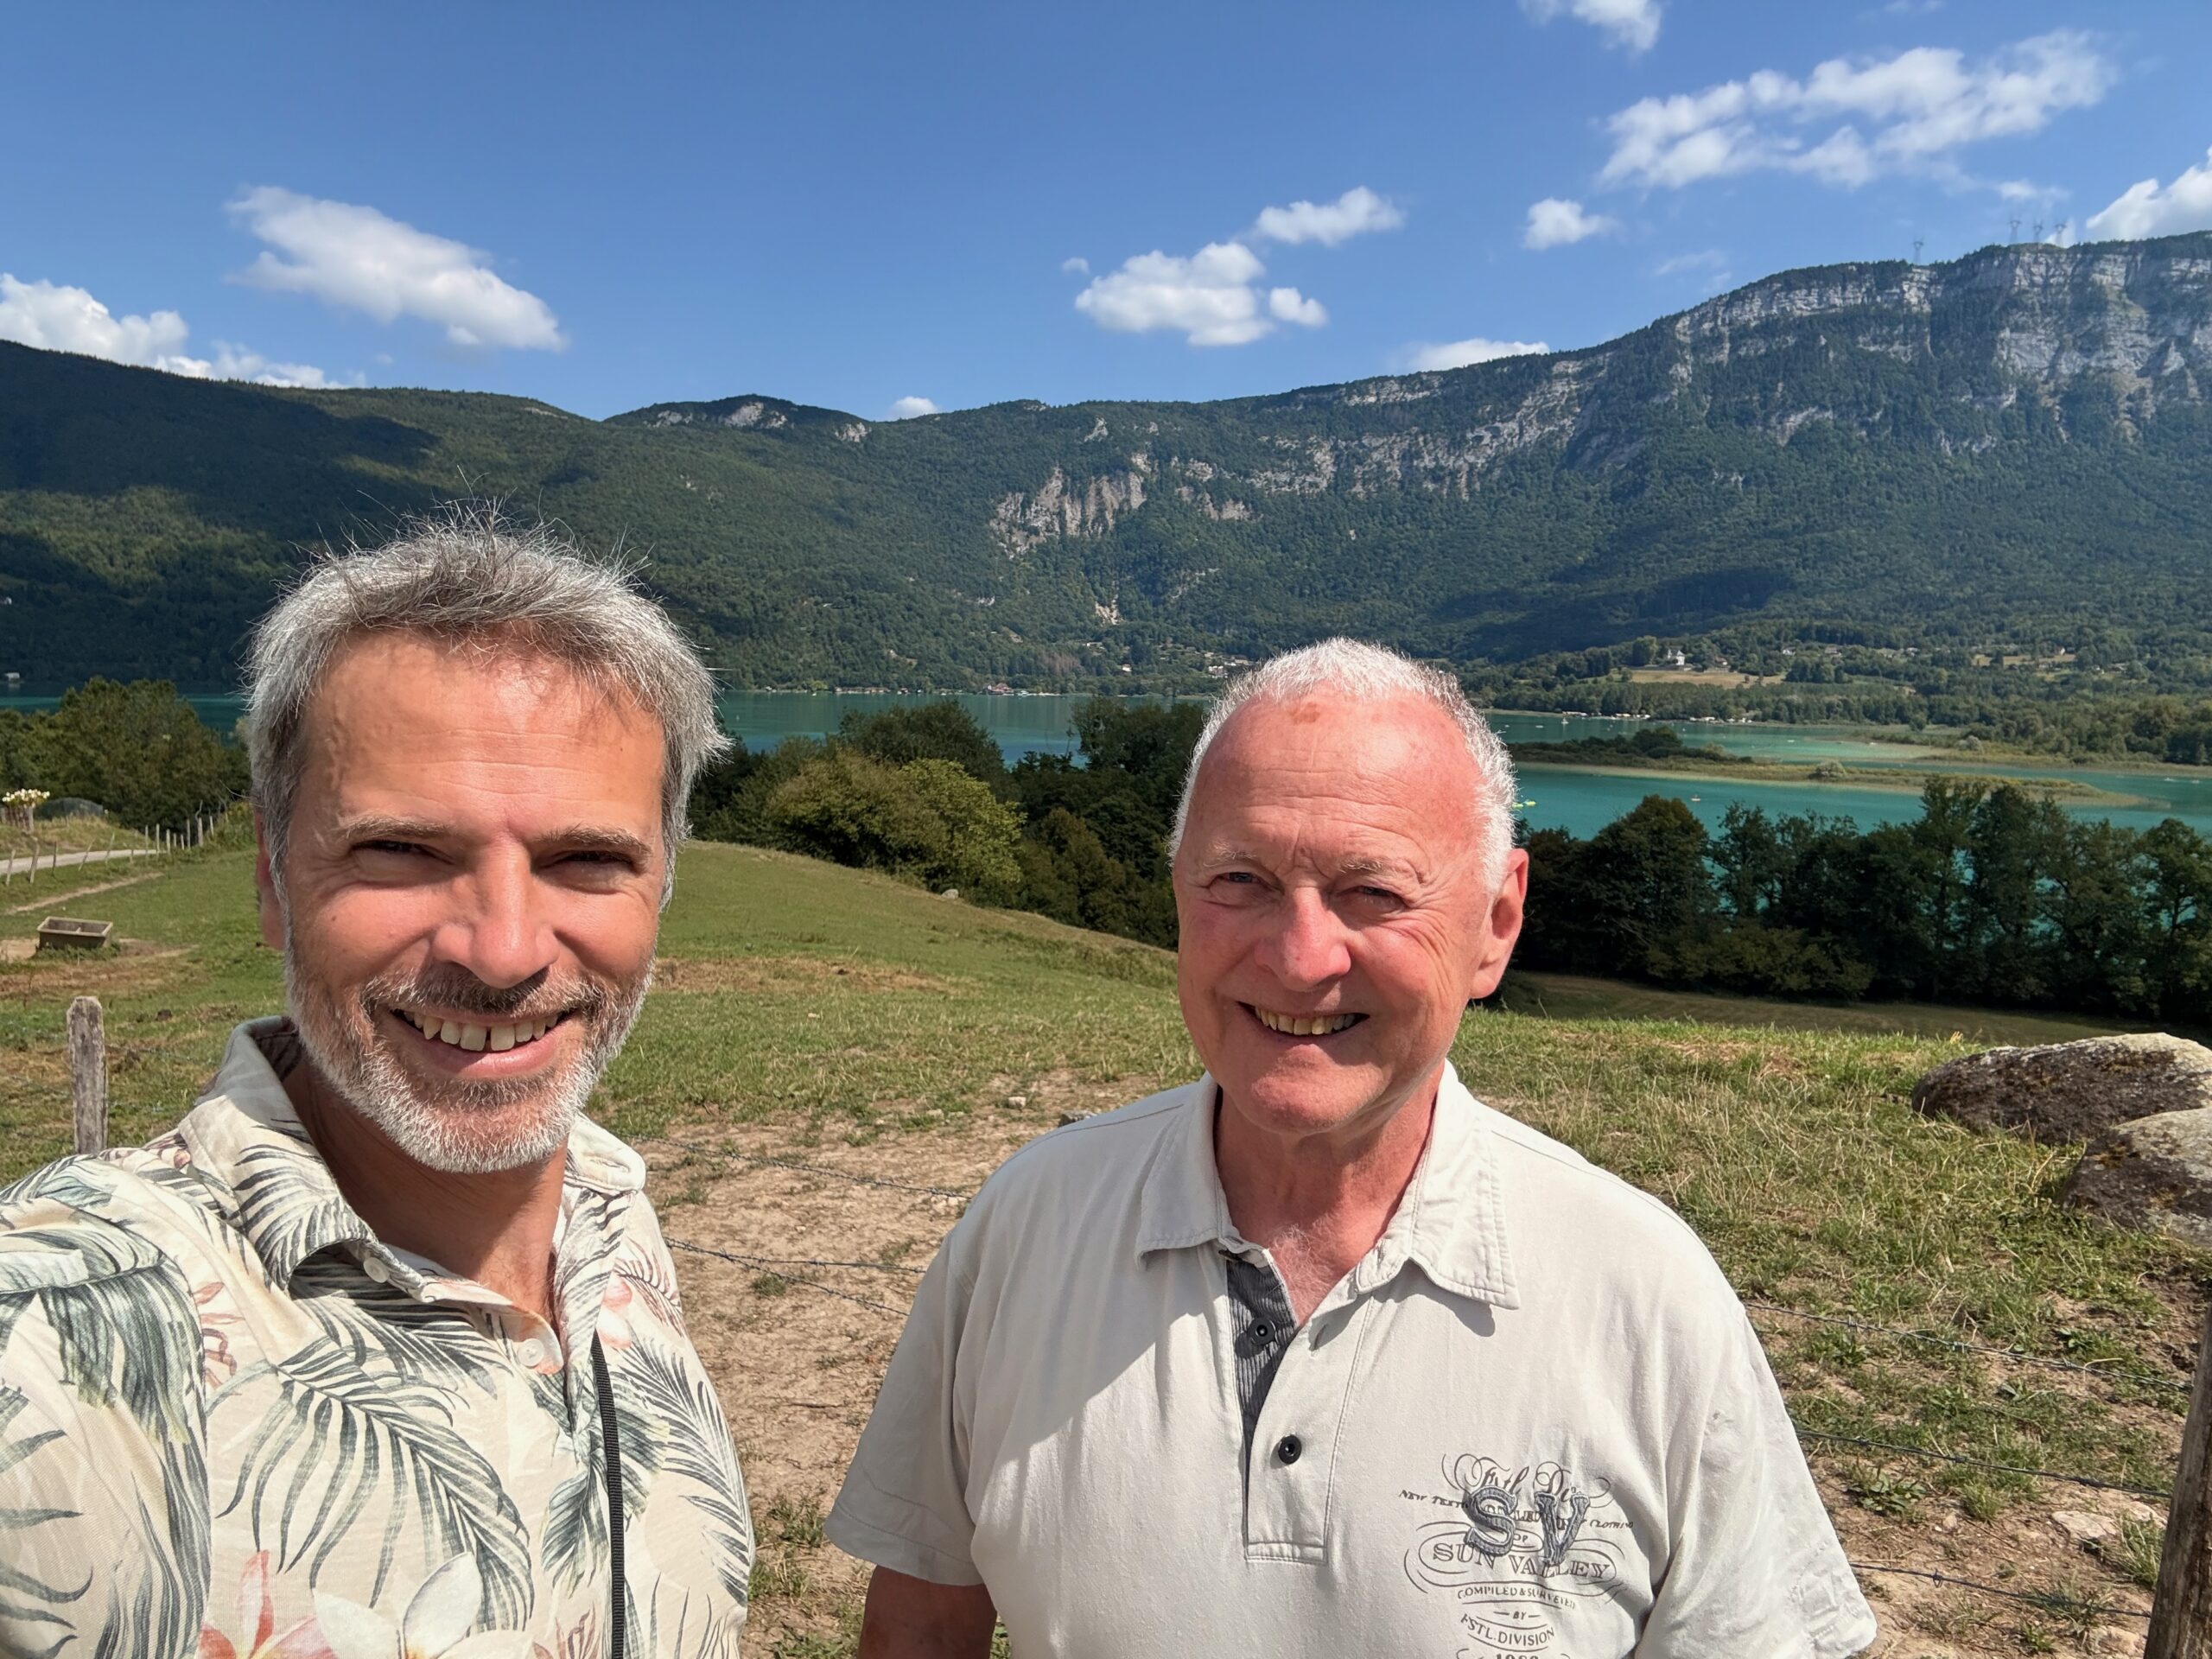
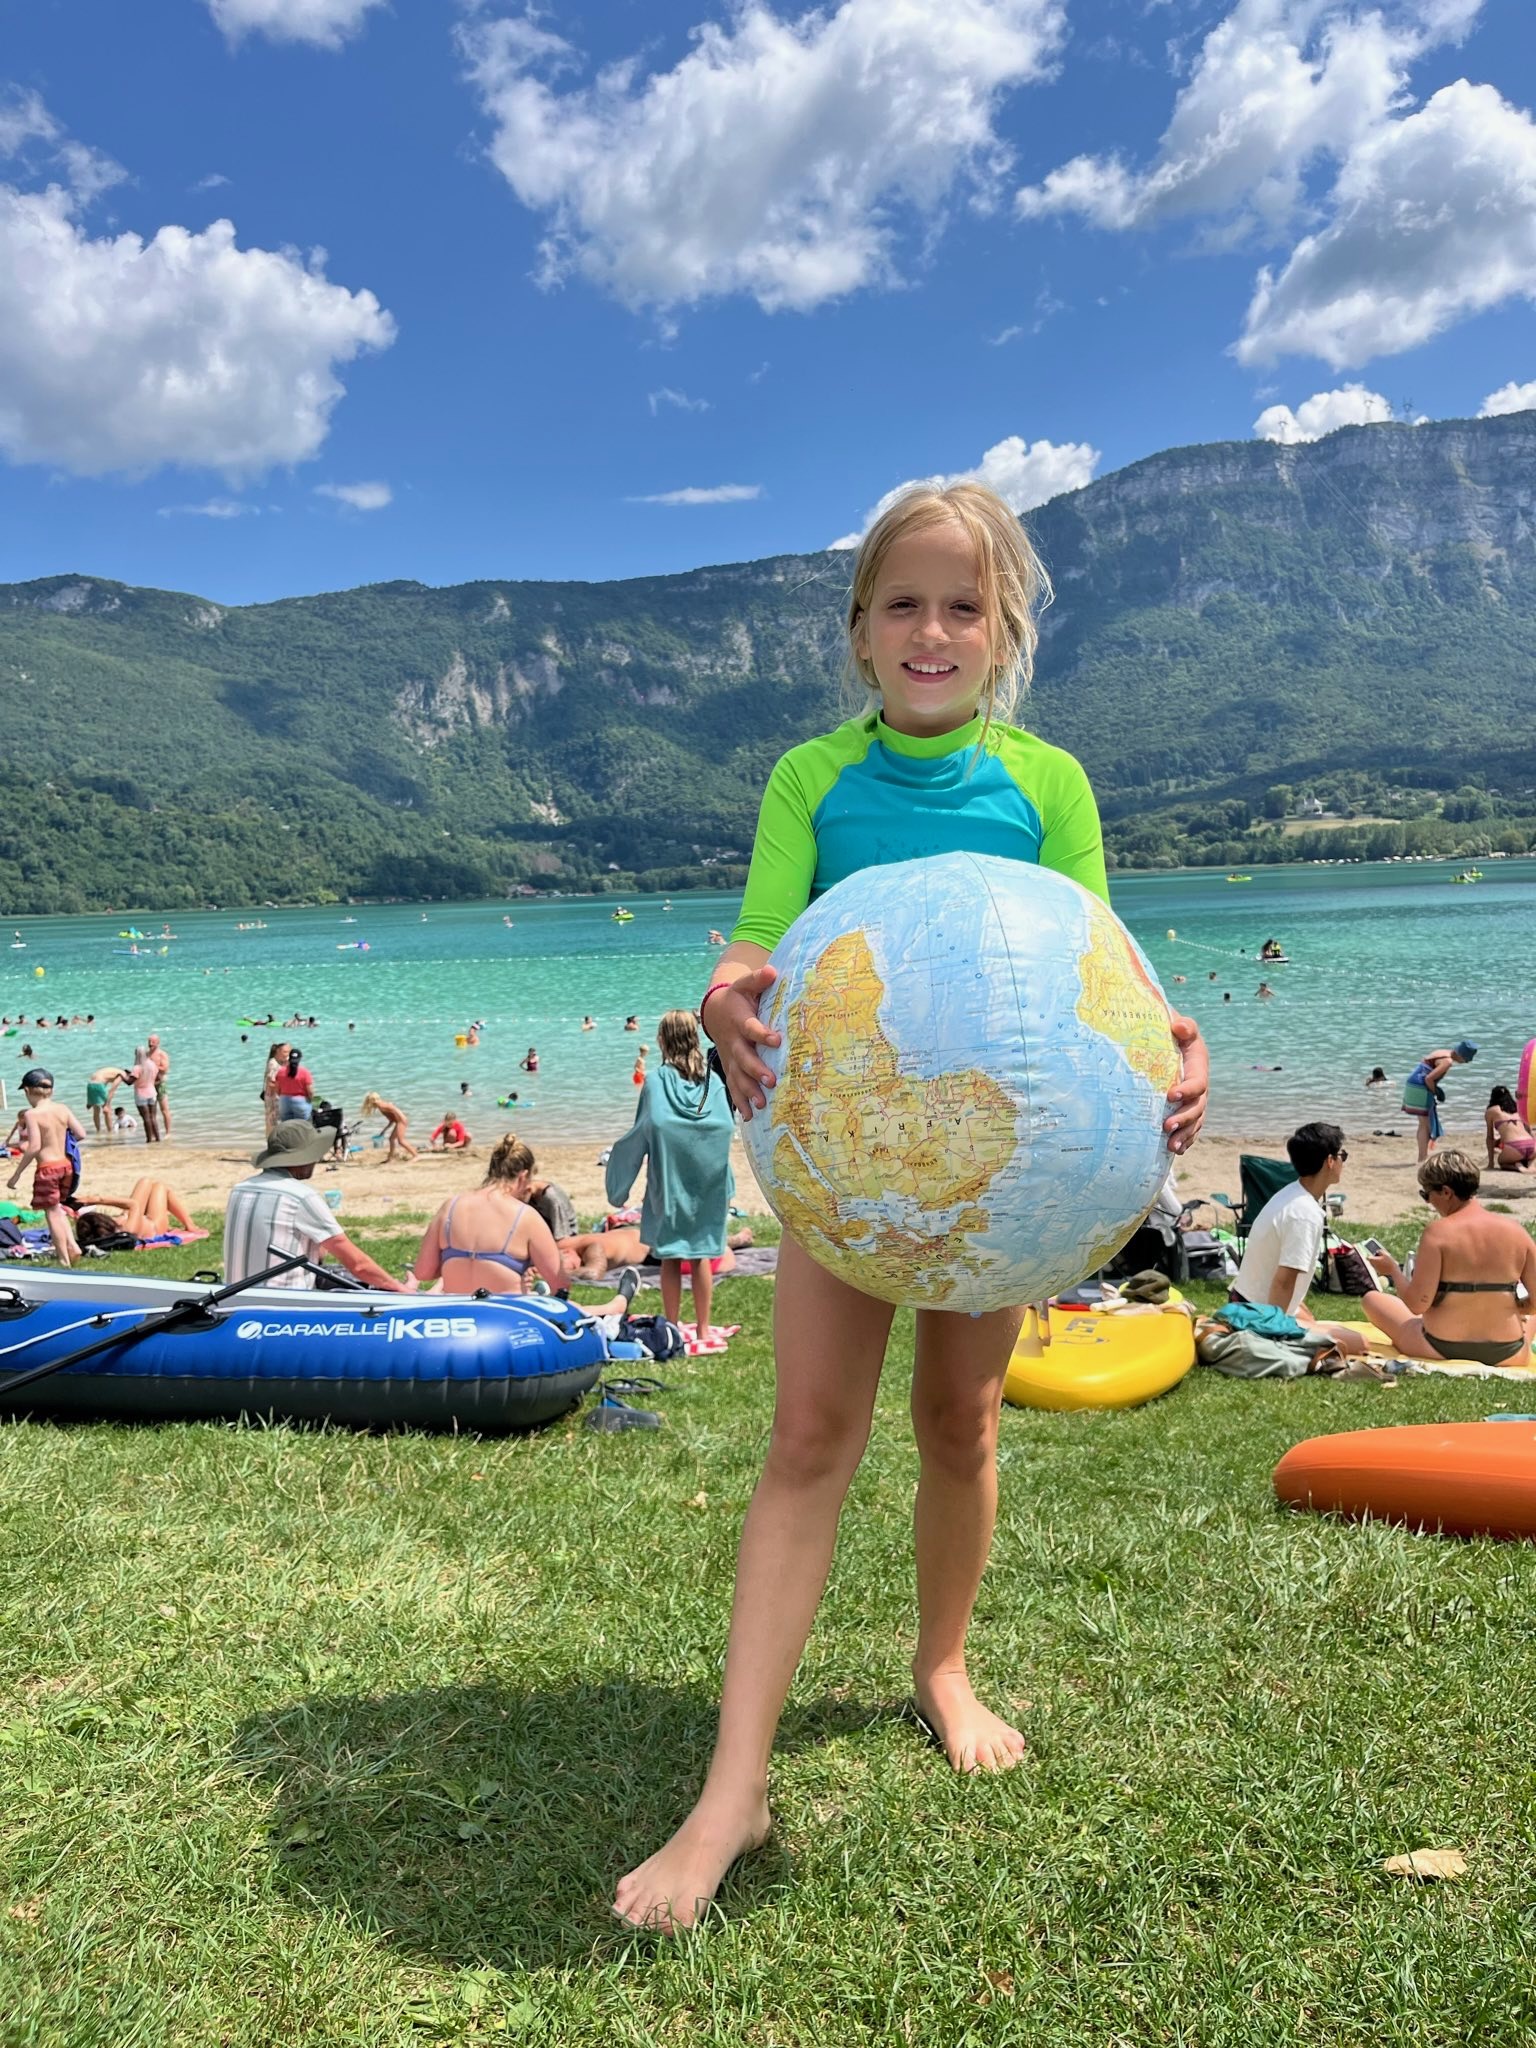
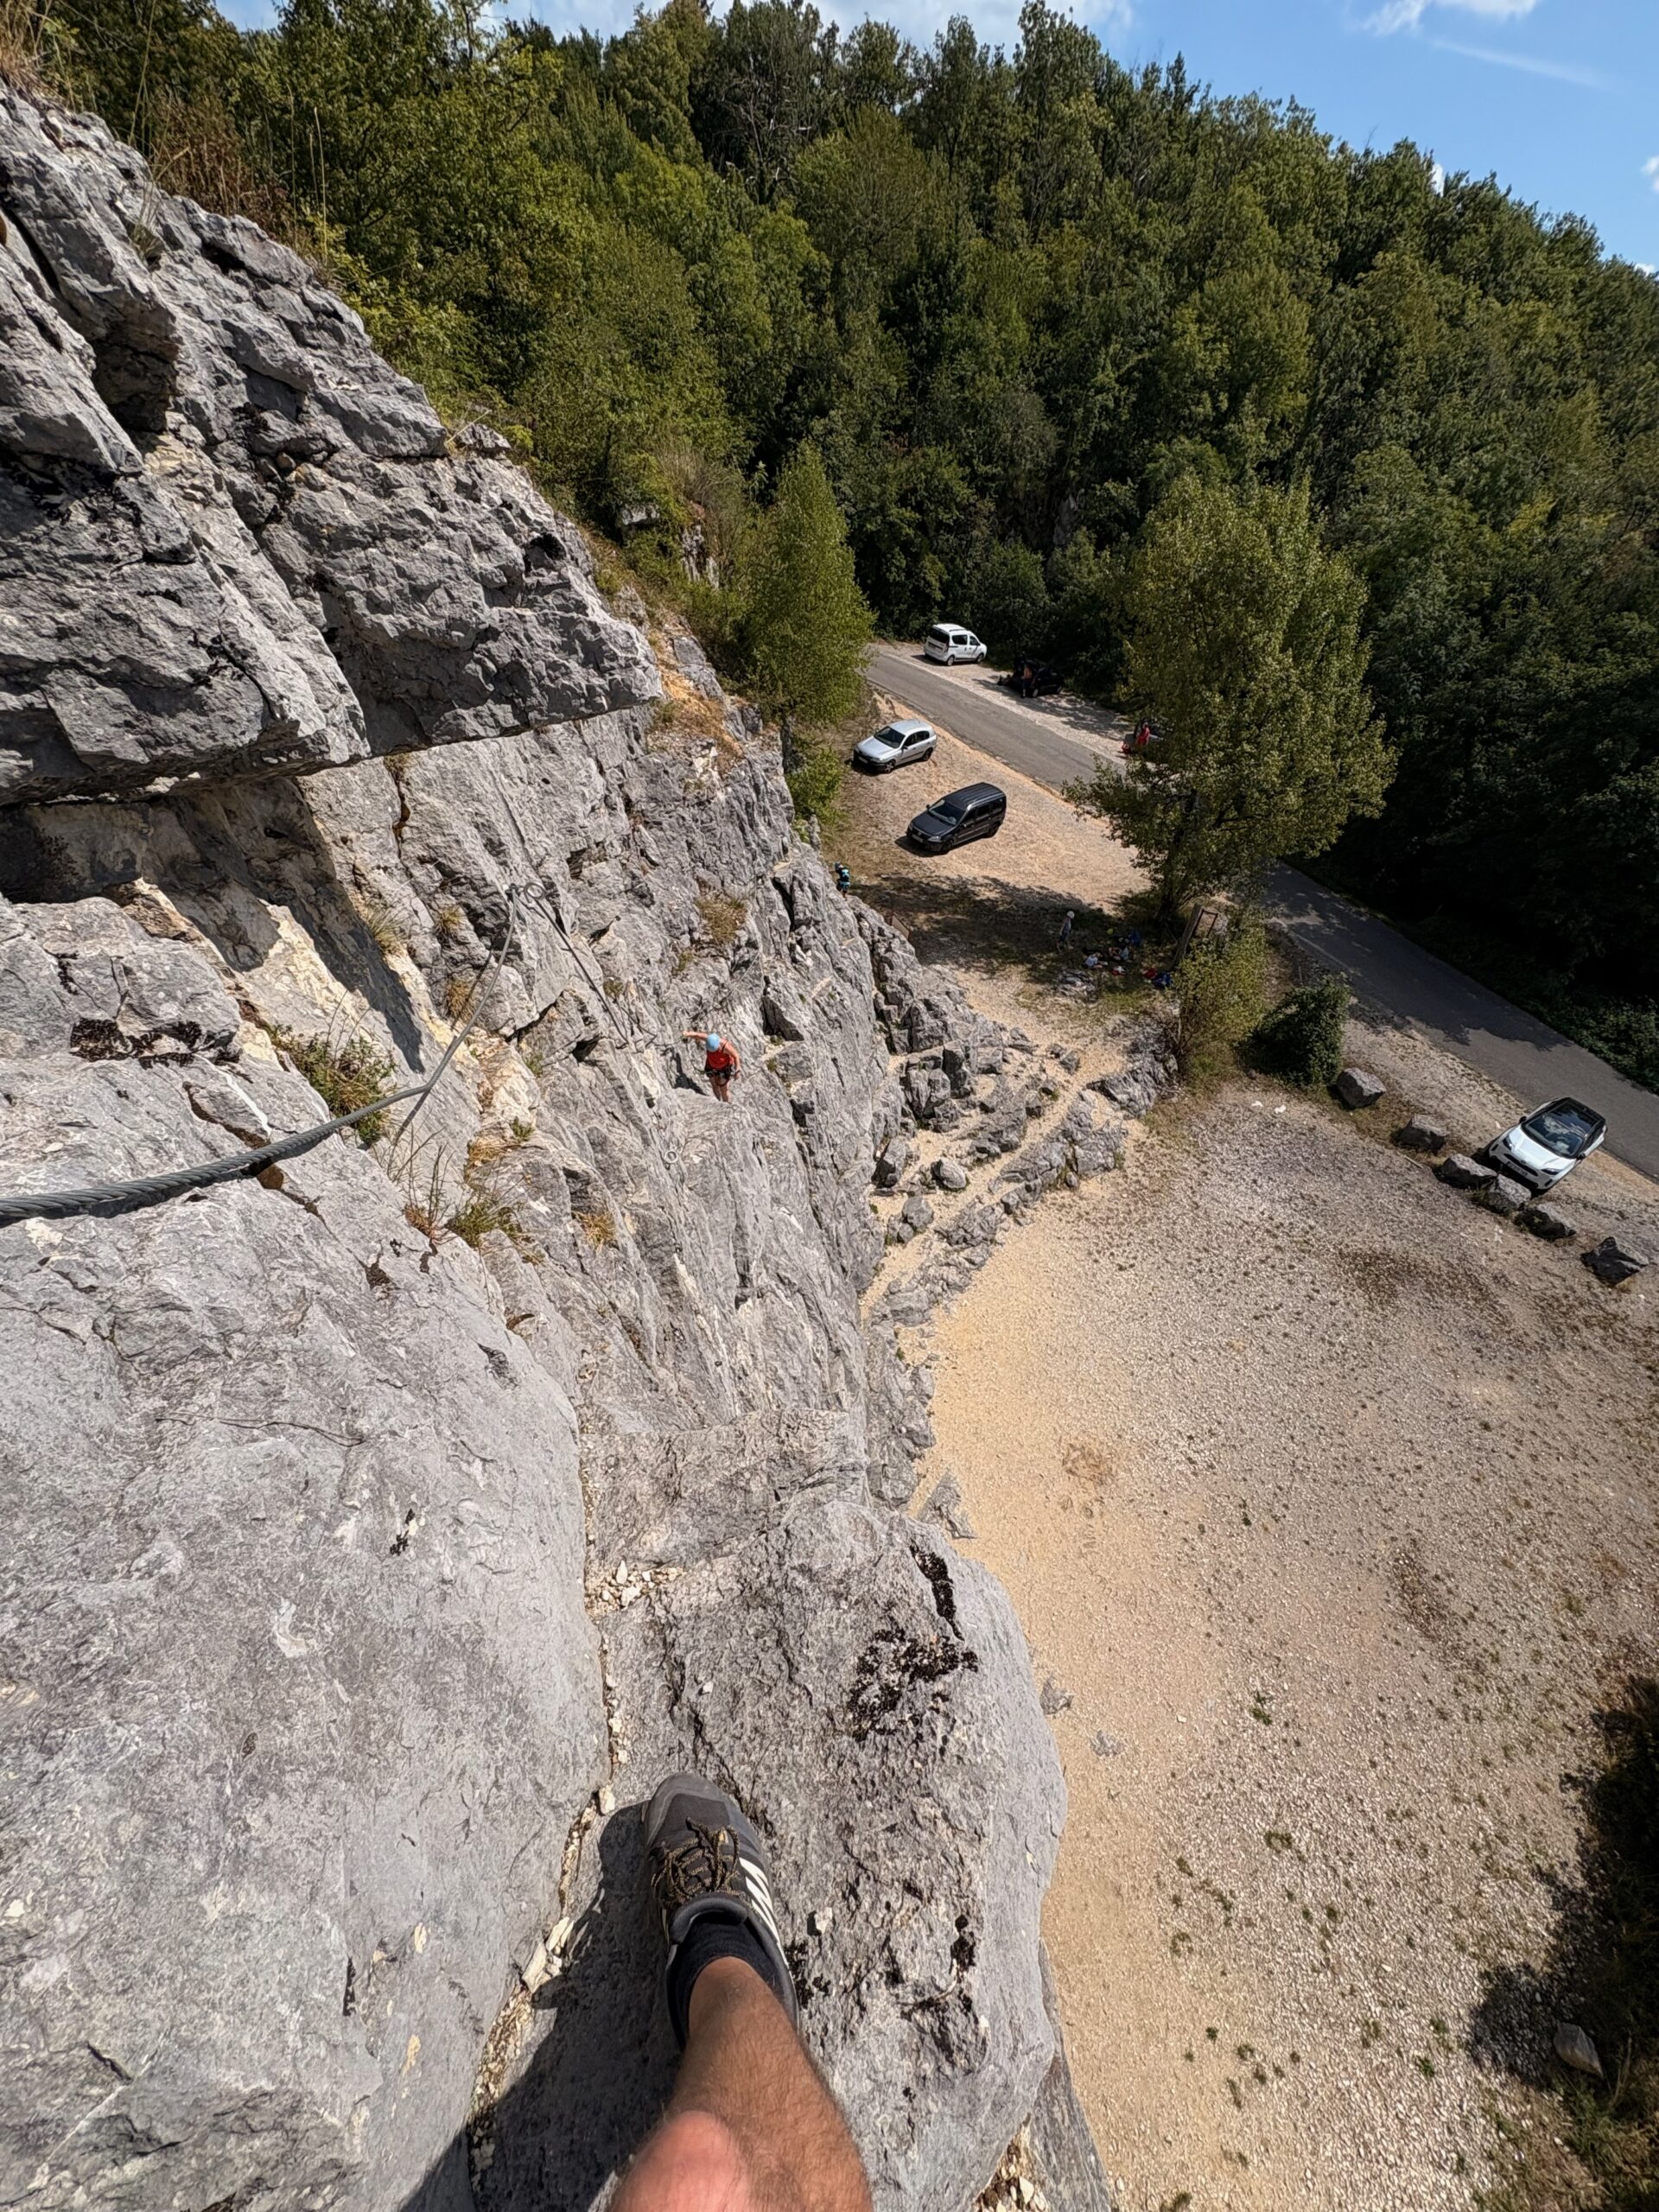
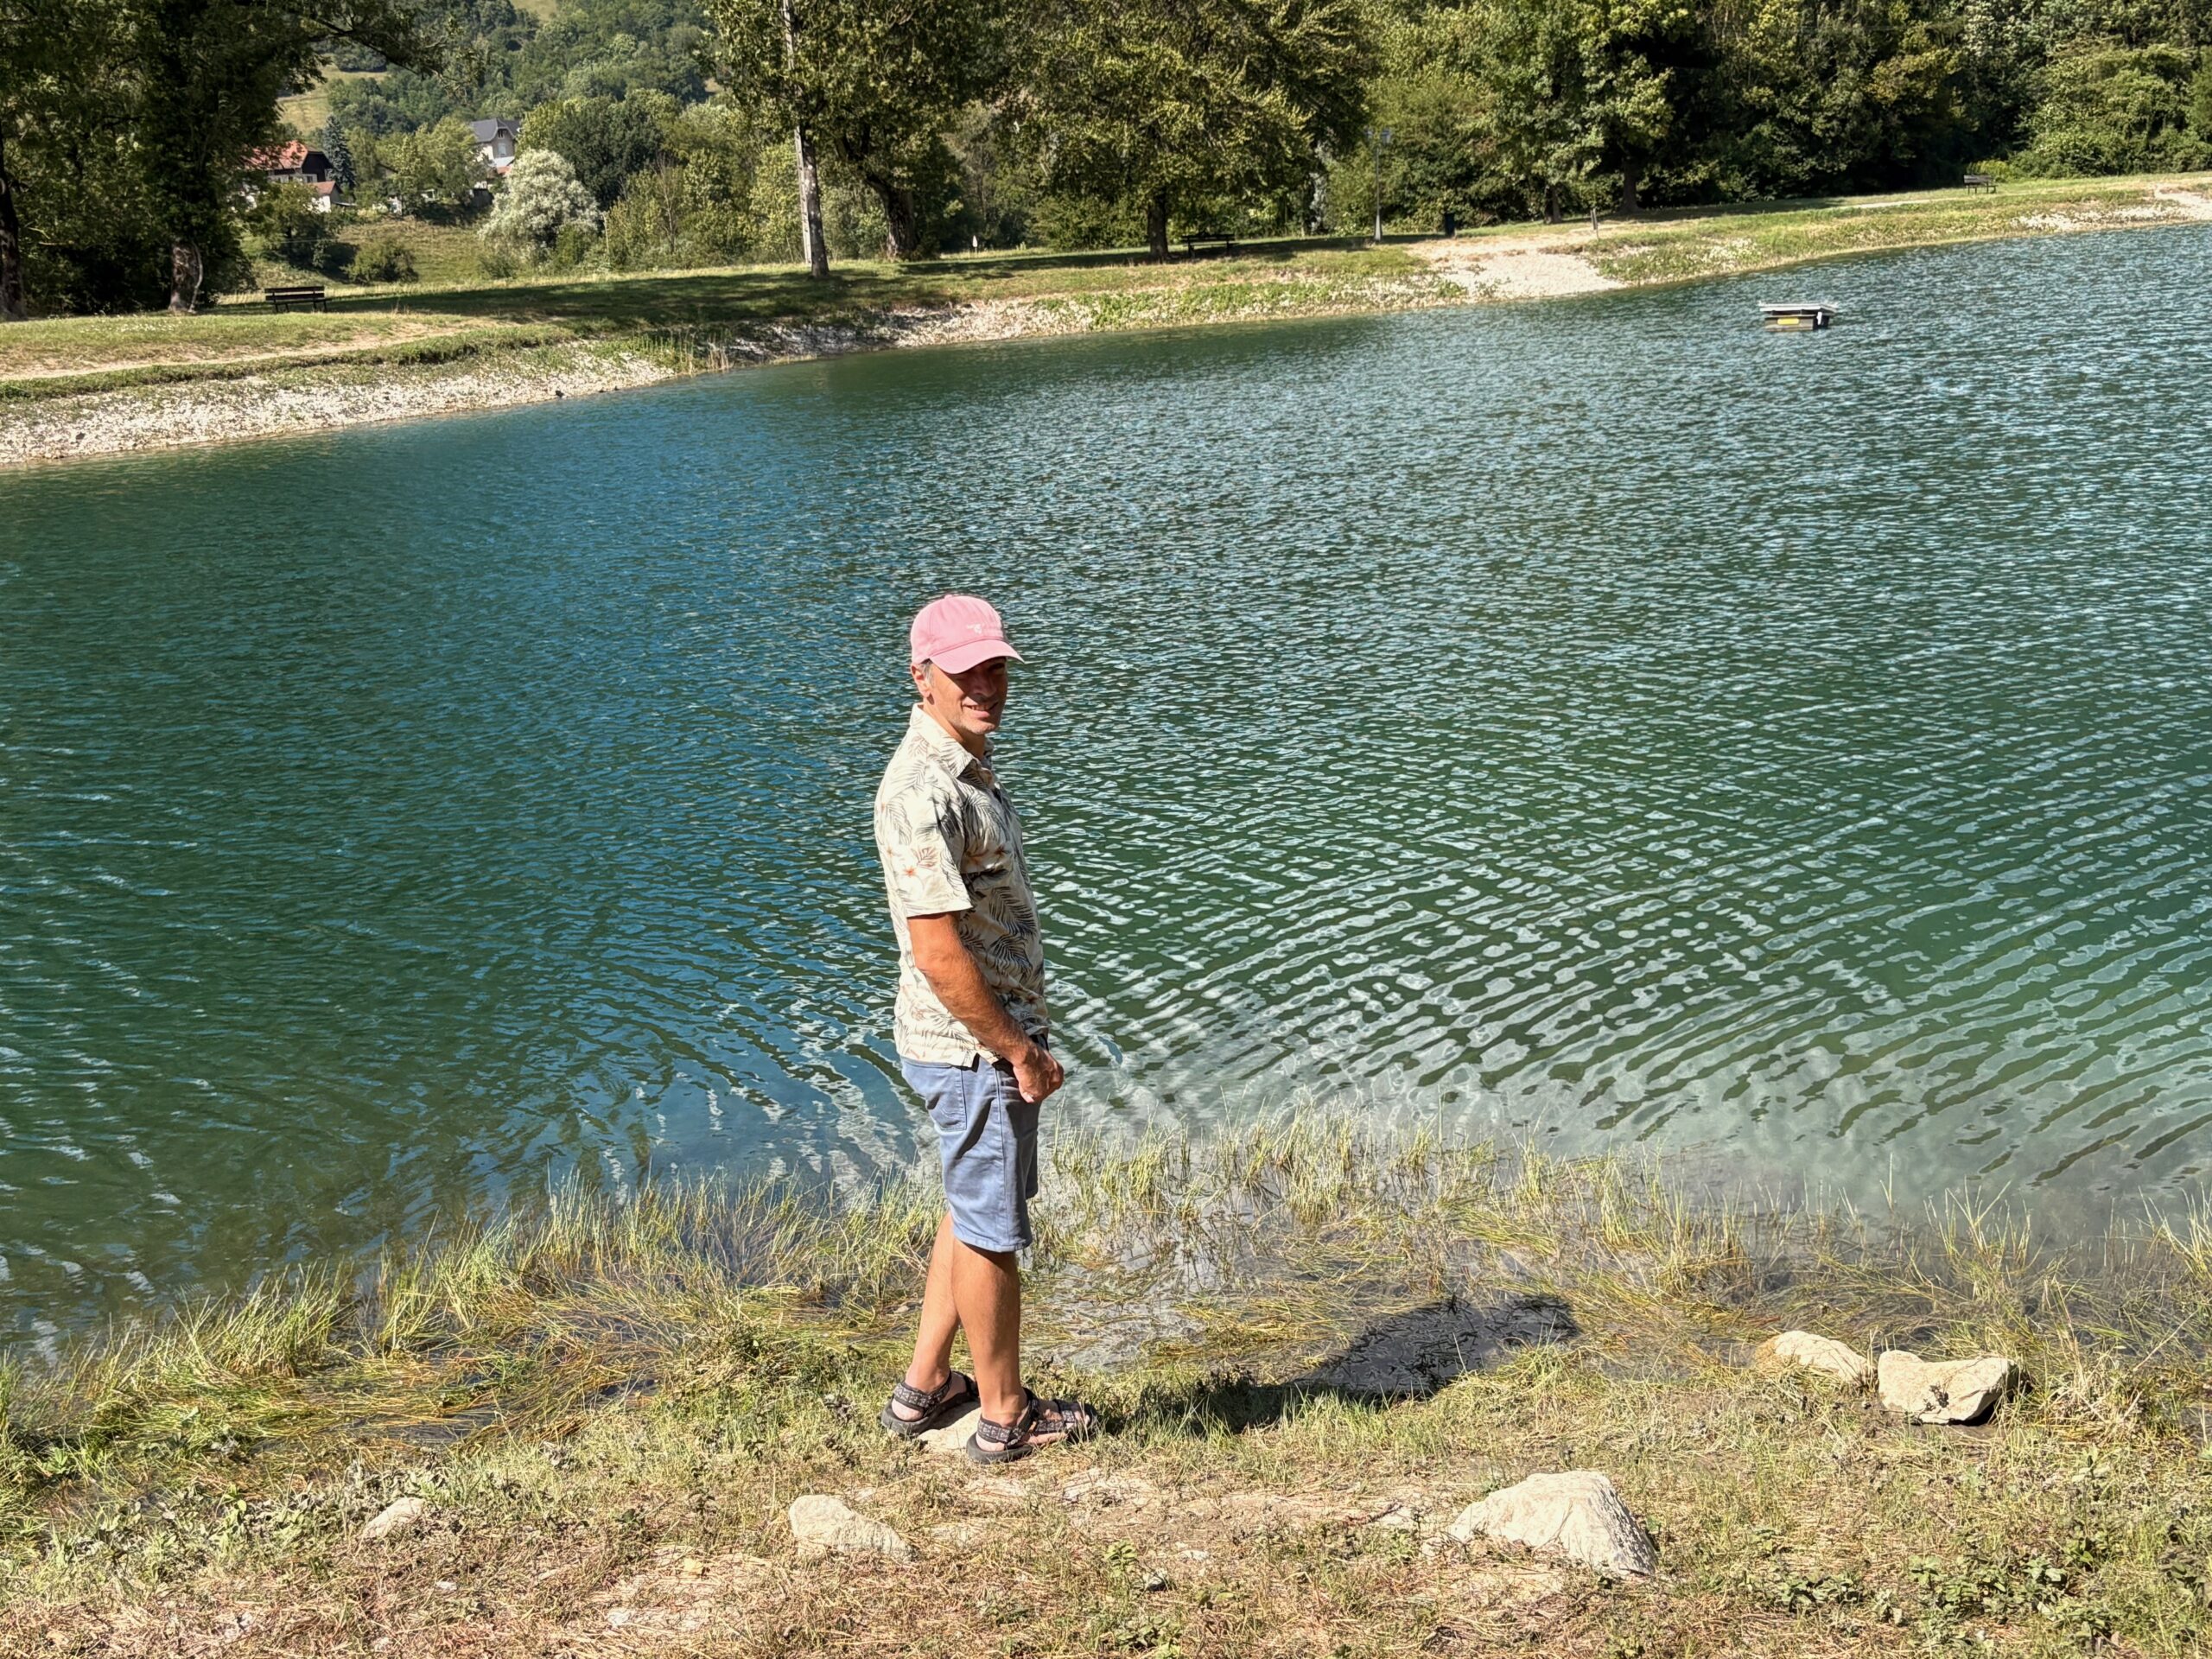
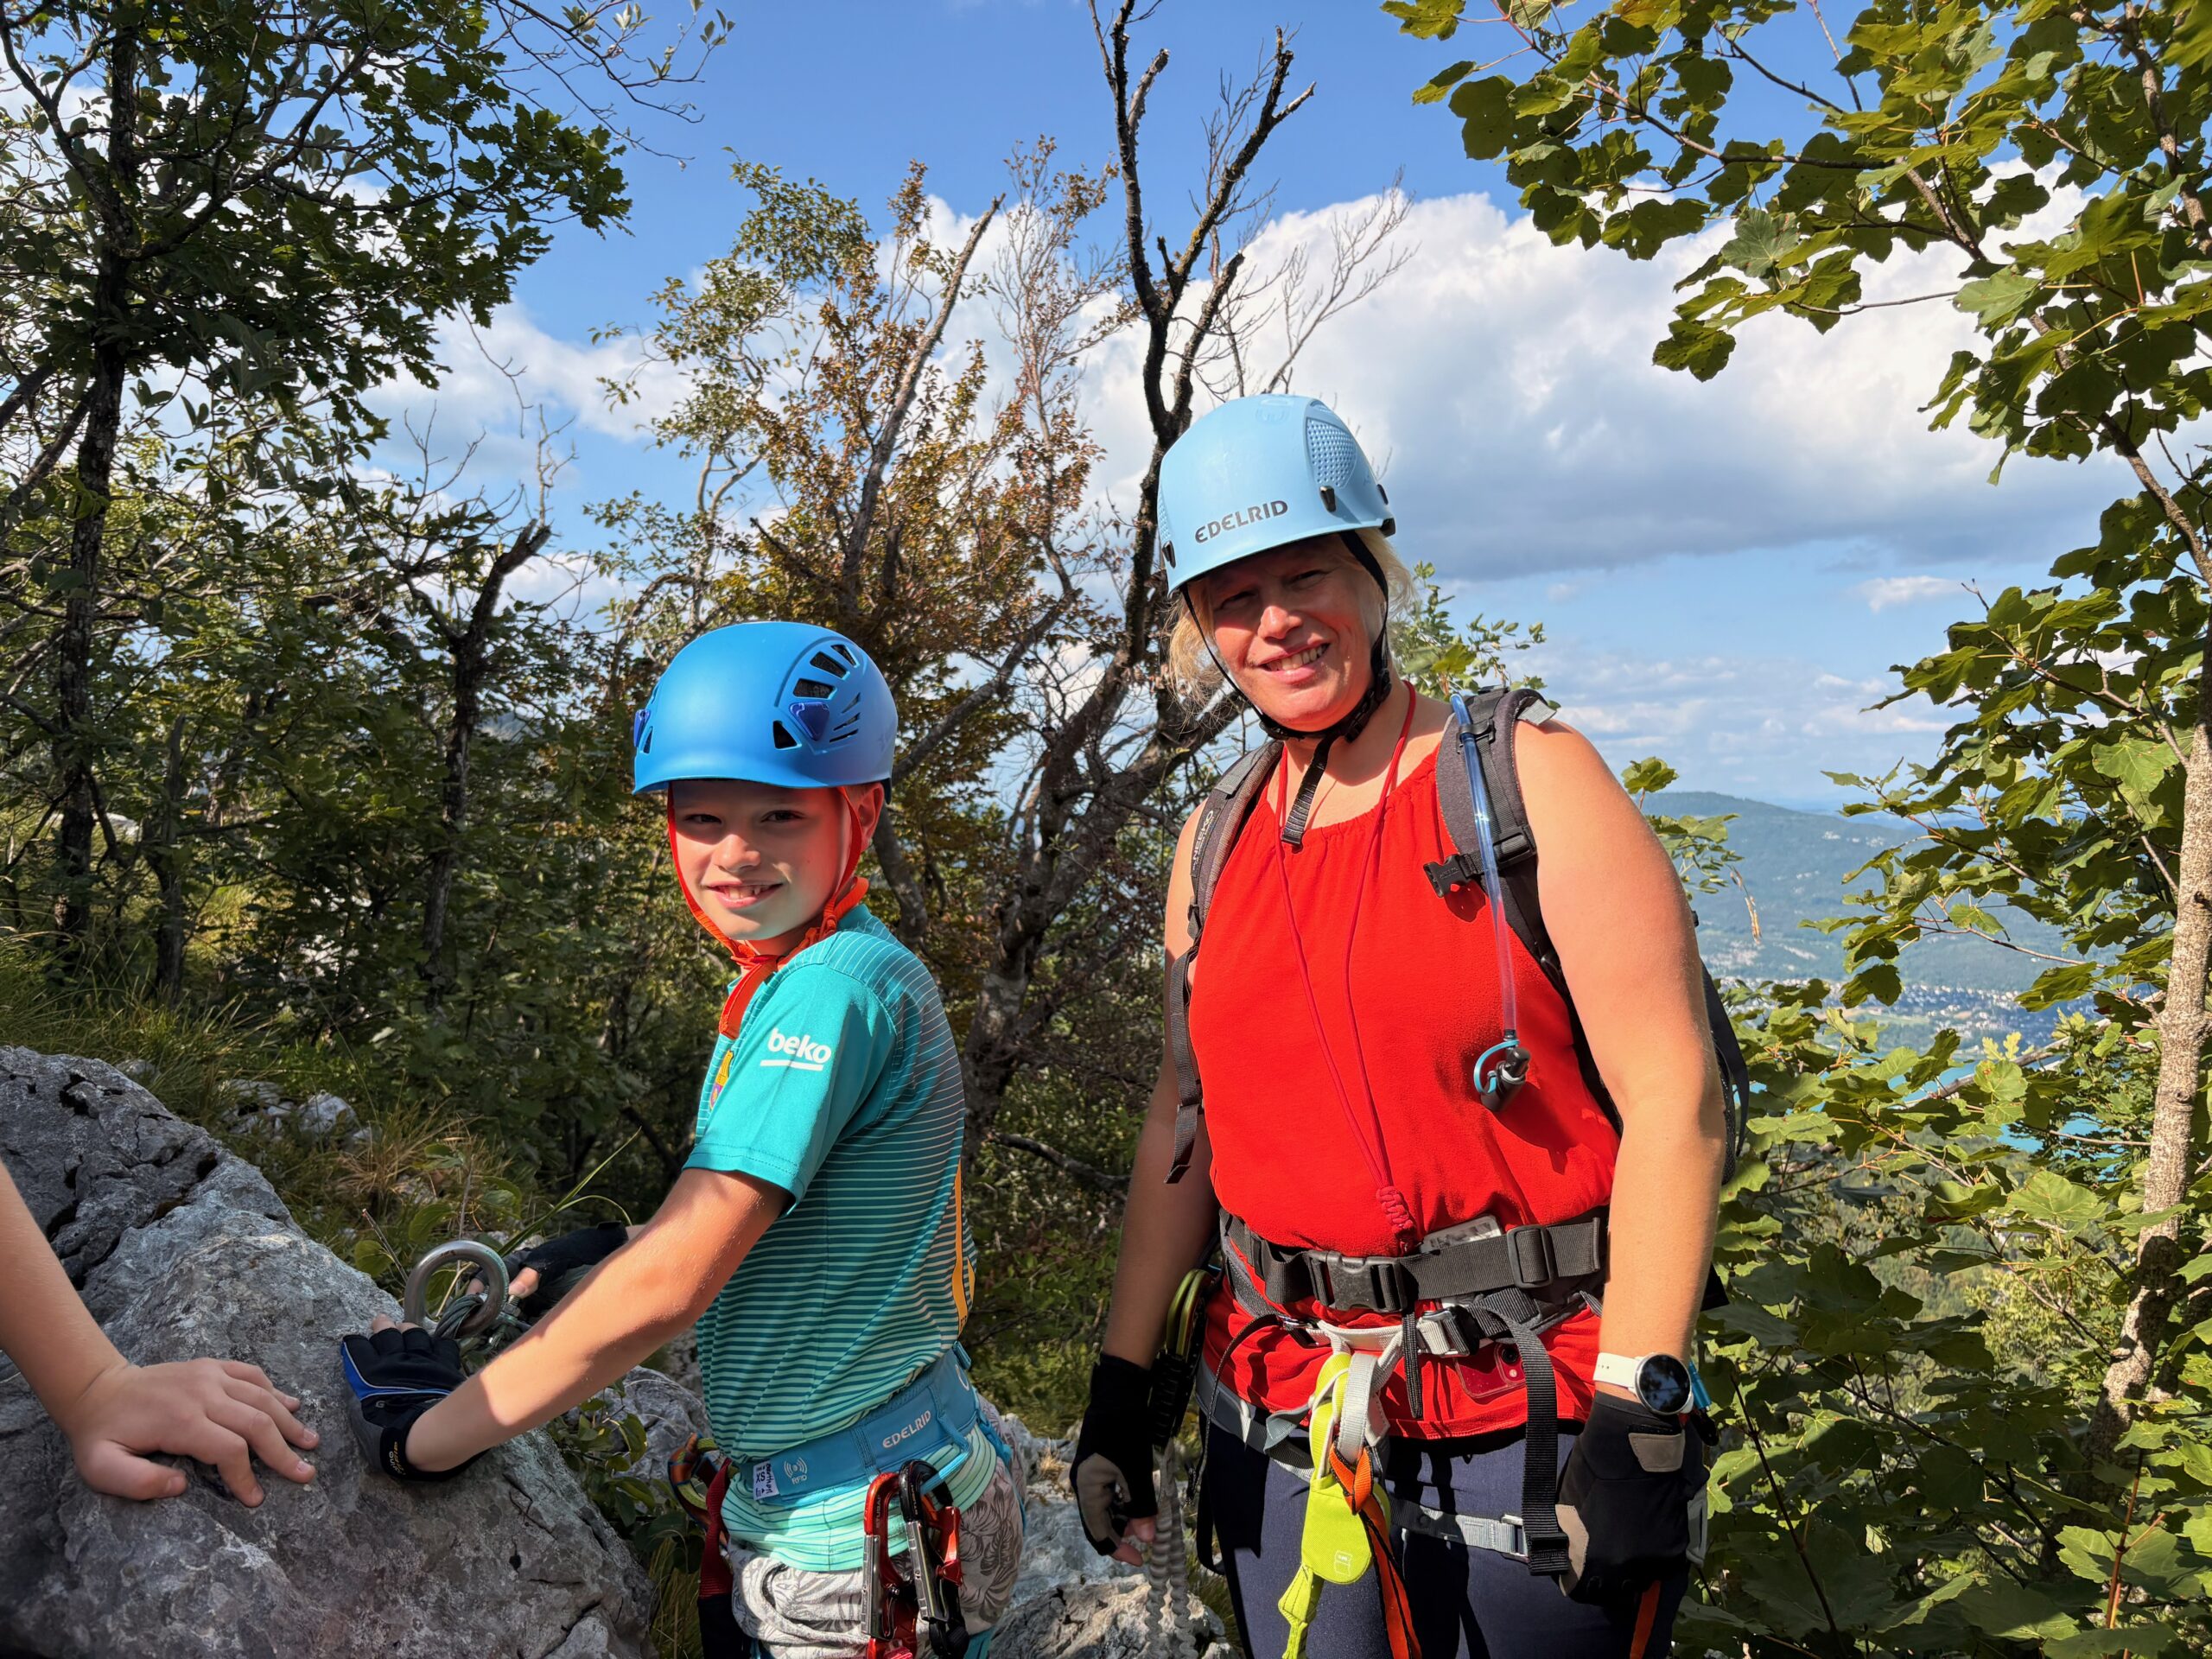
On Tuesday, JC was gently reminded that holidays warp your sense of time. He was quite surprised to see his uncle at the door, having firmly believed it was still Monday. Plans were reshuffled. Vera took the kids for a nearby via ferrata before heading to the lake, while JC enjoyed a long walk and chat with his uncle. We all reunited at the beach for drinks under the trees – a nice family moment.
JC and his uncle on a walkThe beautiful lake
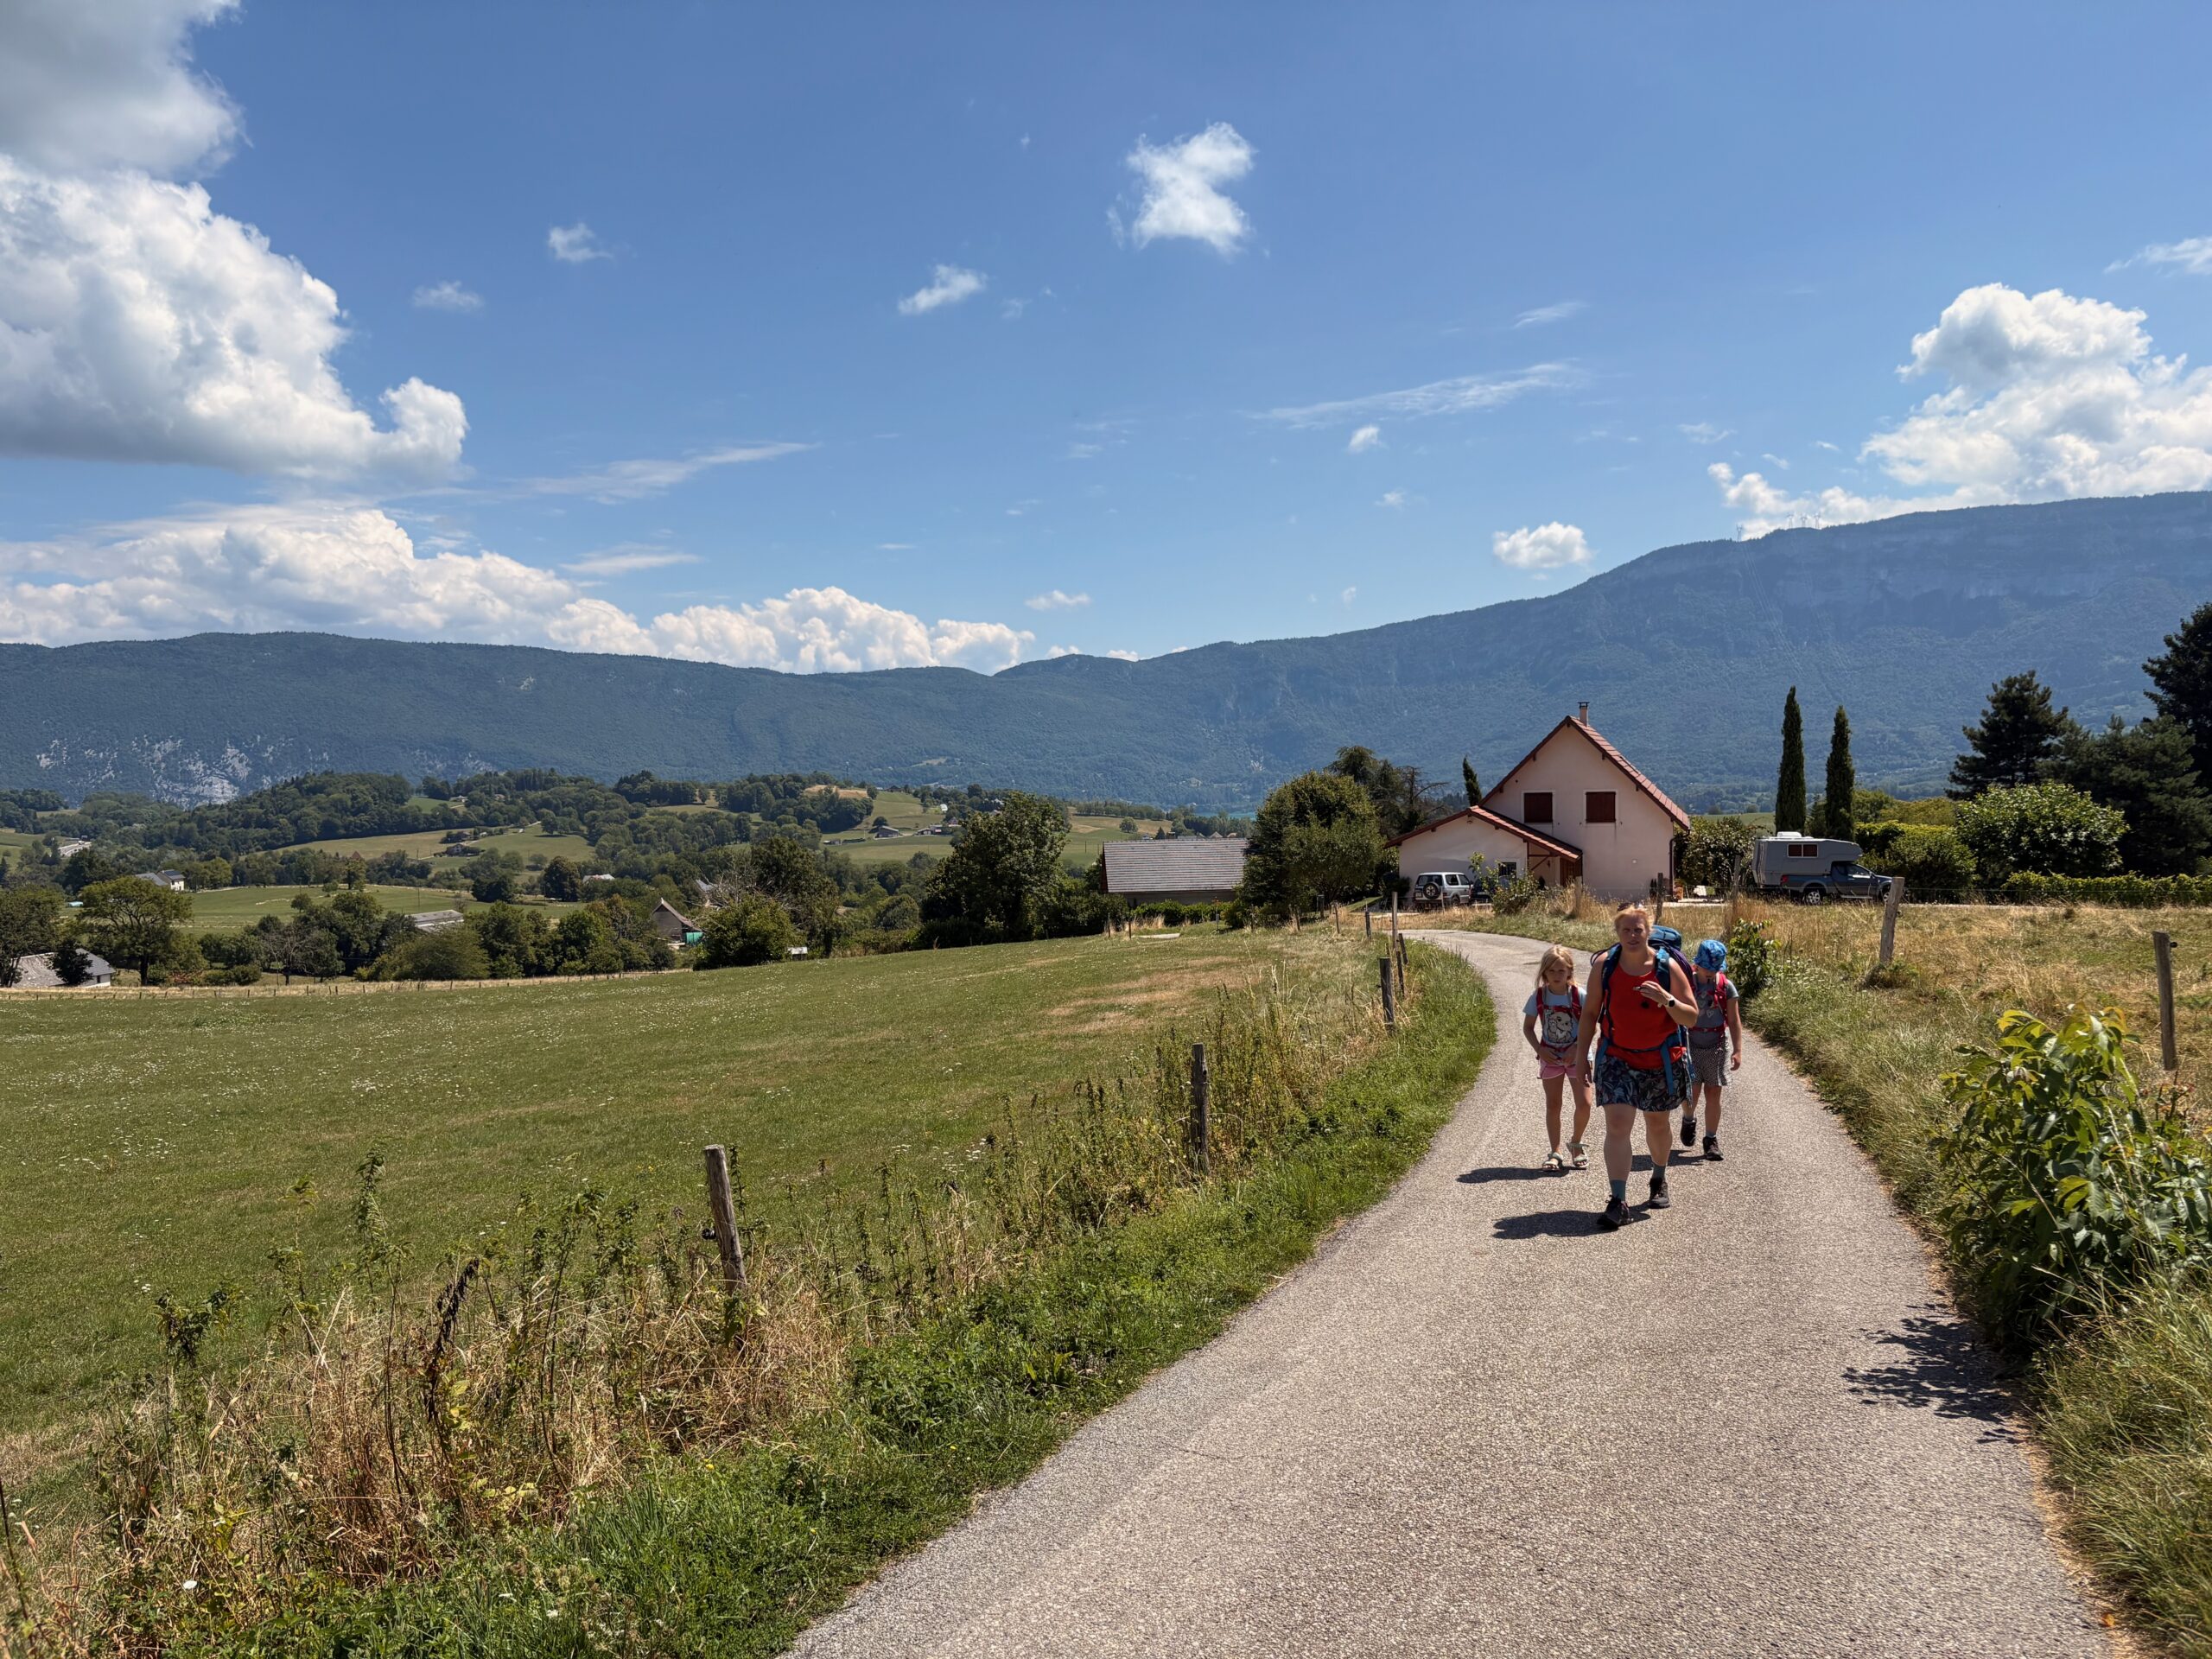
Wednesday’s plan was a “small trek” – 5-6 km with a gentle 150 m elevation. We’ve done it before with the kids as toddlers. This time? After 500 m, complaints began. The kids executed a perfect moaning relay, each handing off the baton of grumbling as we marched on. Very French of them.
Start of the trek, still smilingYeah, climbing!Let’s go higherand higherWe almost did it!
Speaking of experiencing the French, later that week, JC cycled to the bakery and encountered the true spirit of French driving – a local buzzed past him so closely JC could’ve check his look in their side mirror. Naturally, JC expressed himself in an eloquent blend of French swearing and Italian hand gestures. The driver gestured toward a barely visible shared path (which, legally, he didn’t have to use). All part of the authentic French cycling on the road experience. Beautiful country, baffling cycling signage and morons behind the steering wheel.
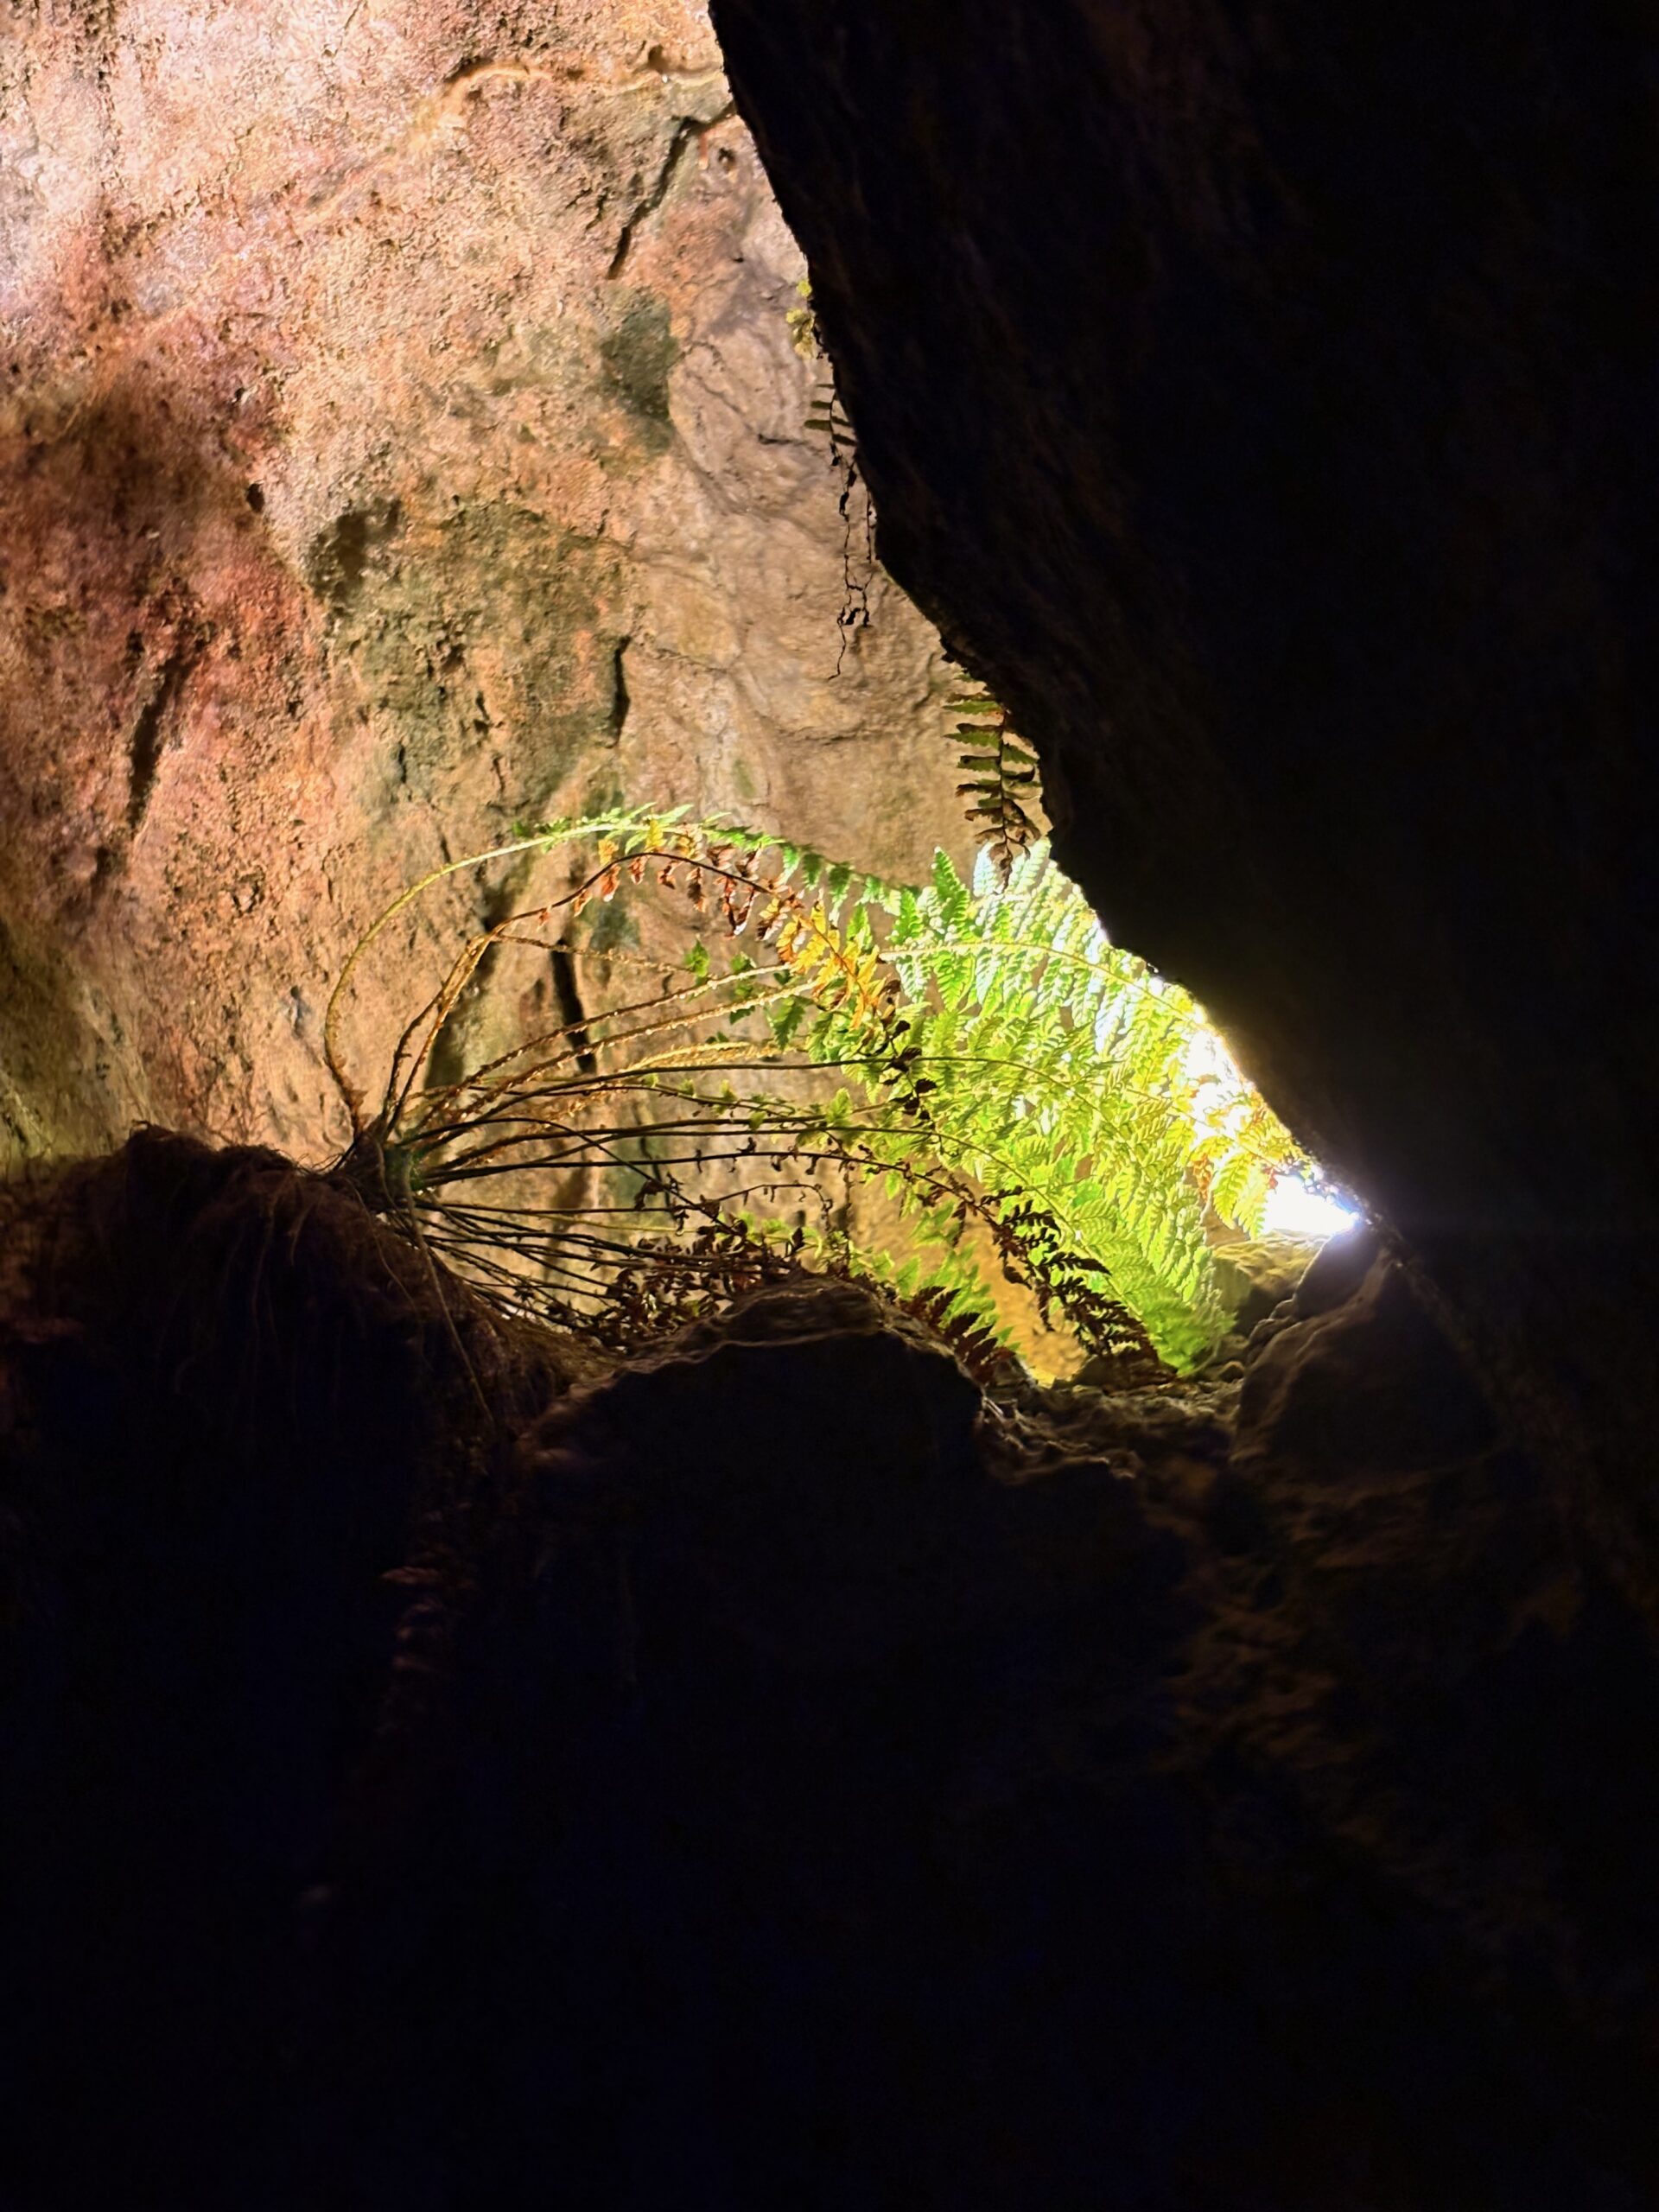
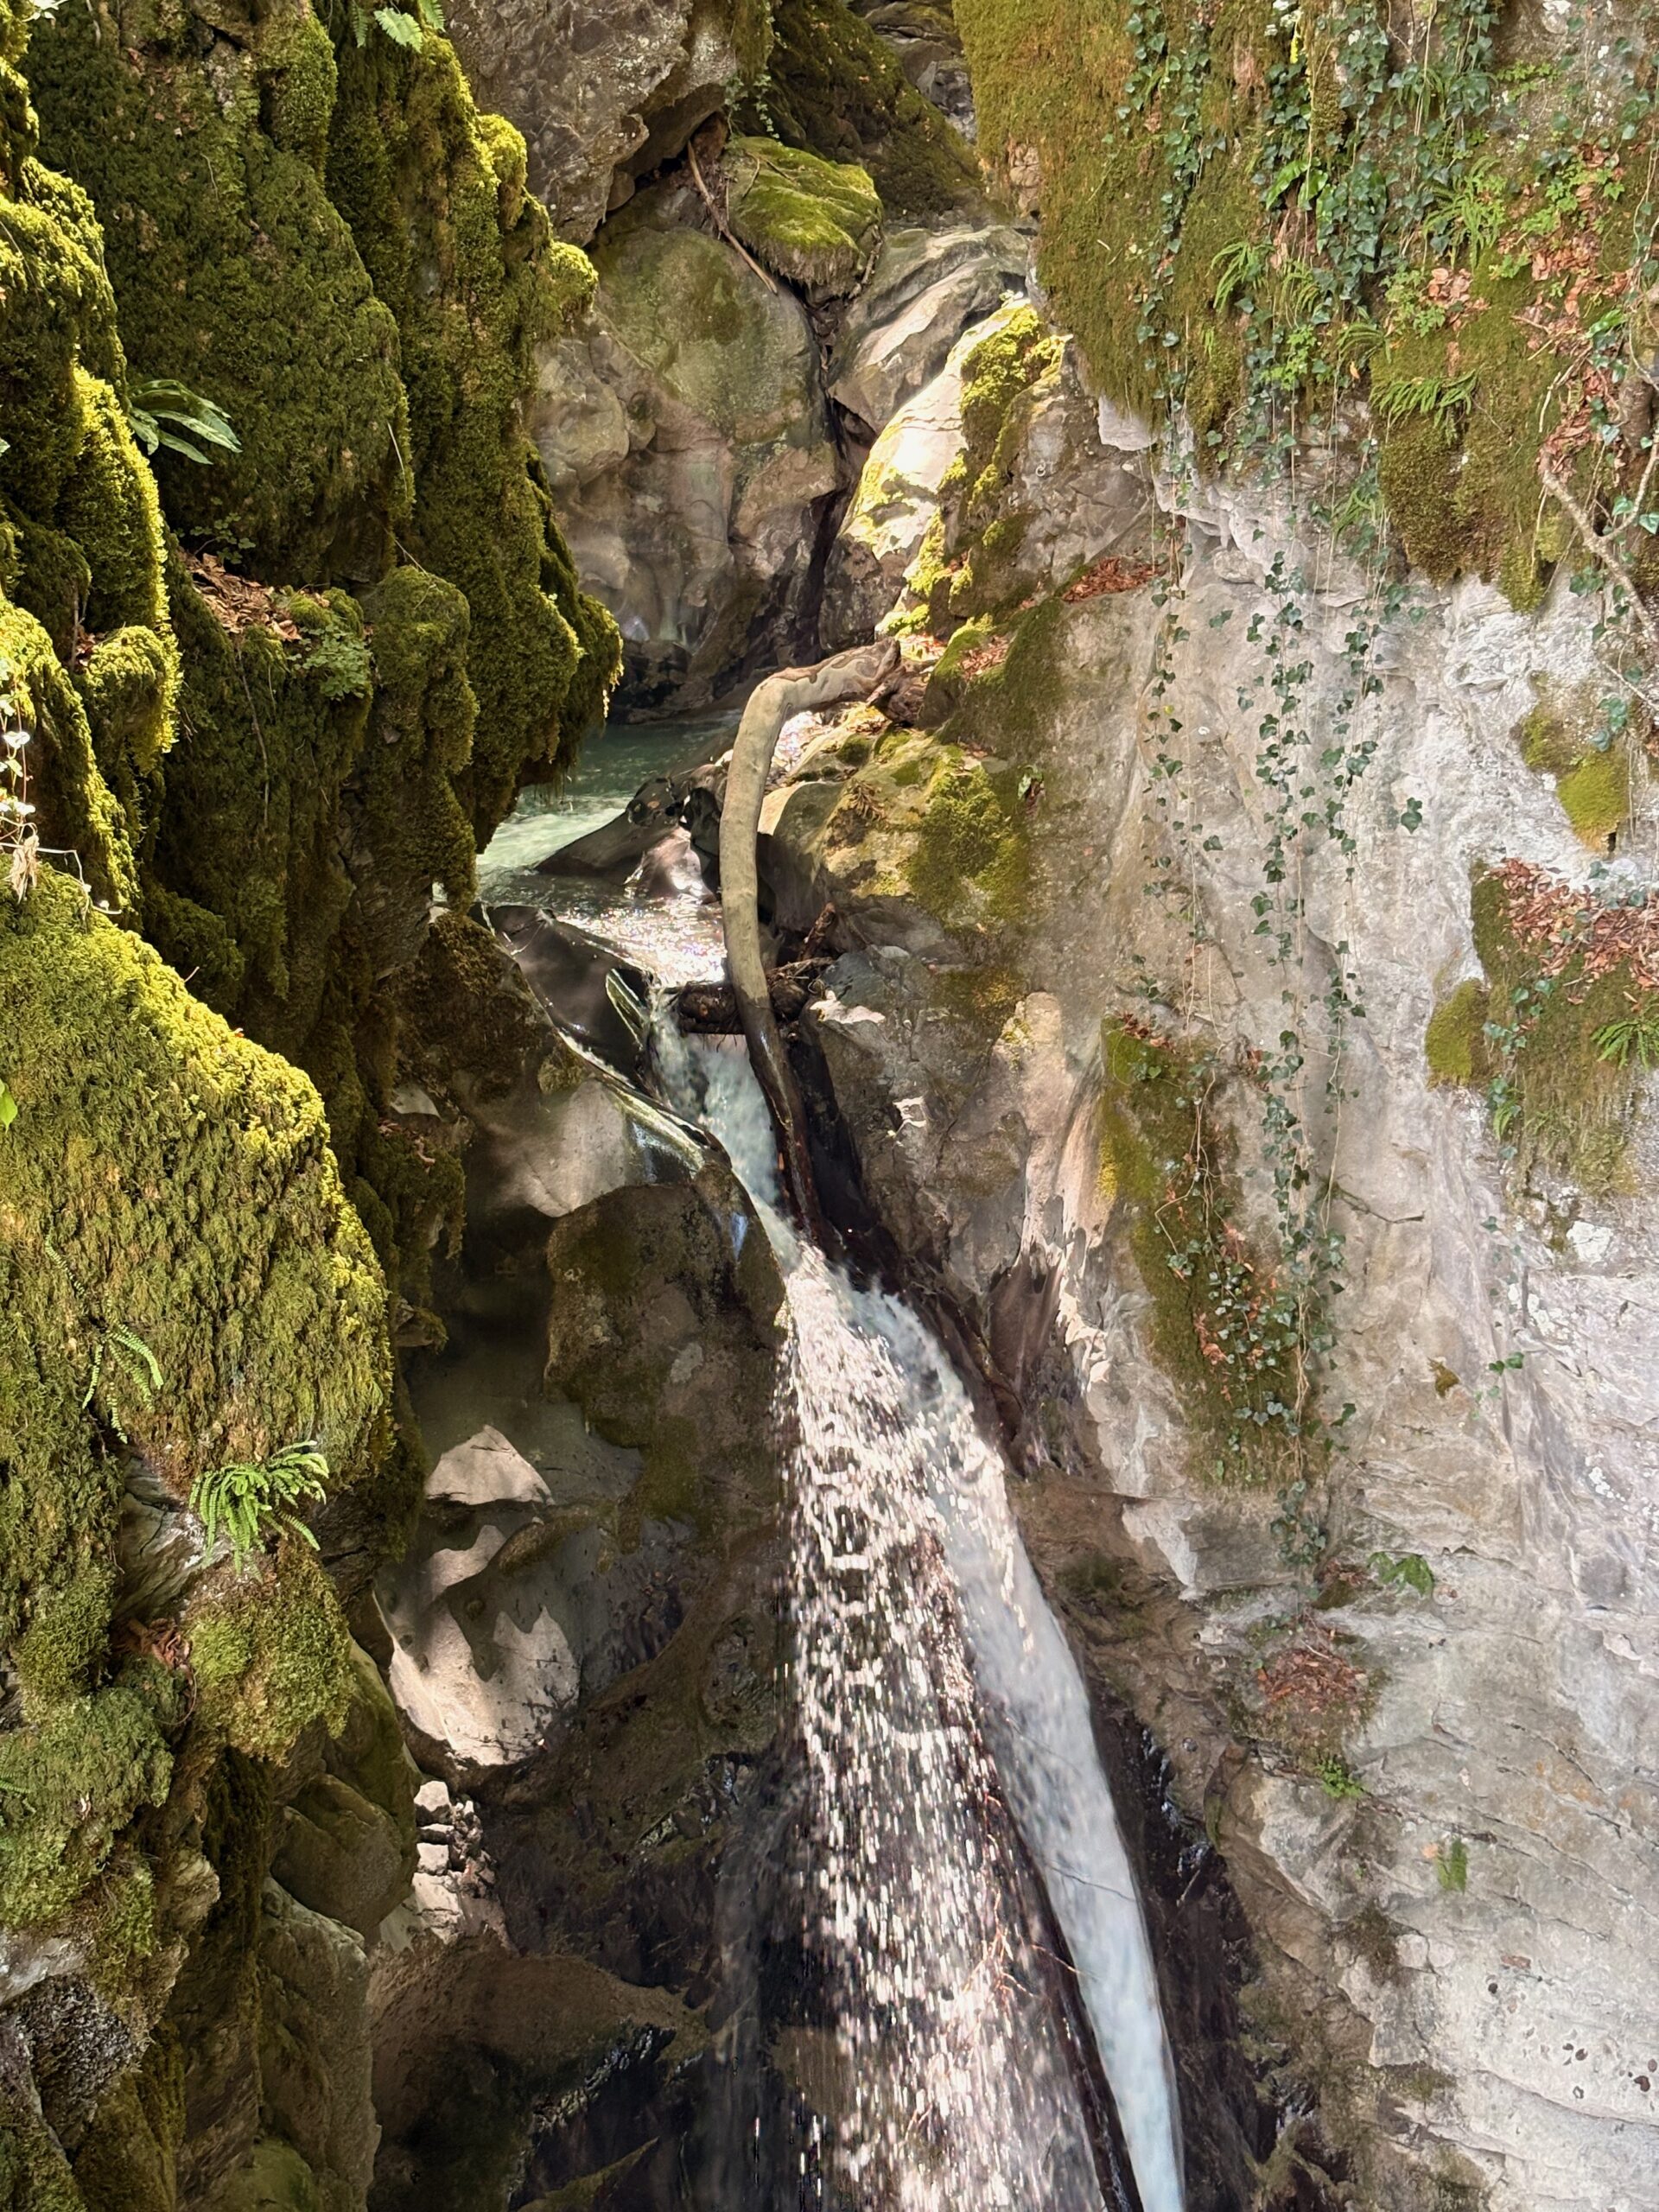
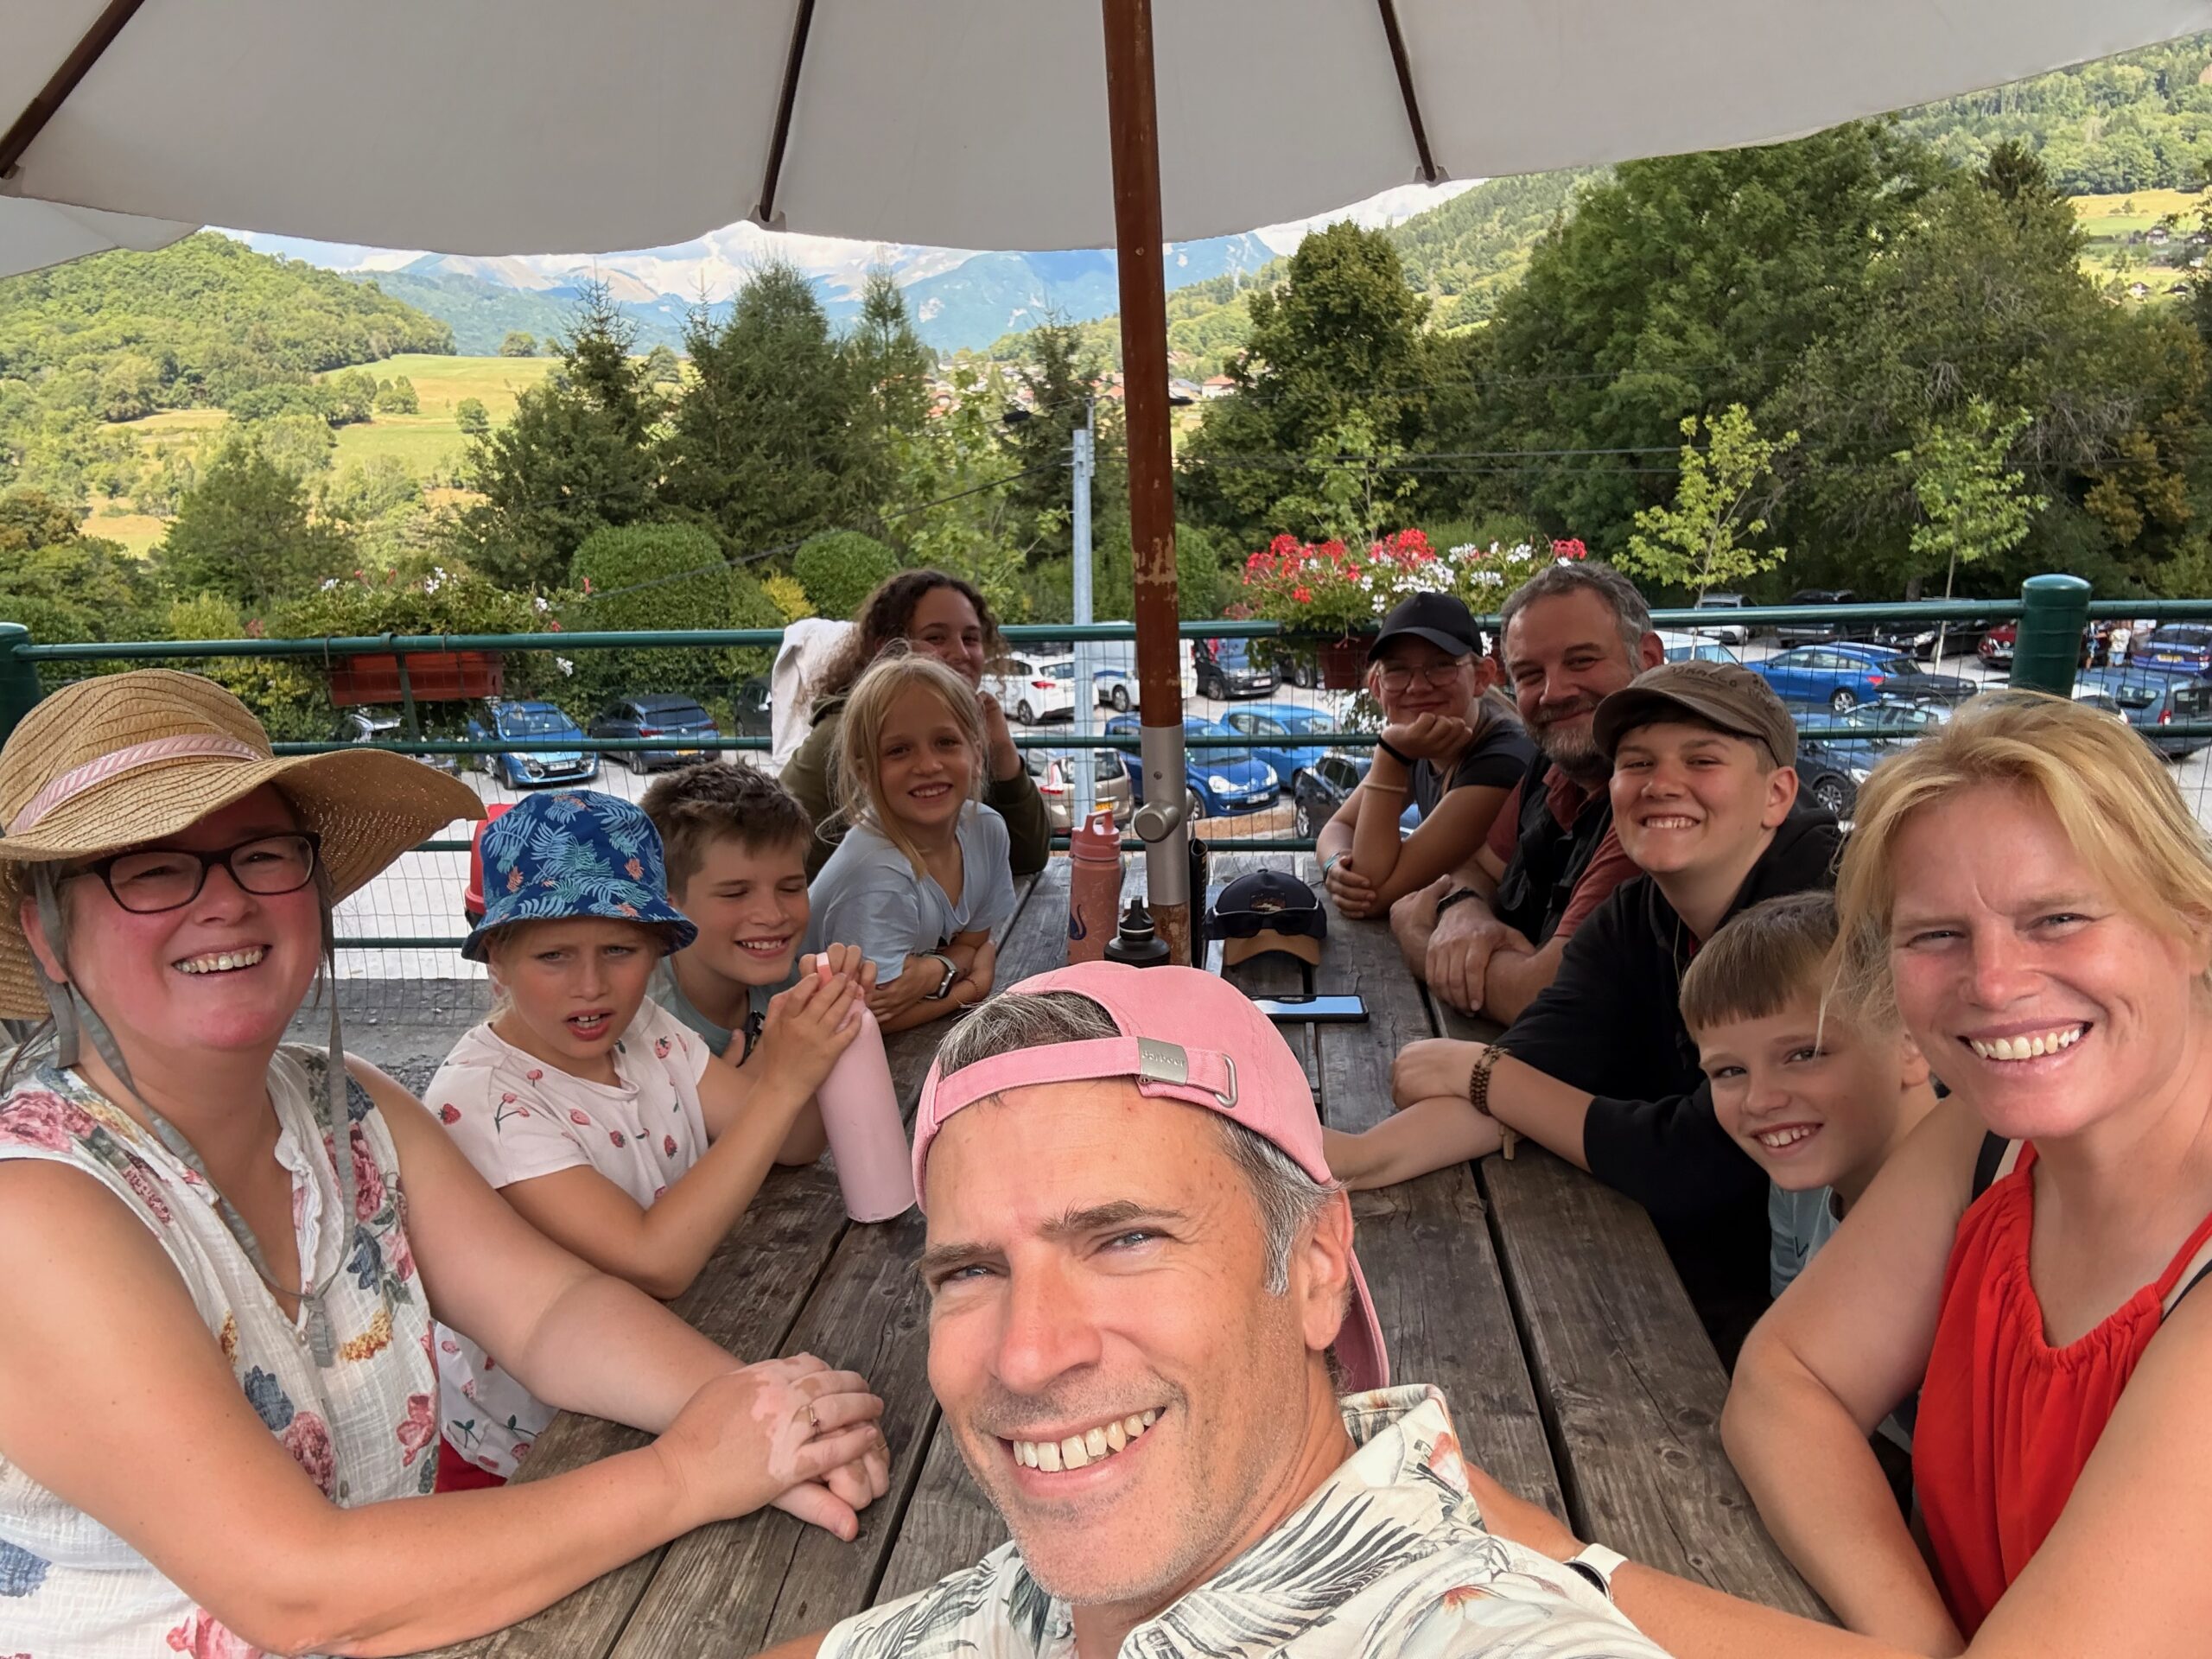
Friday brought a family reunion with JC’s cousin. We explored a cave (12-14°C inside 🥶 – bliss for JC in shorts and sandals 😎), visited a waterfall, and had a picnic with 11 people, which required the kind of table you’d usually find at a wedding. The cave wasn’t long or large, but you could stand in it (except for my cousin and his 1m90 or so) and it had plants, green plants in it (mostly ferns), JC was surprised by that and asked the guide why, she replied that the lighting system installed for the visitor is emitting also in UV lights while bats and tourists bring the seeds which find clay and water to grow. Amazing! After that refreshing experience, the kids ran wild around a nearby pond while the adults caught up in the shade. Simple joys.
Ferns in a caveWaterfallBy the pondFamily reunion
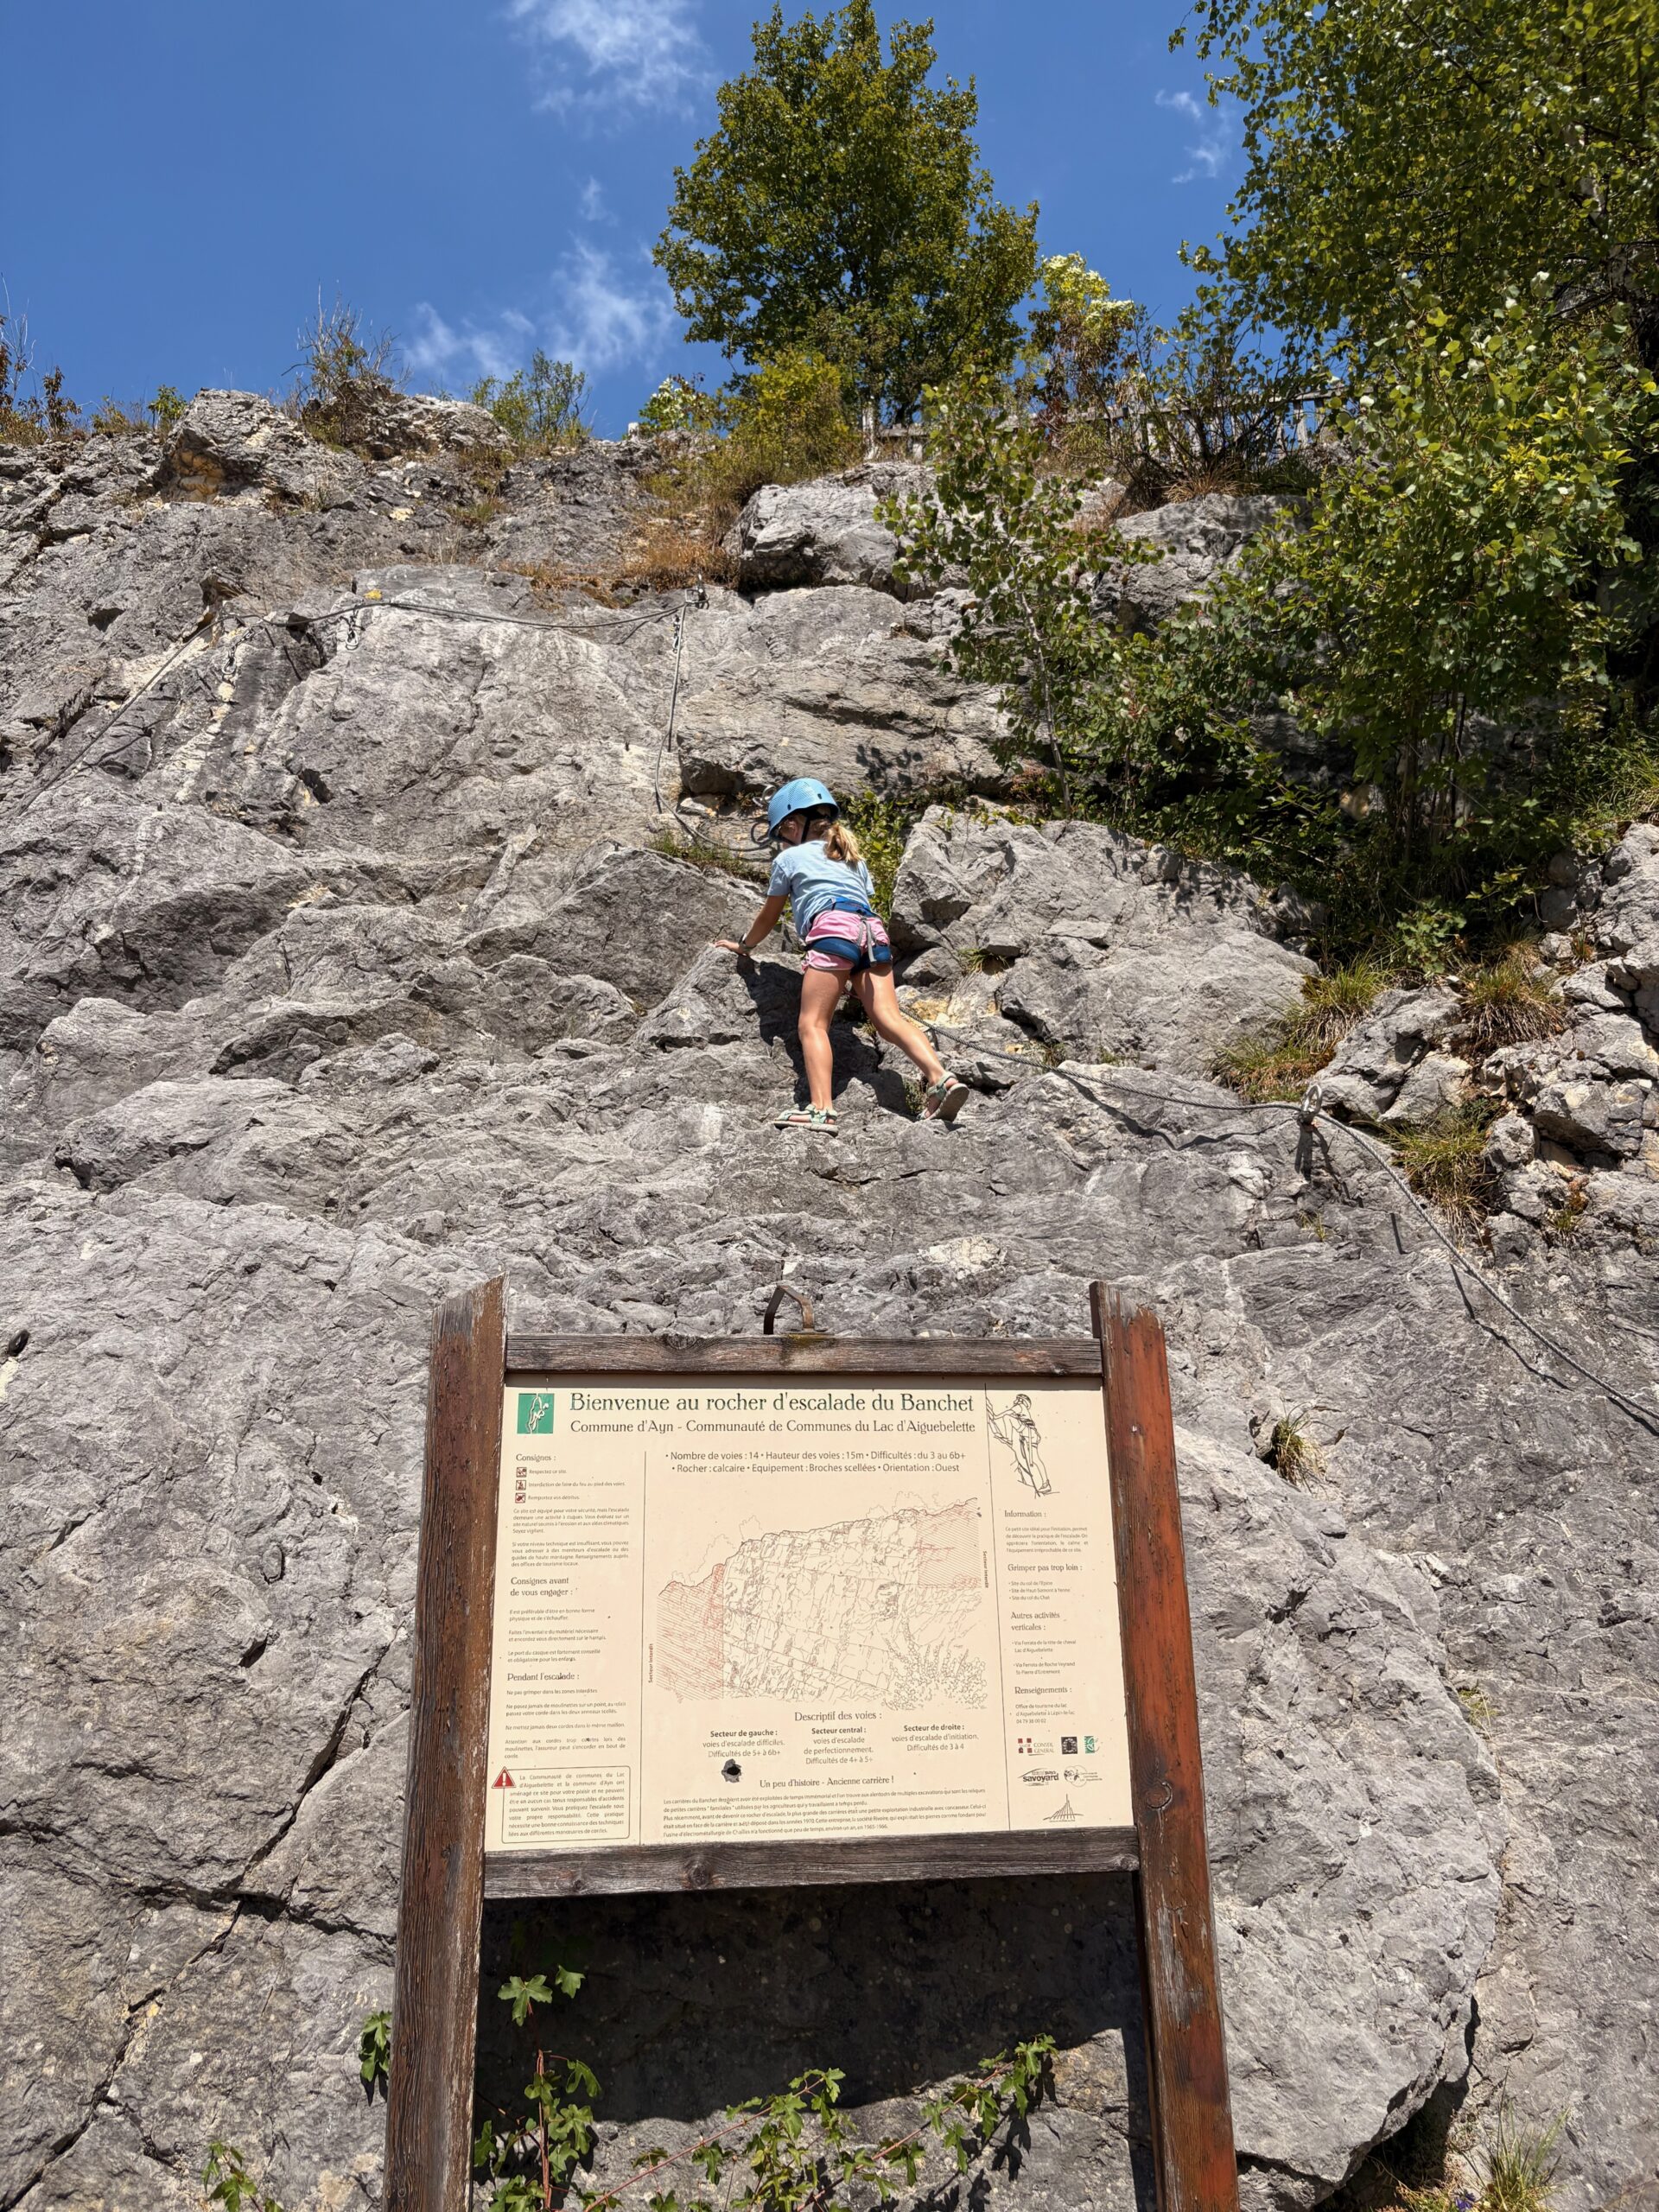
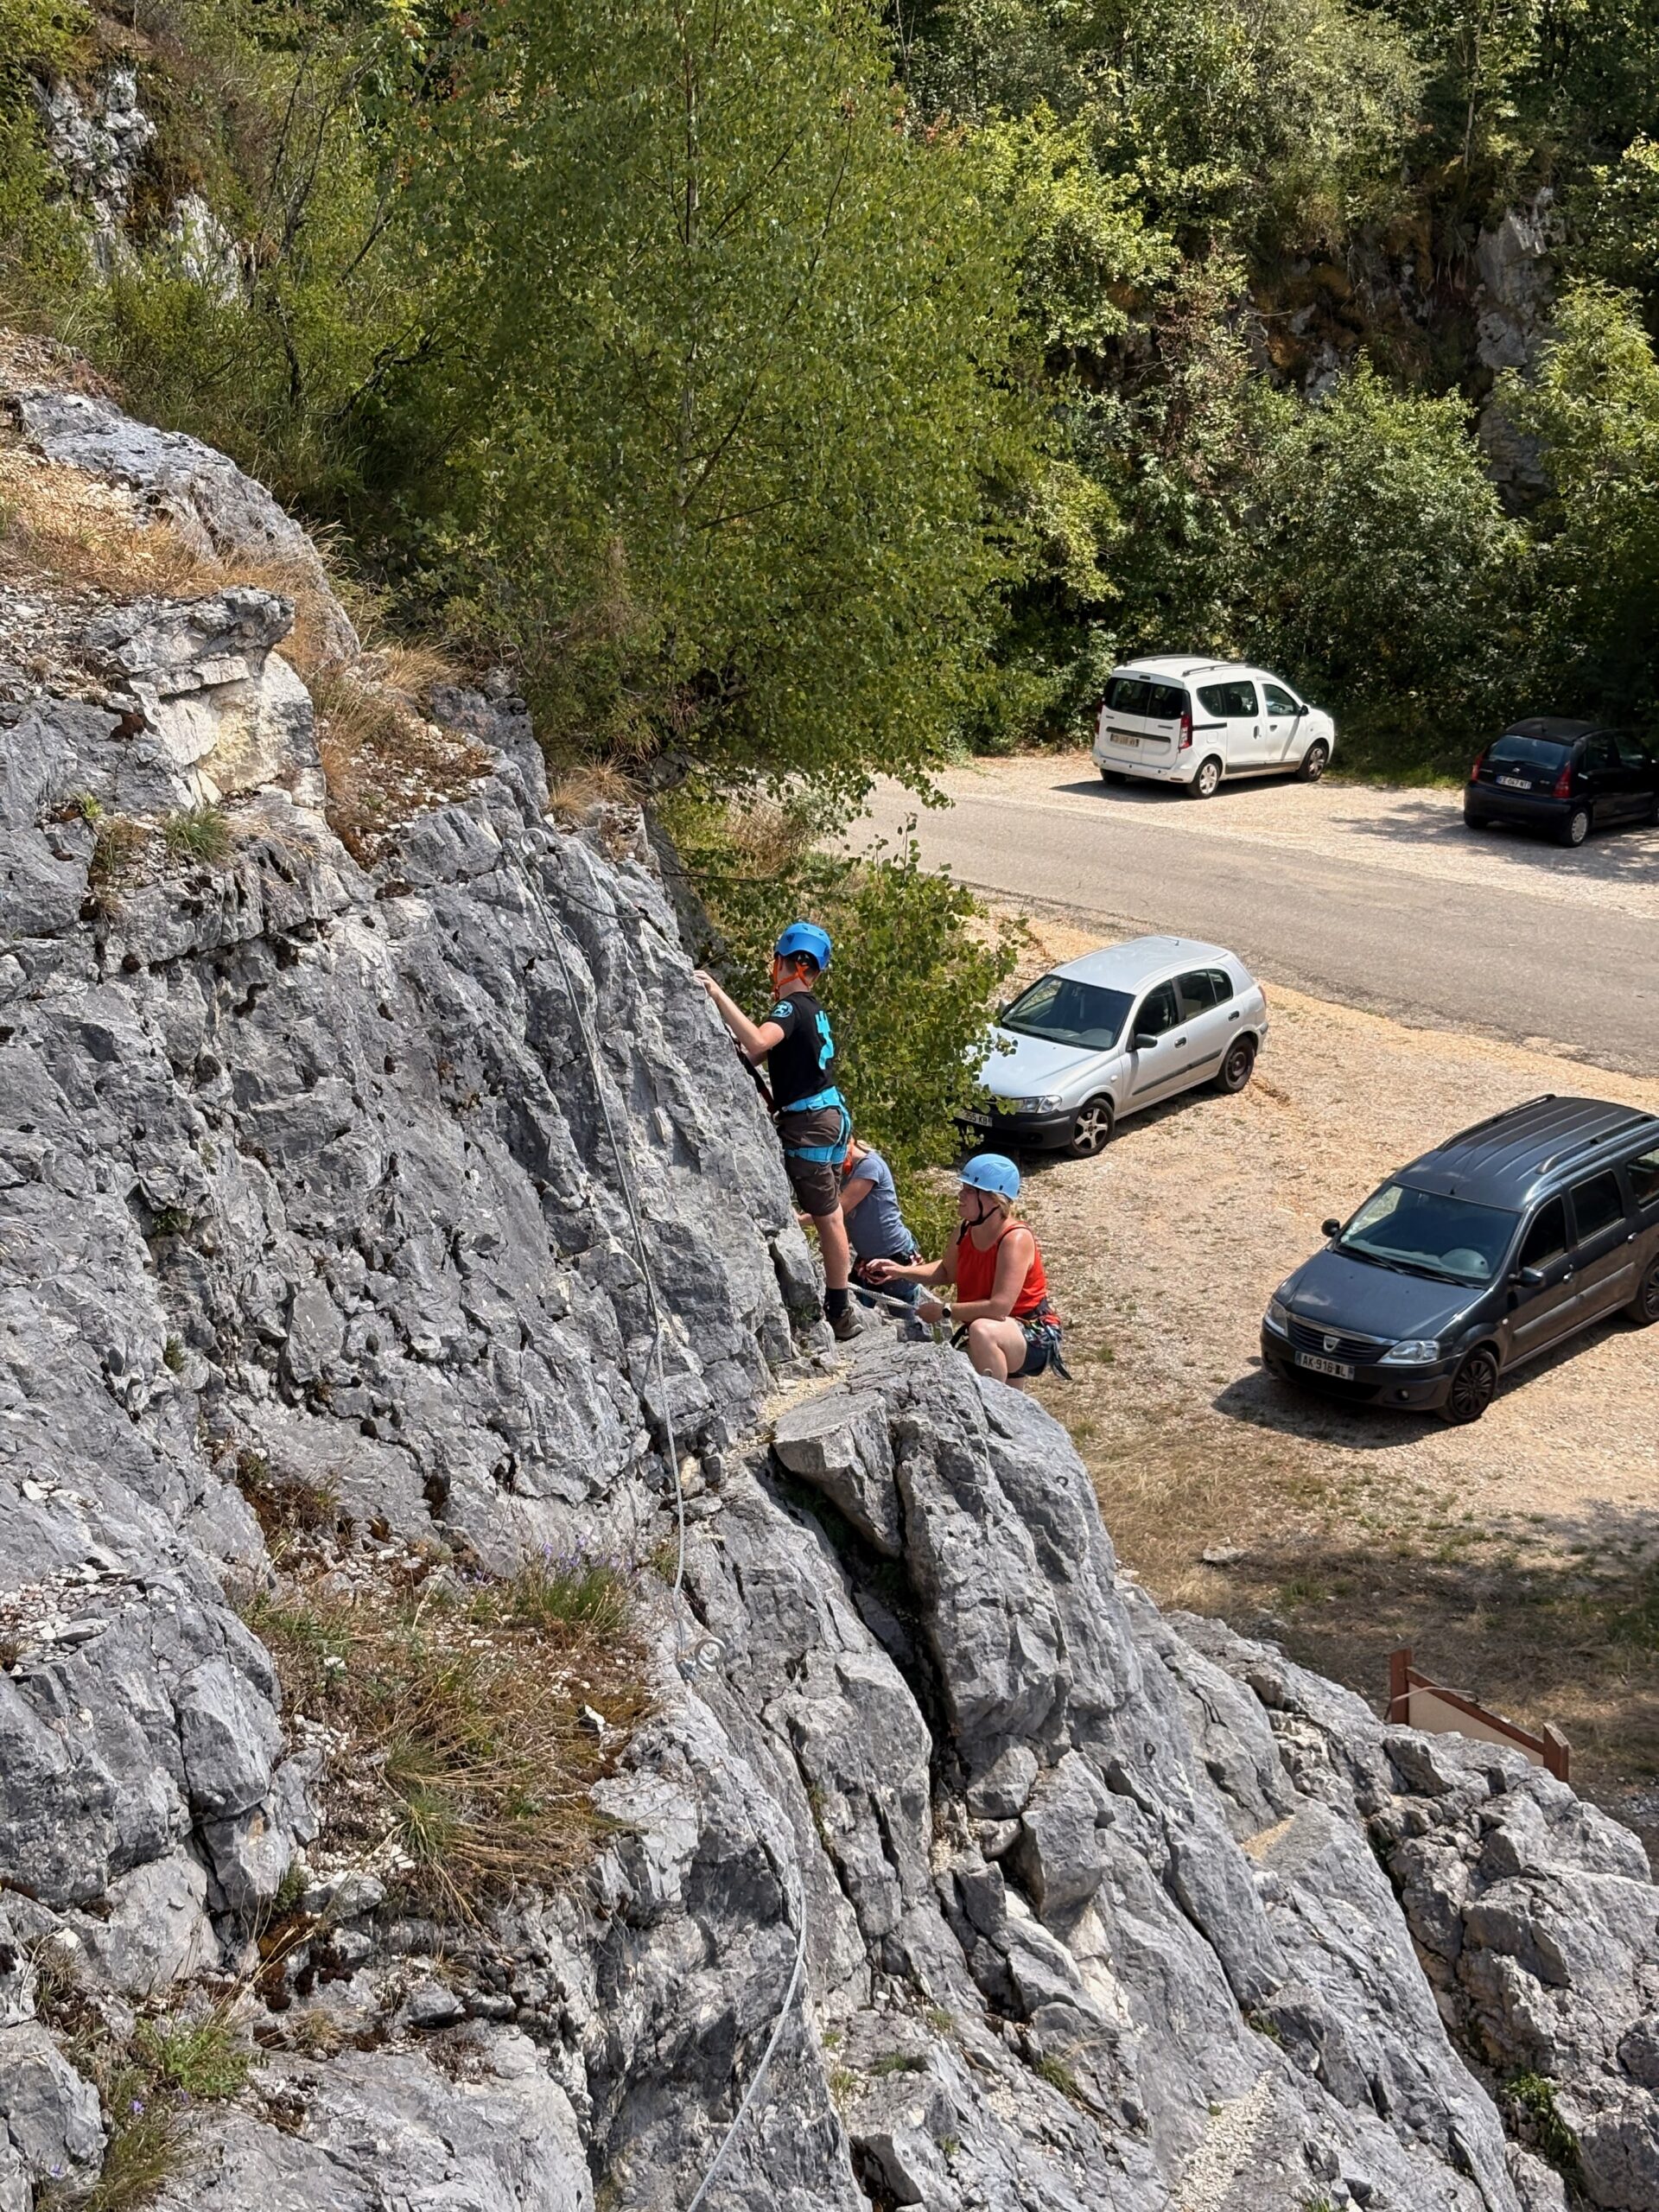
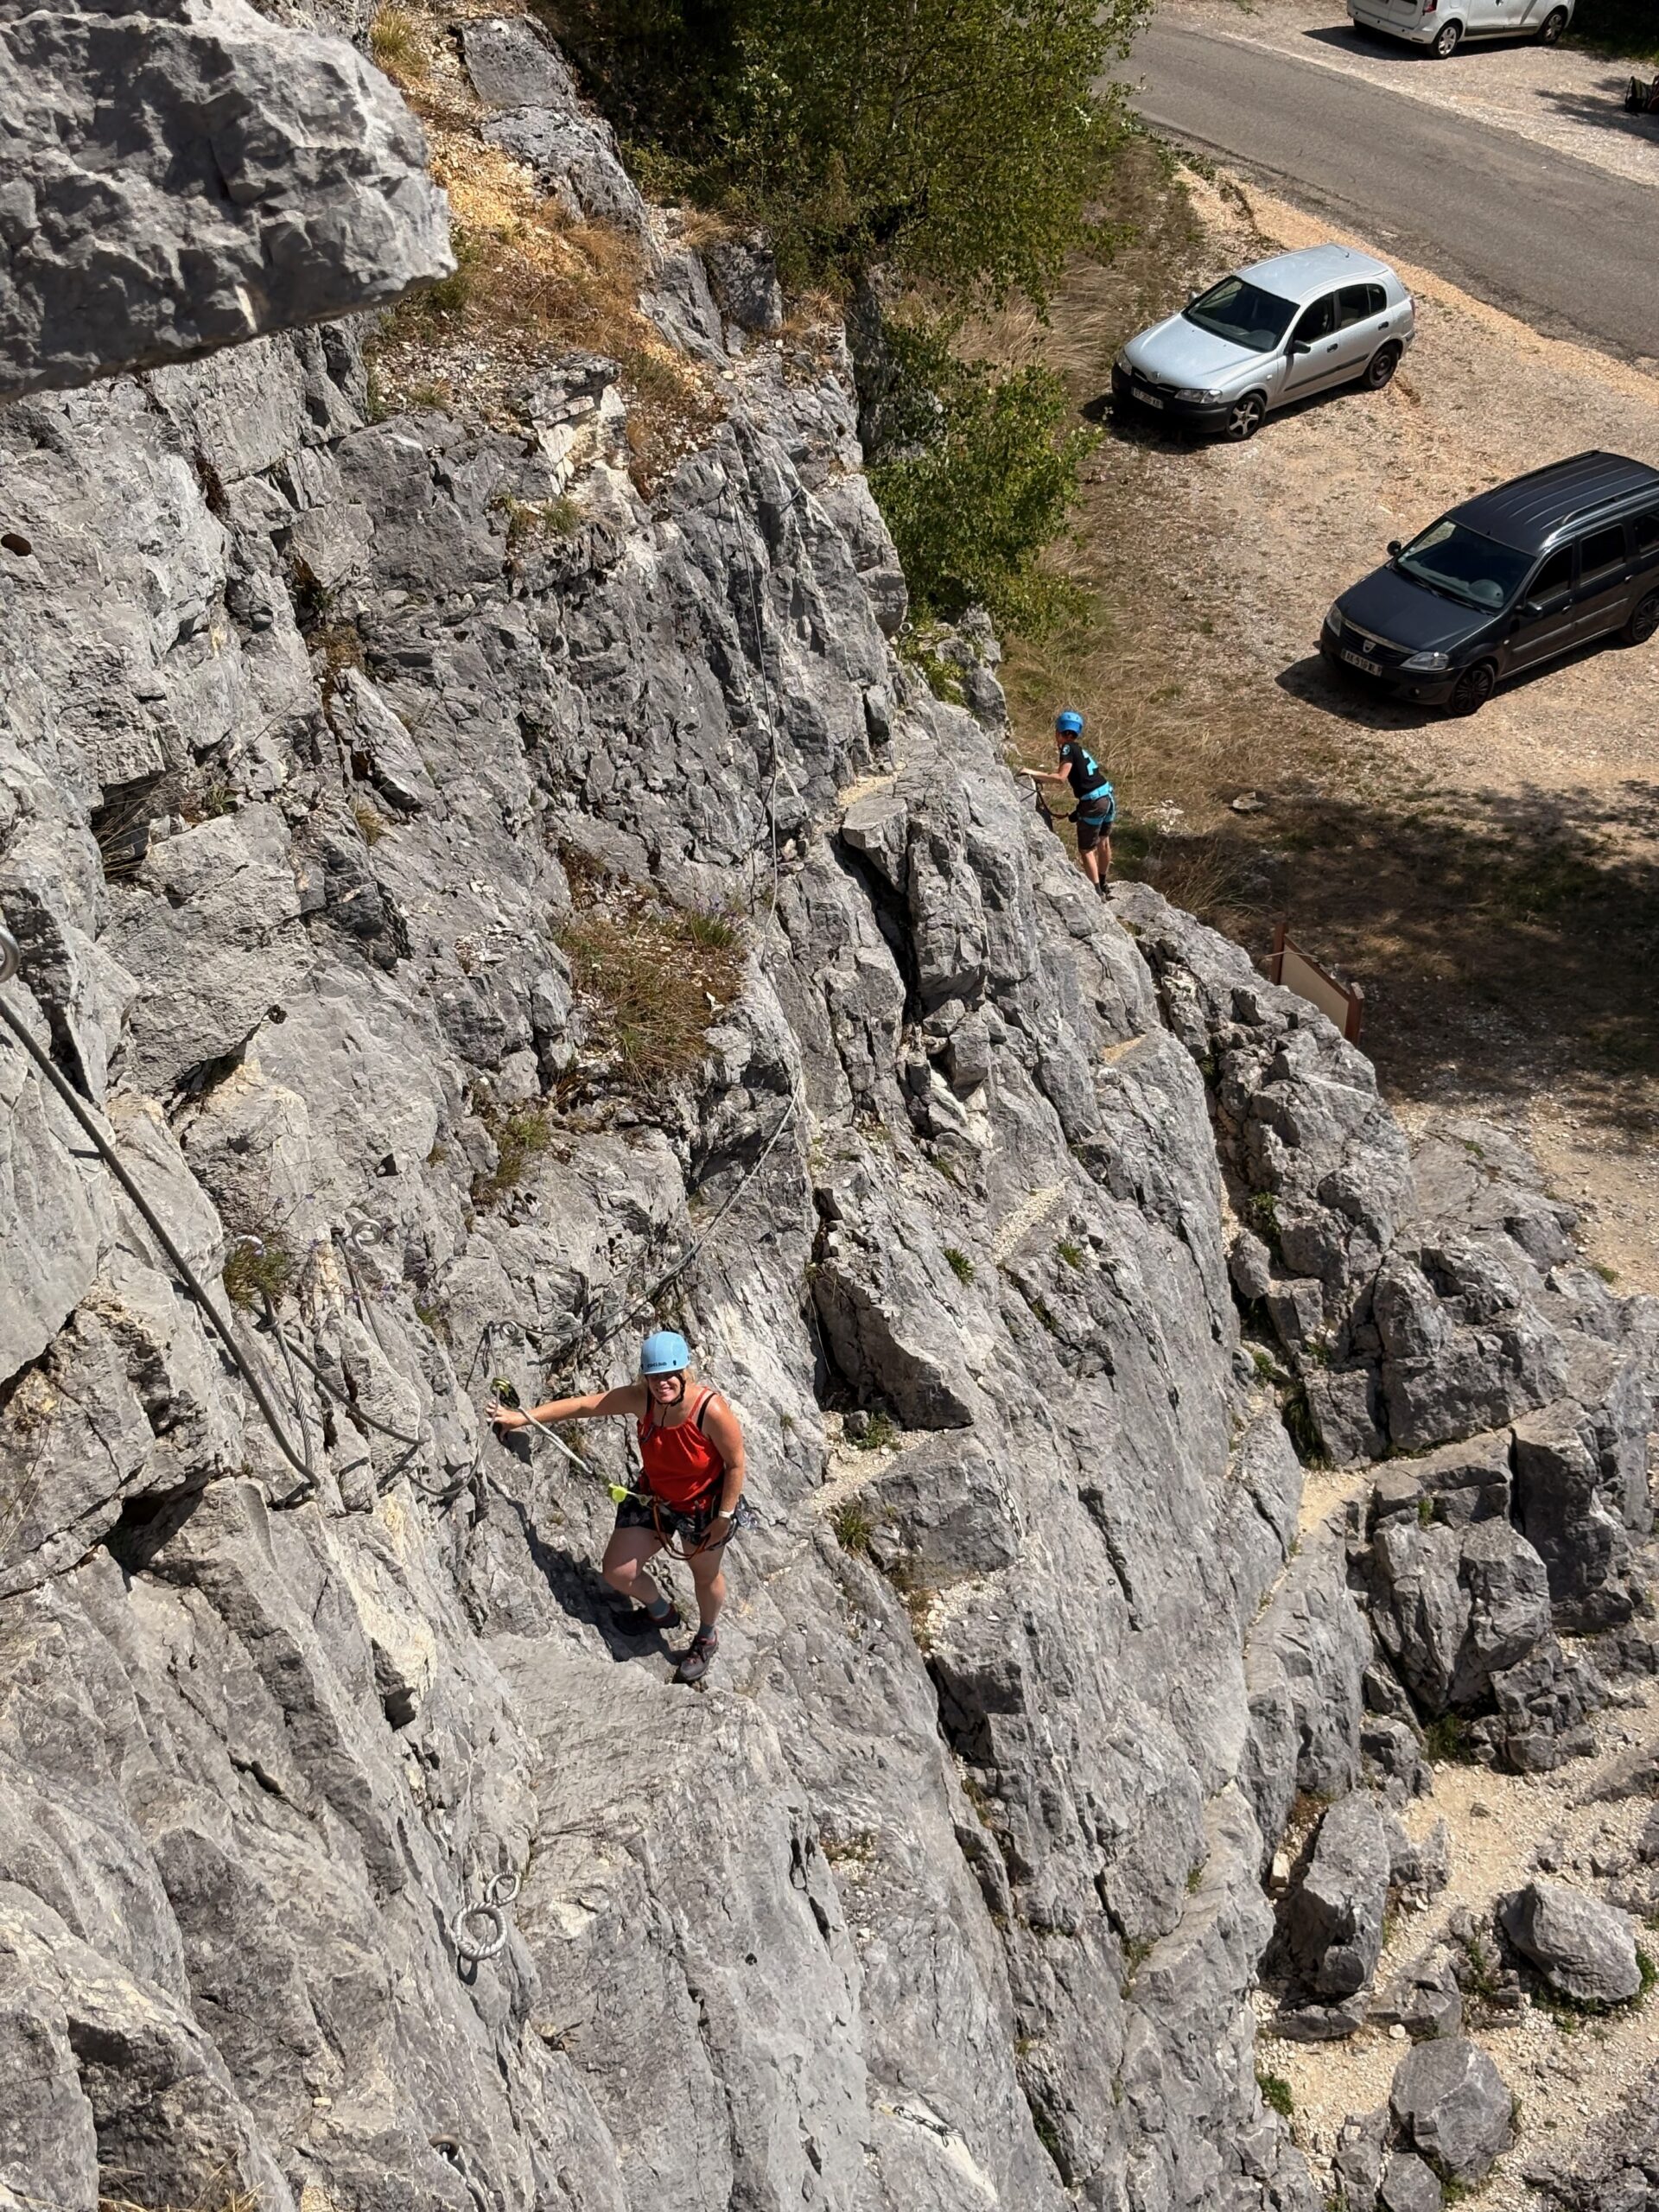
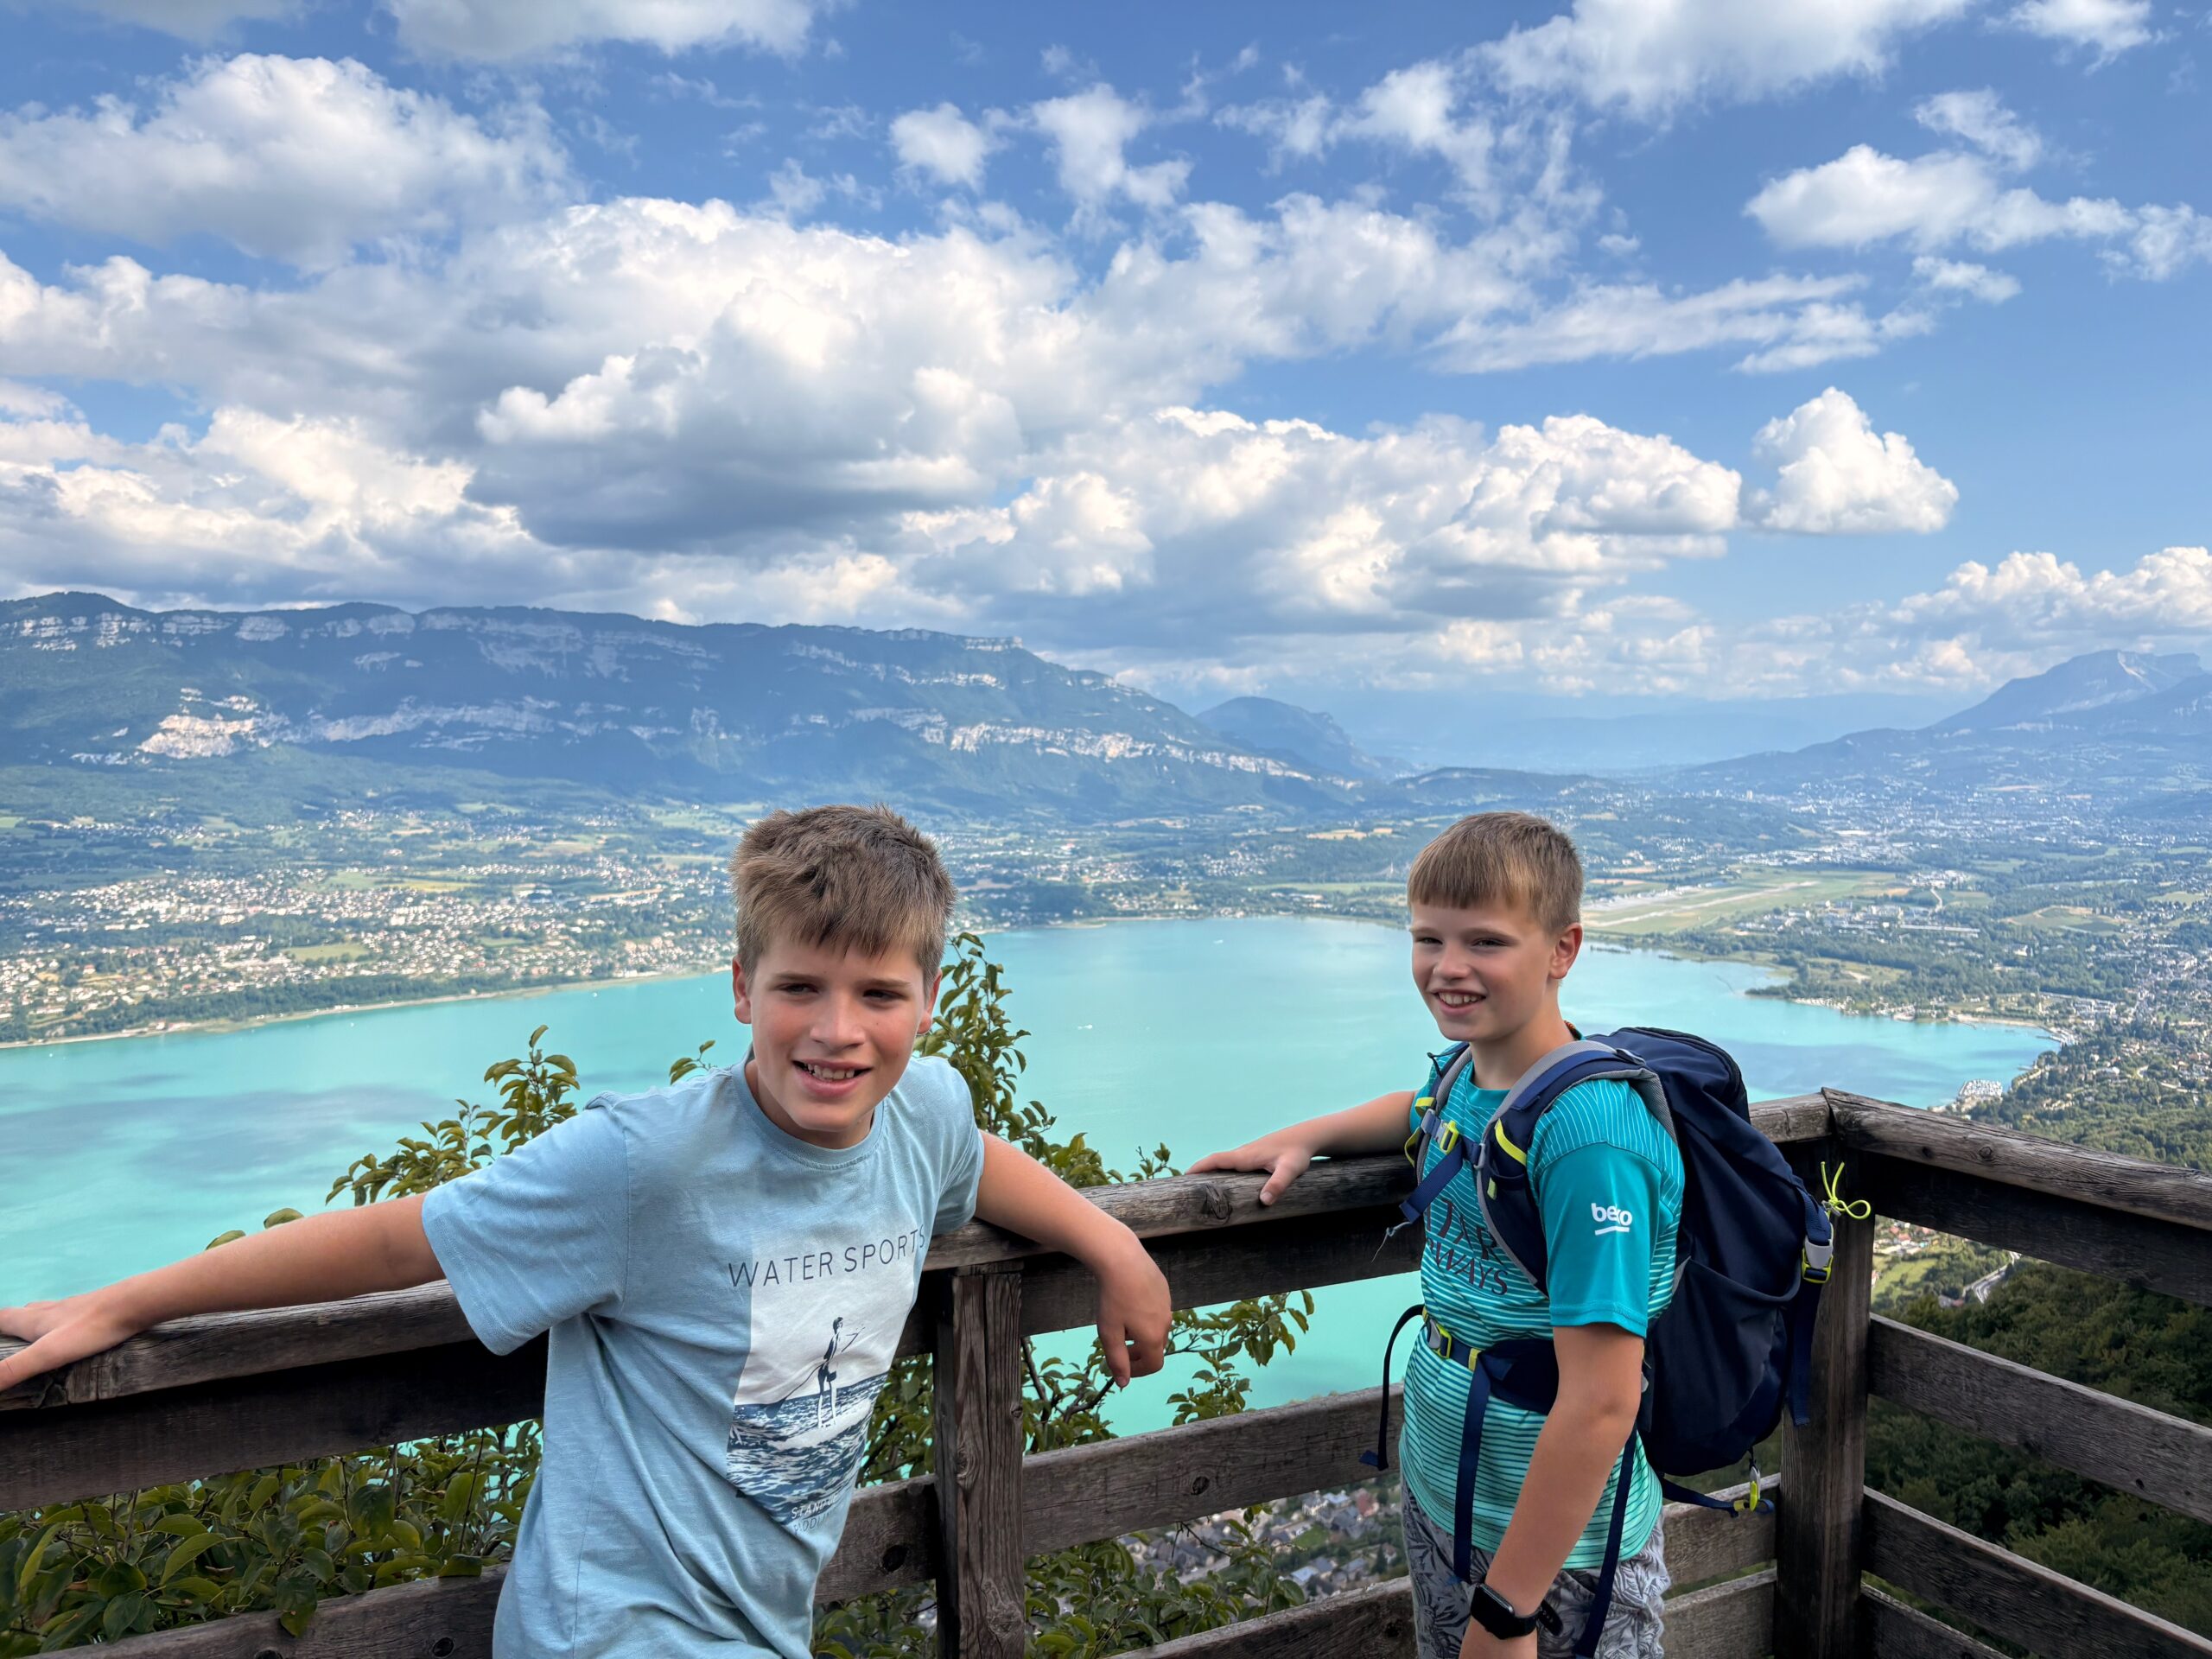
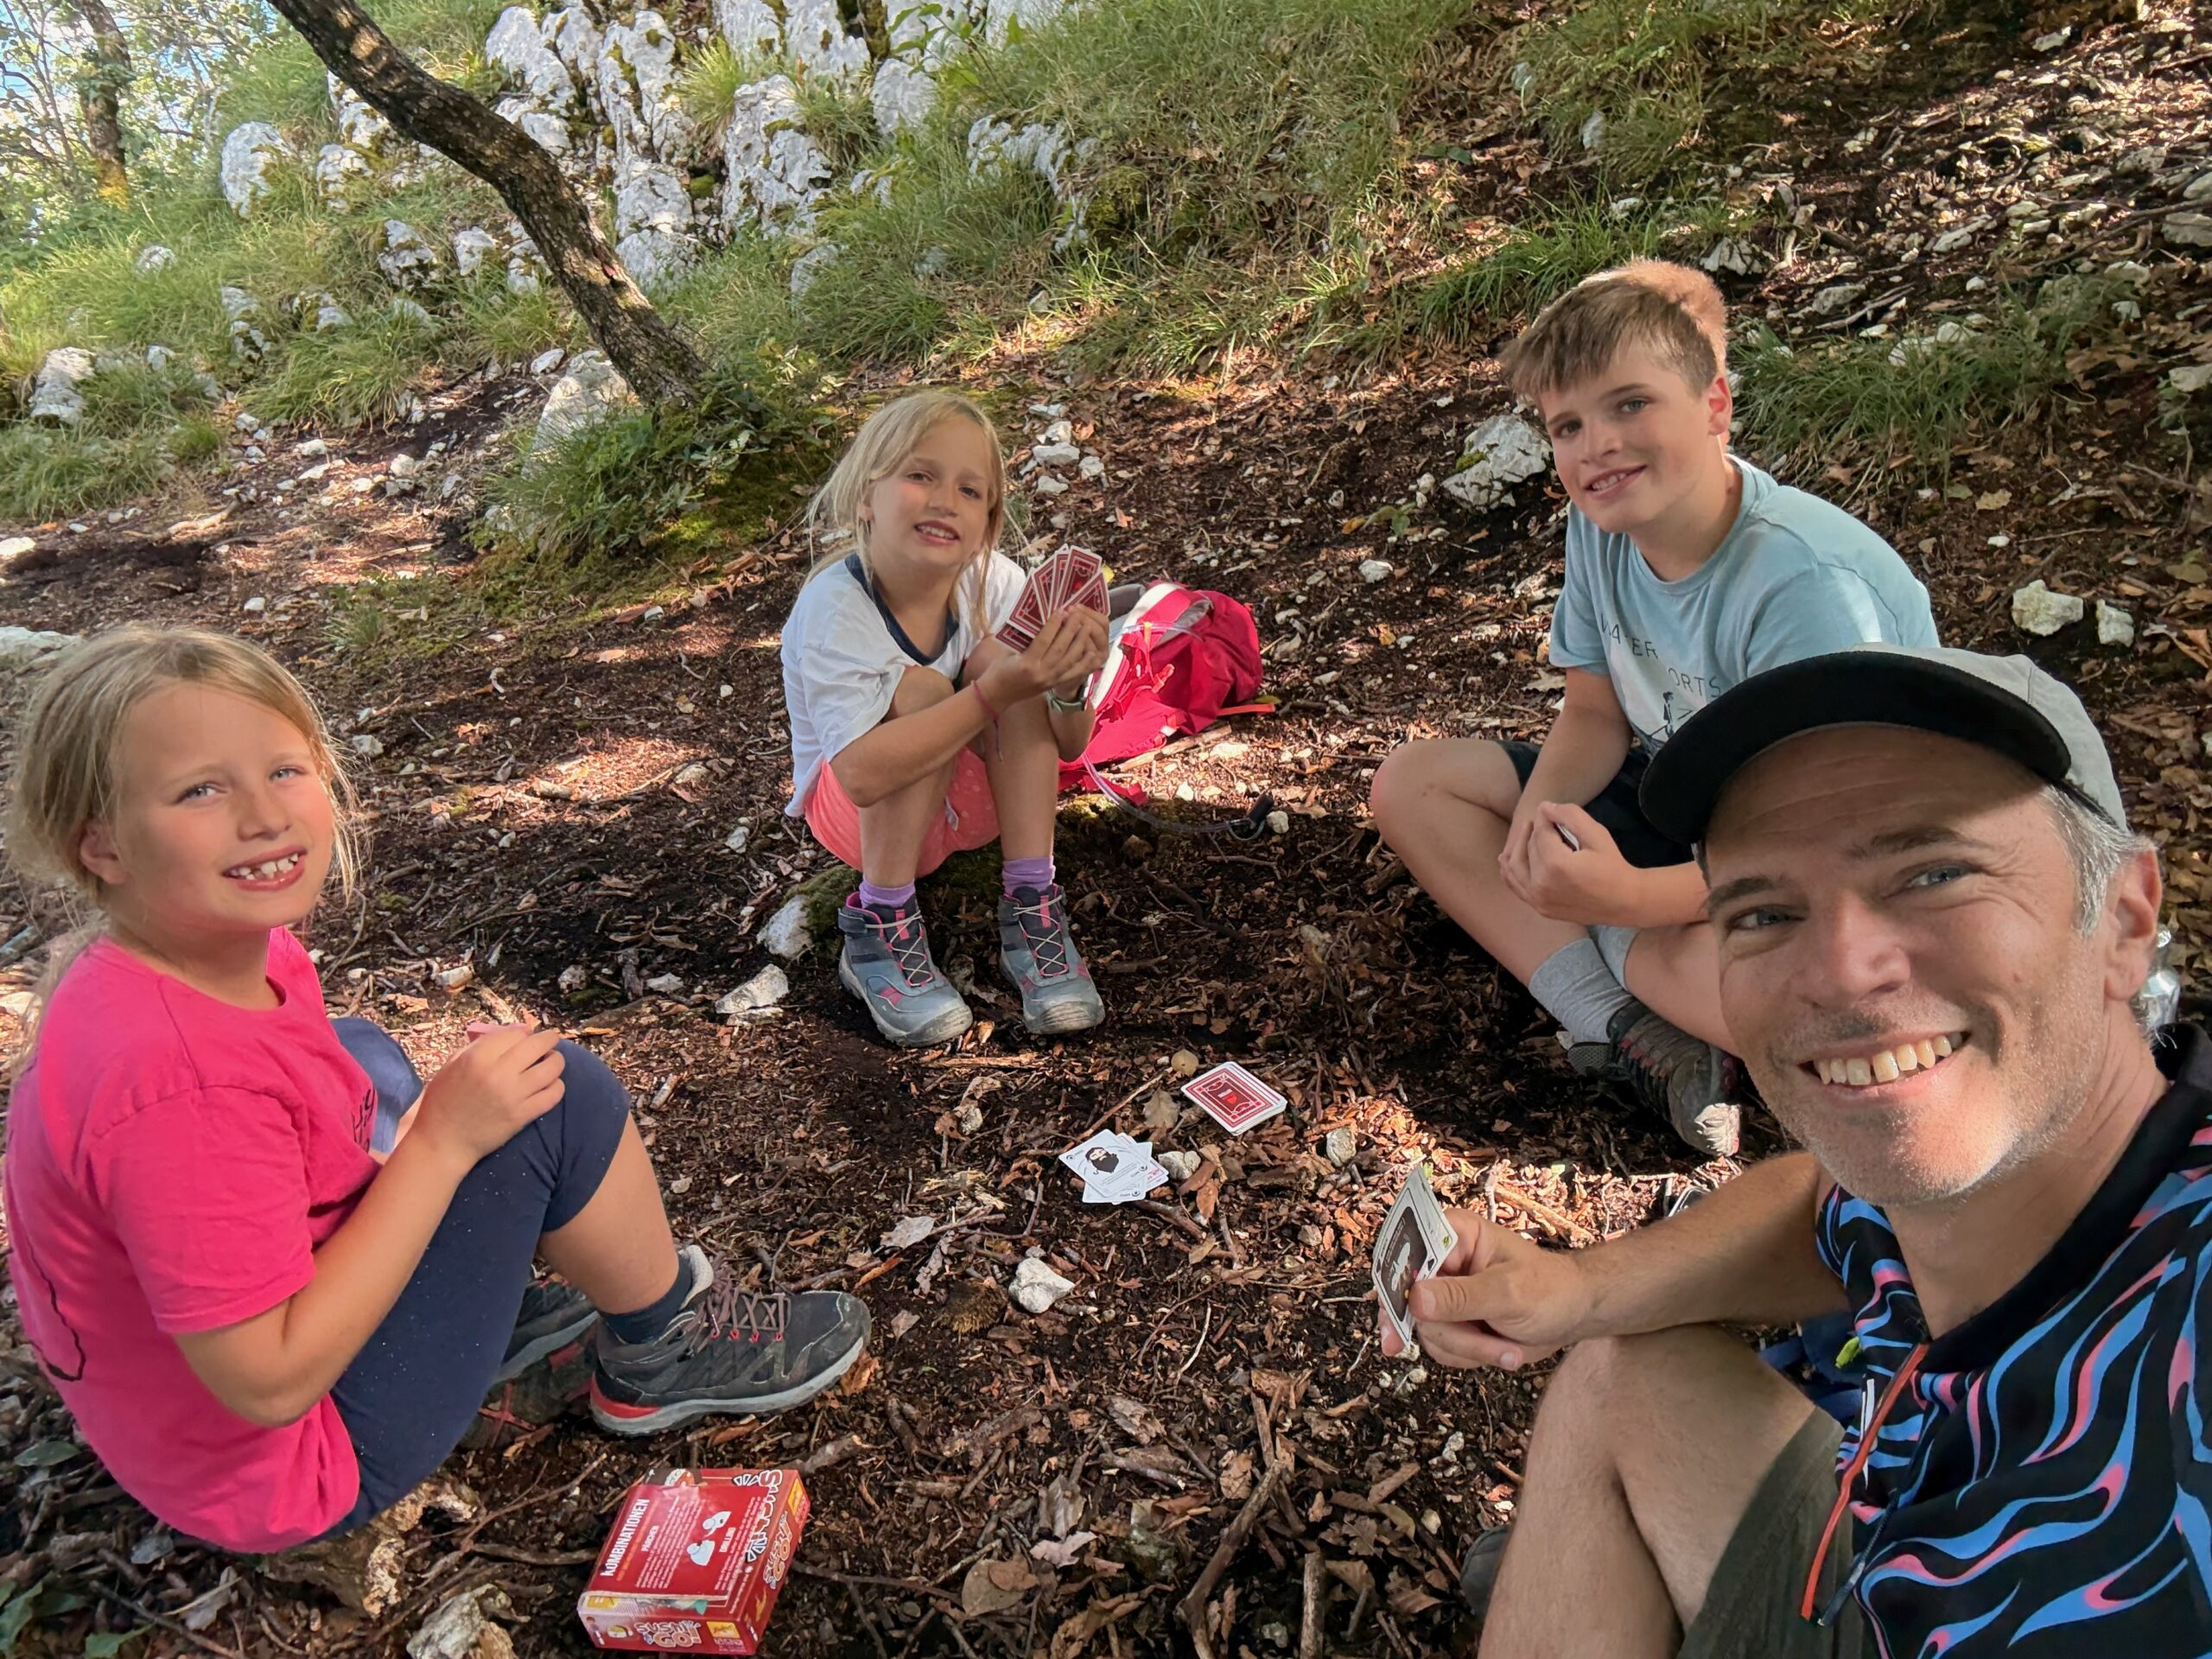
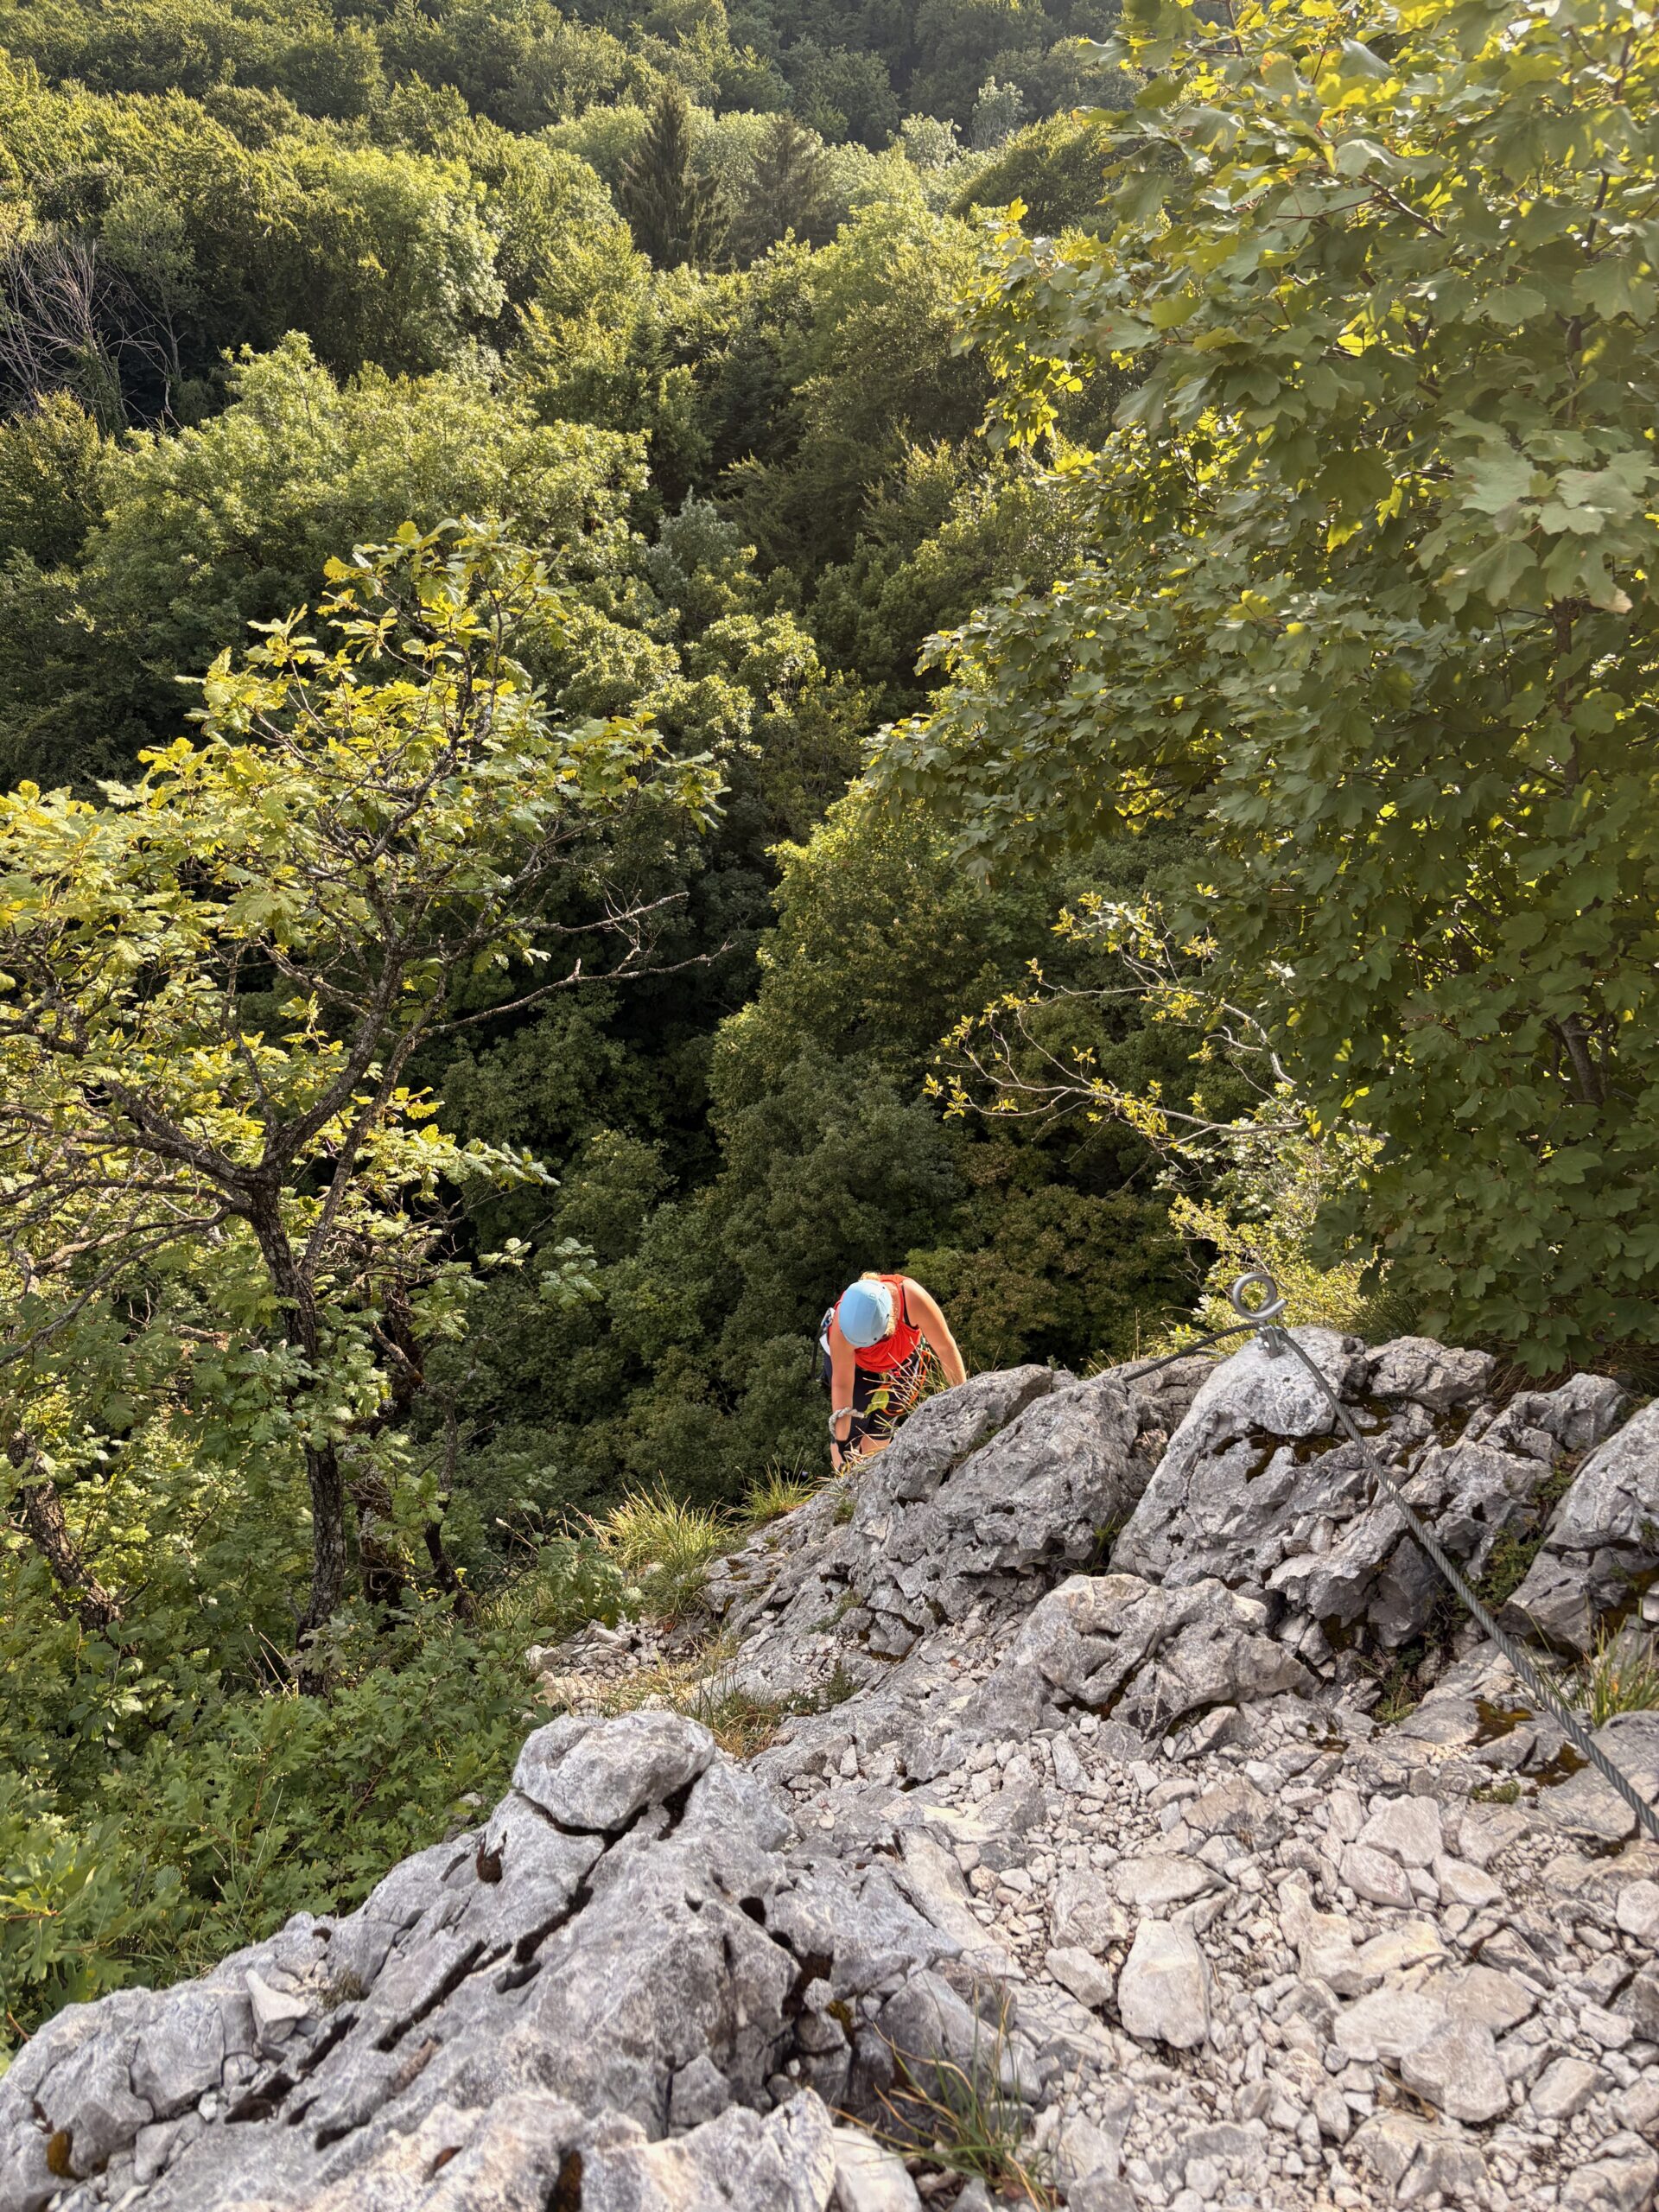
On Saturday, we attempted a hike to a via ferrata overlooking Lac du Bourget. Flynn and Vera were the brave ones who clipped in and started climbing 🧗💪. JC and the rest opted for games in the shade – we all have our strengths. Flynn gave it a shot but turned back (understandably, it’s 800m above the lake!). Vera finished the route with ease and then casually added a second, more challenging one for dessert. Show-off. 😜
Lac du Bourget with my sonsFlynn and Vera, the courageousThe rest of usVera on her last stretch
Sunday brought the village festival and a visit from JC’s parents. Music, games, laughter, and even dancing — JC shared a lovely moment with Runa dancing together. We stayed up late. It was, in a word, festive.
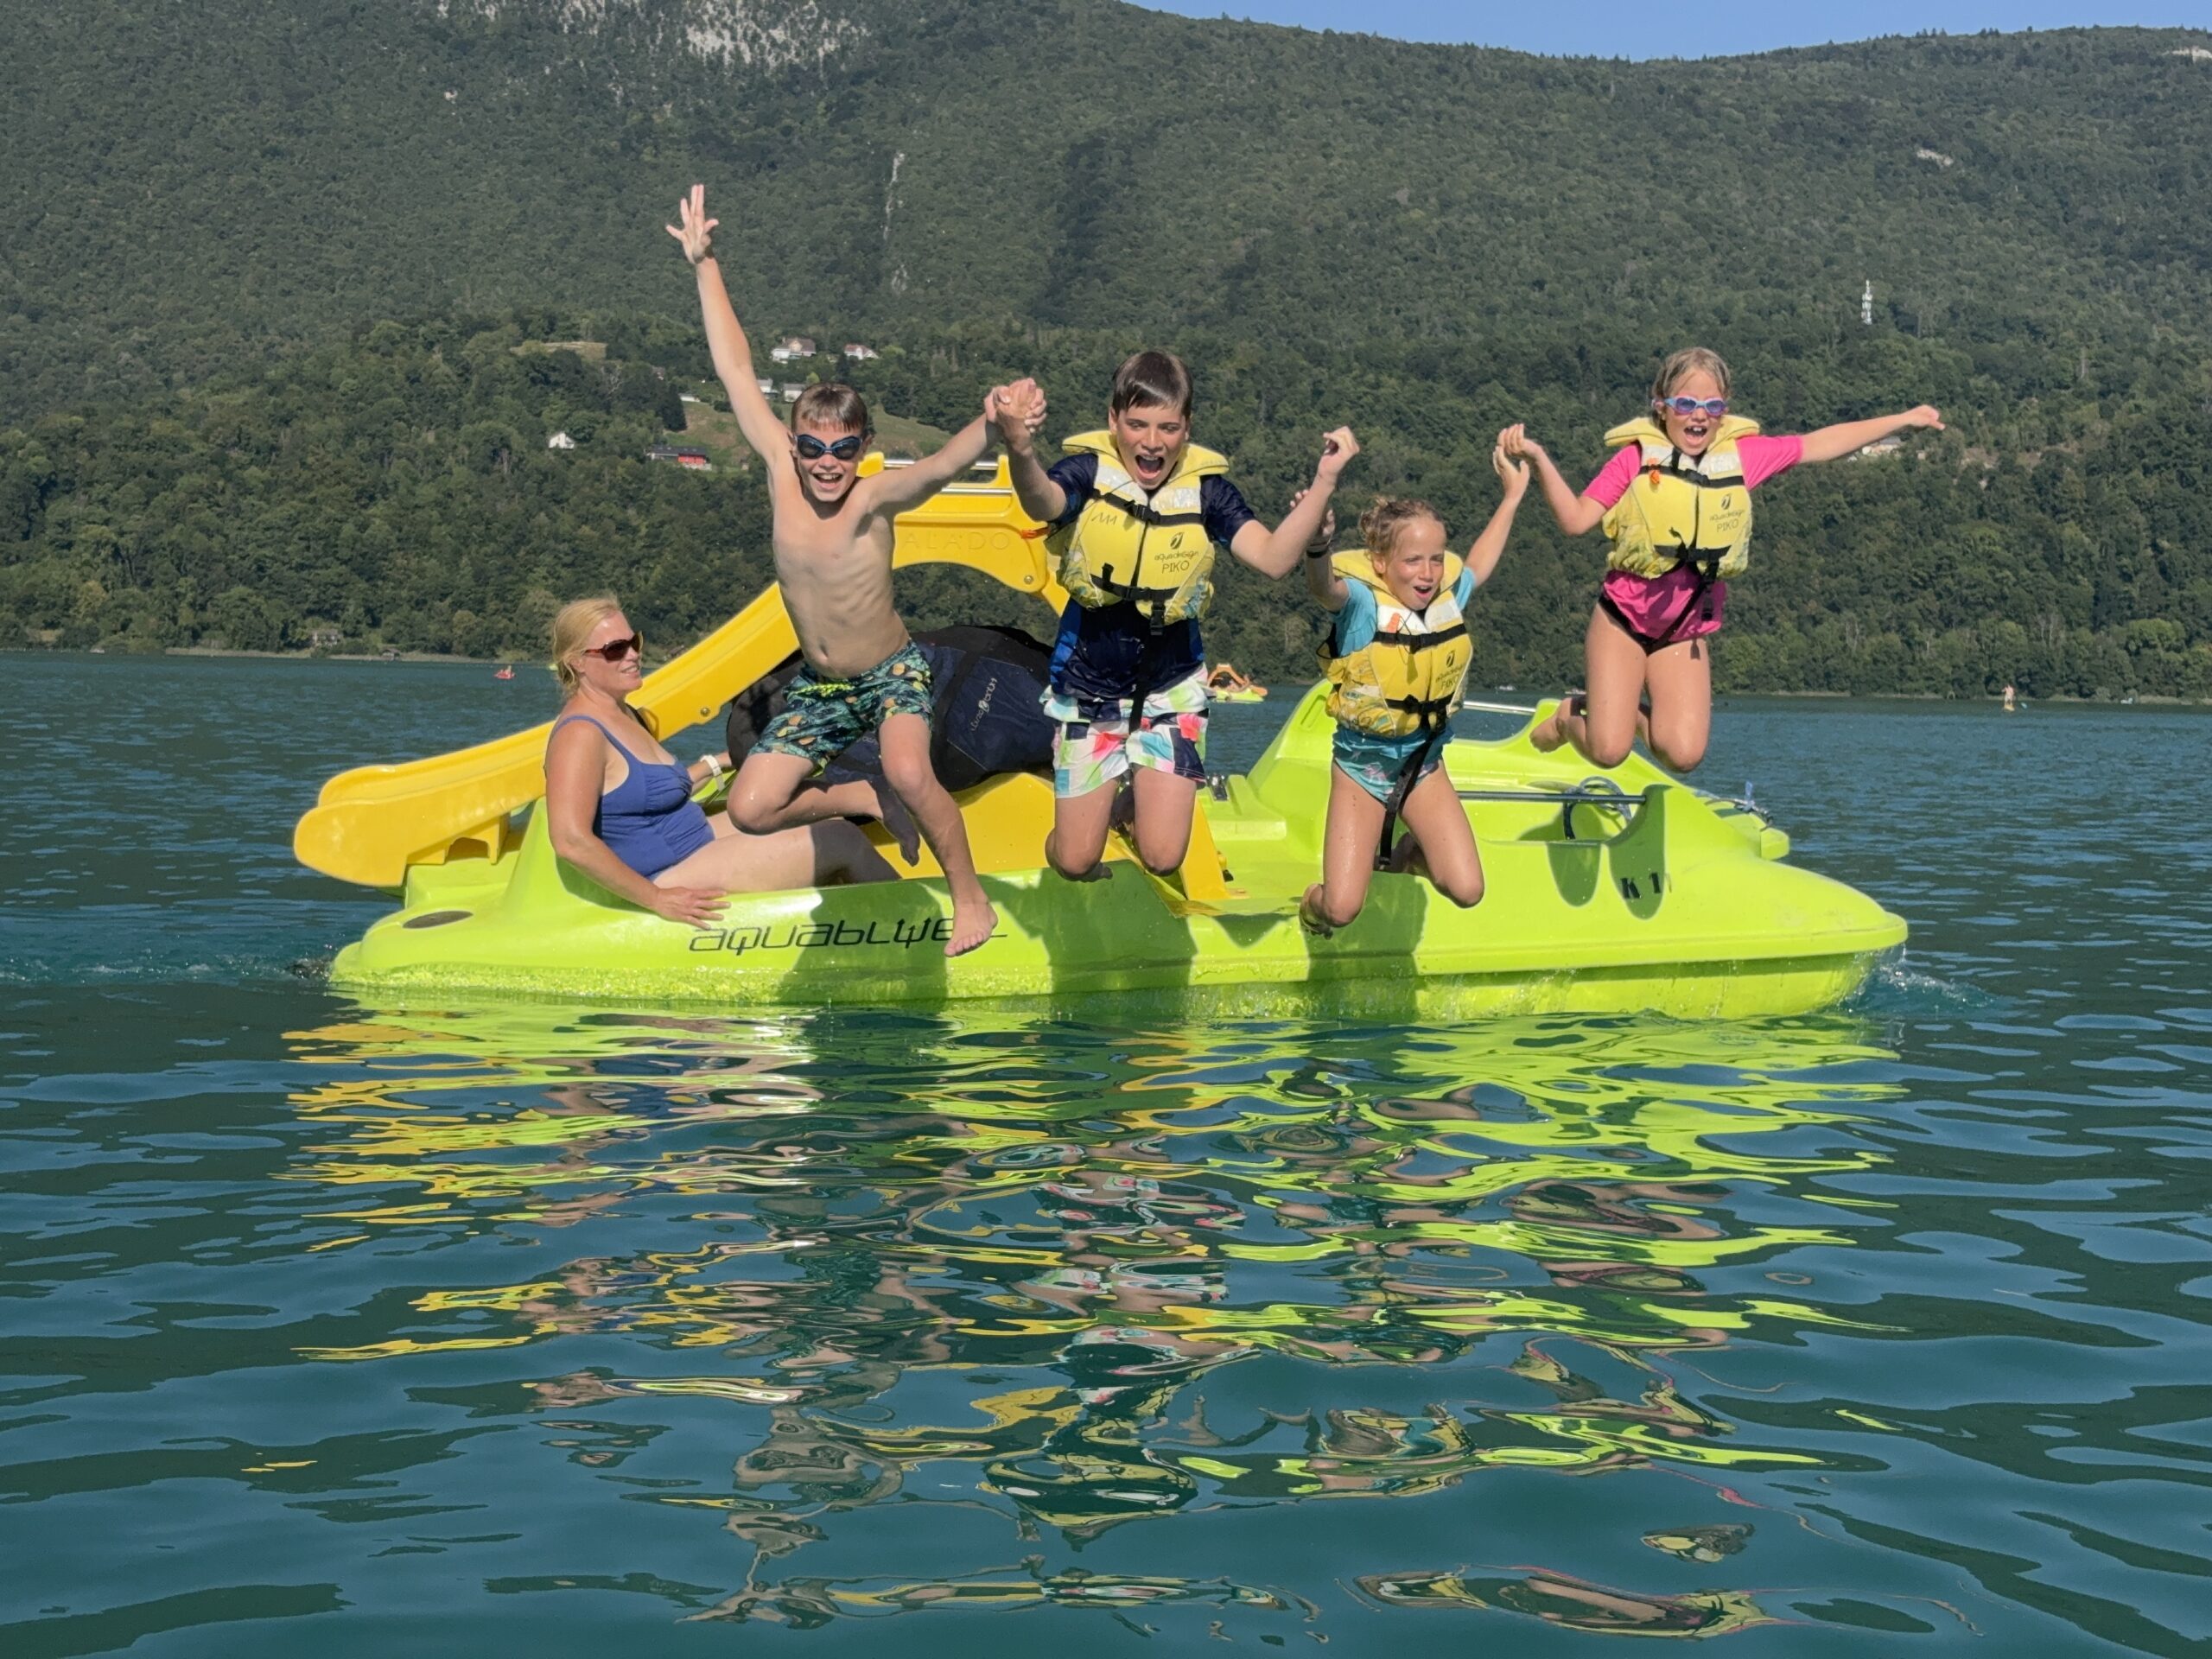
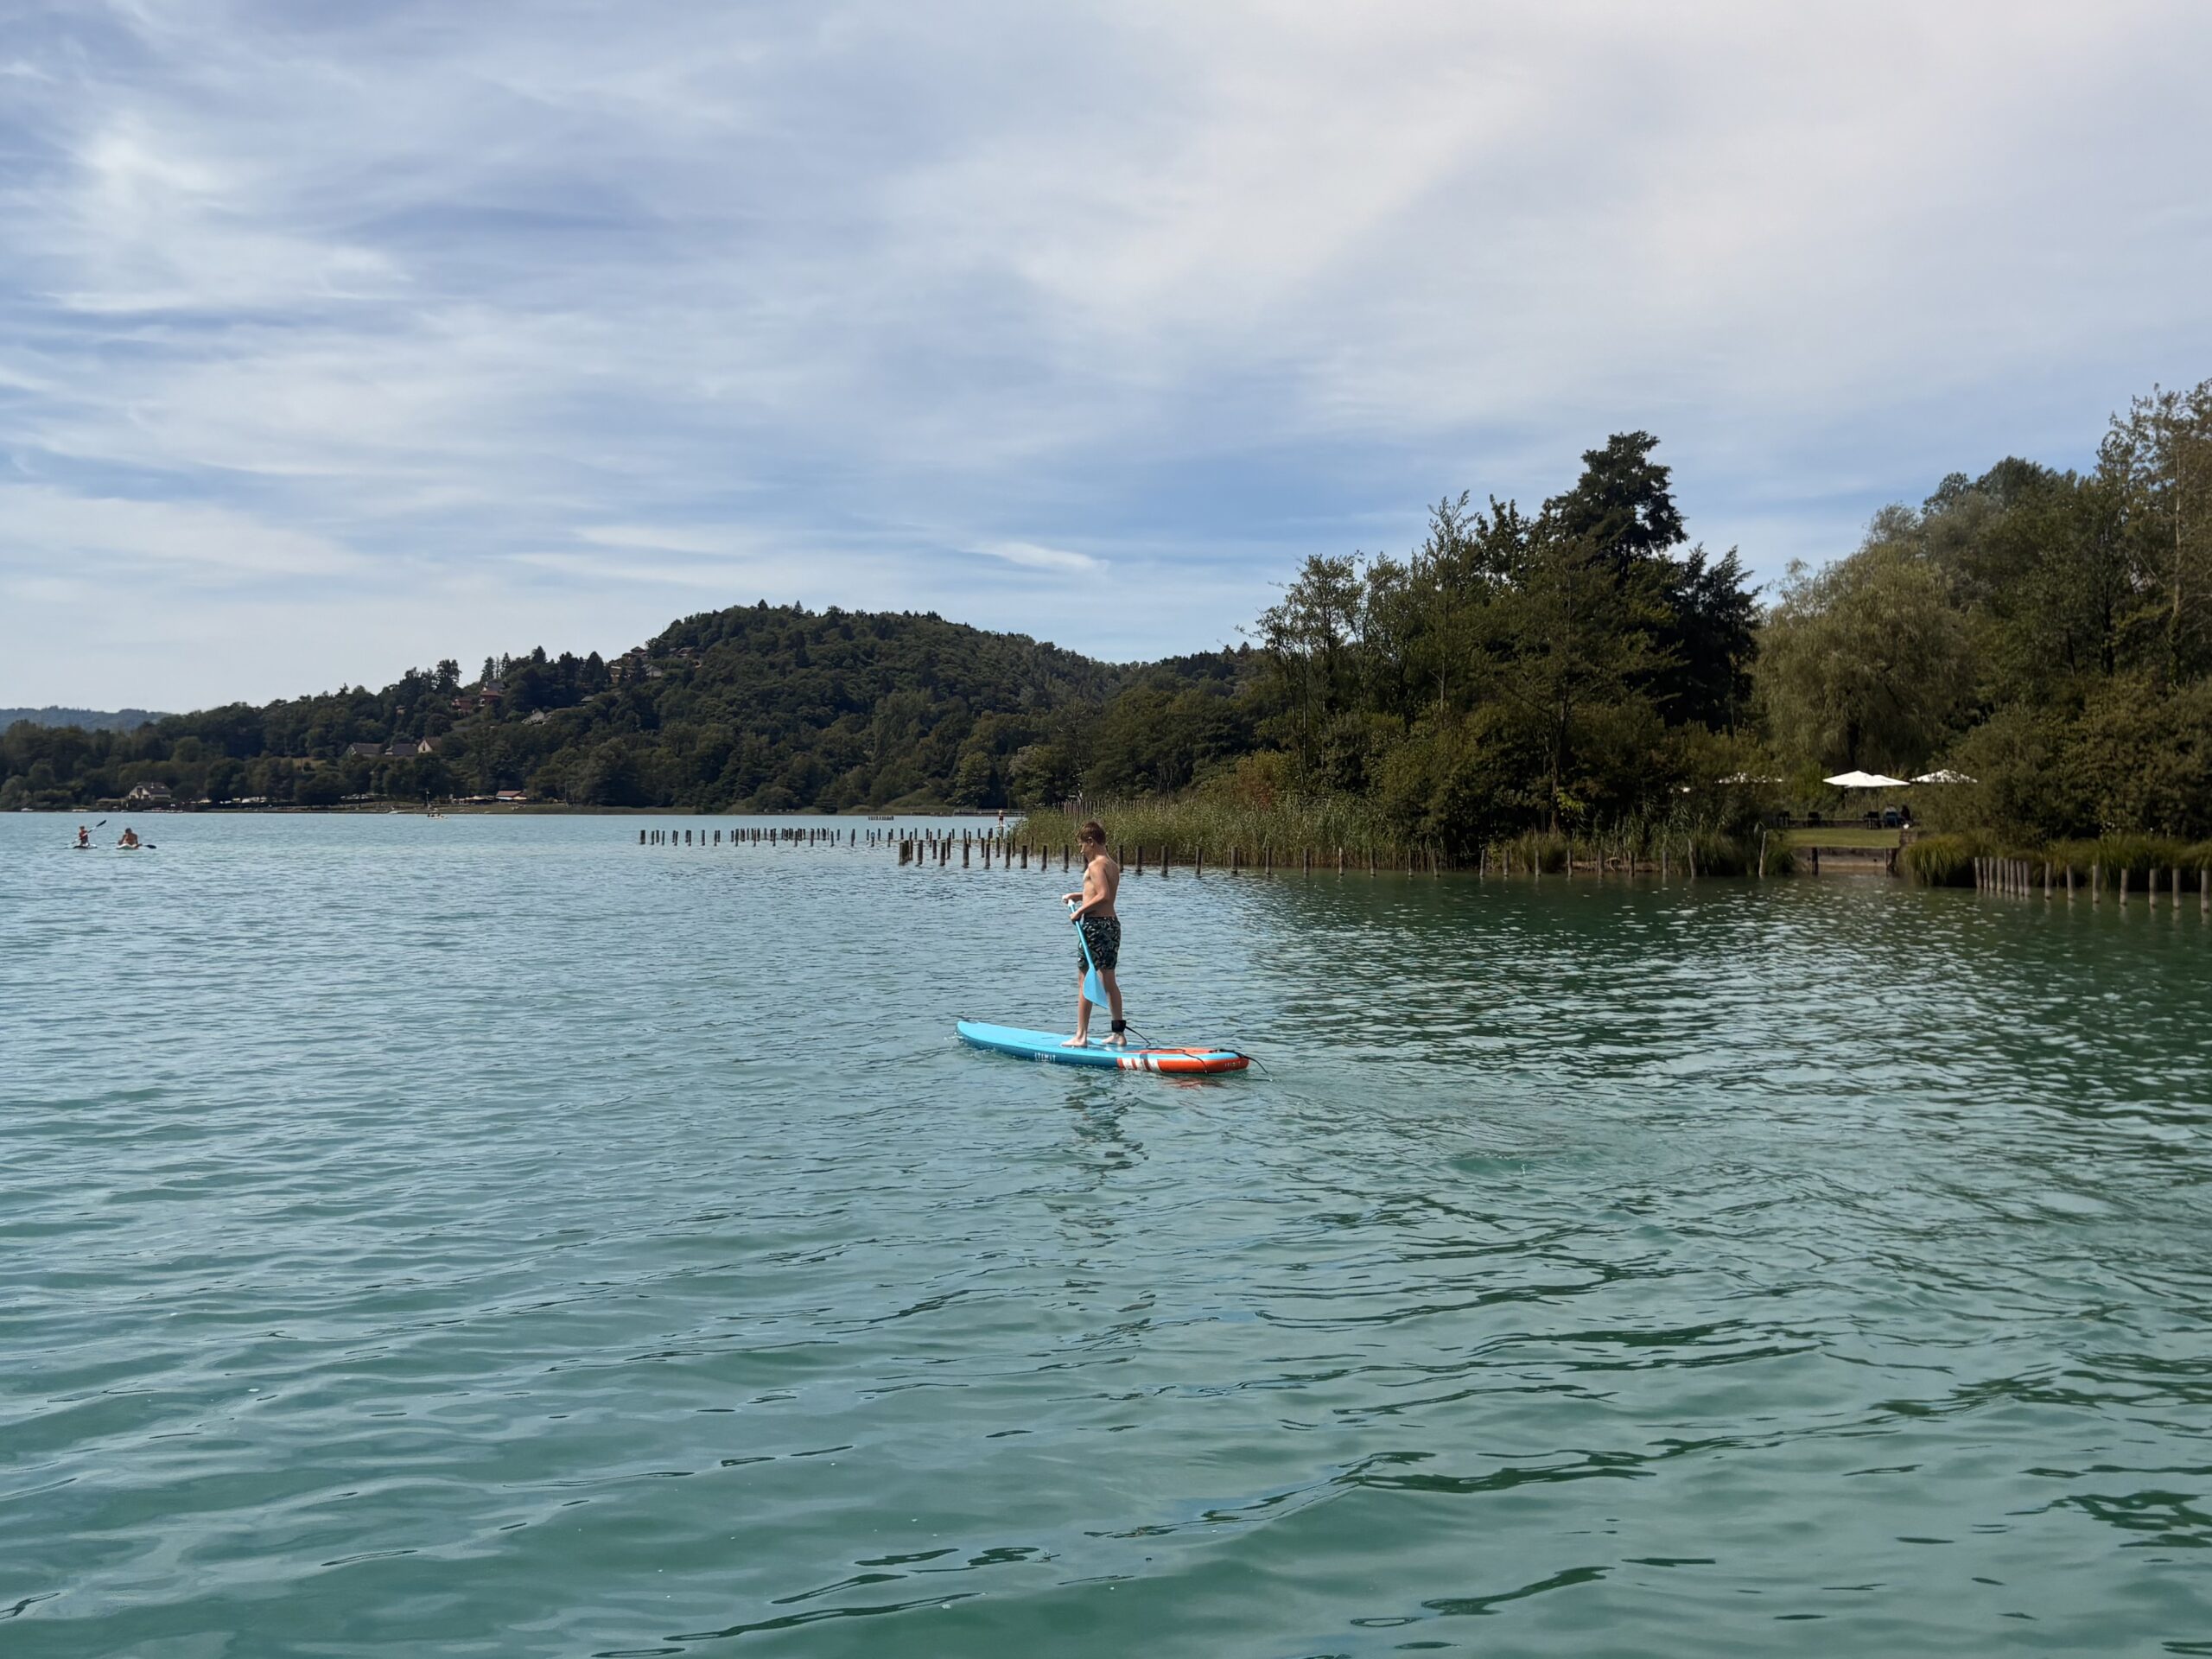
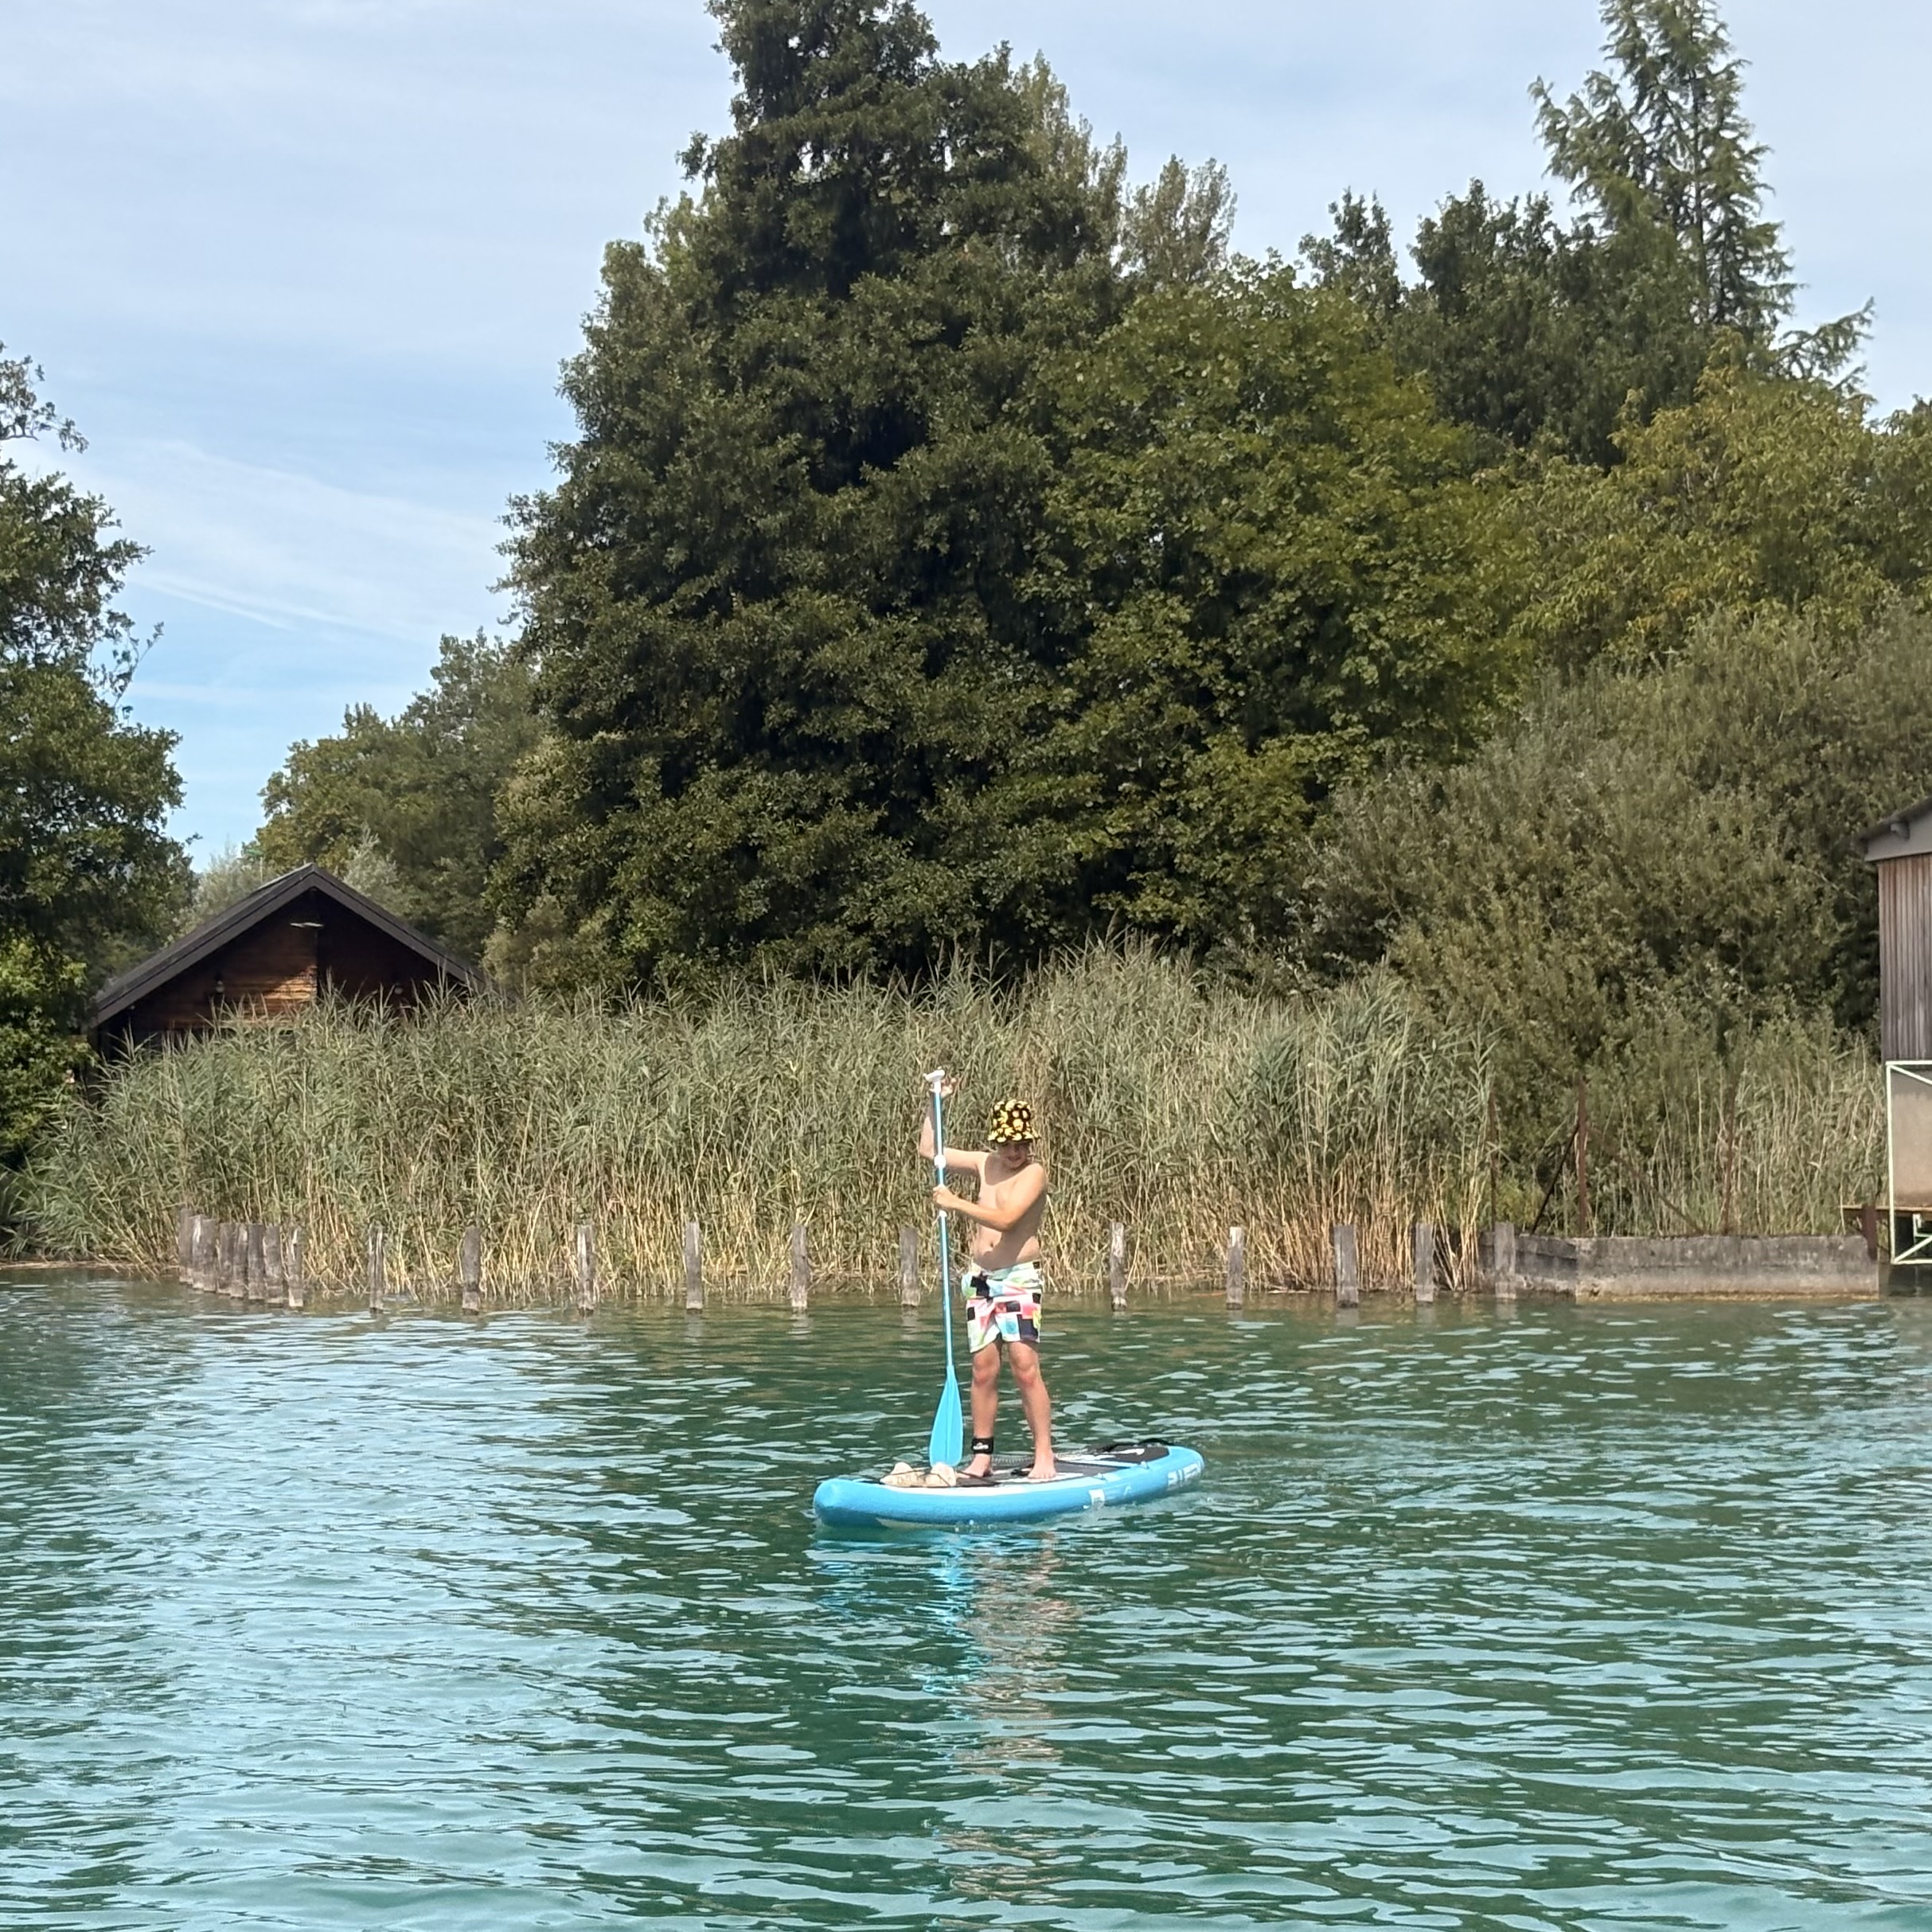
Week Two – Lakes, Ropes, and 36 Degrees of Realisation
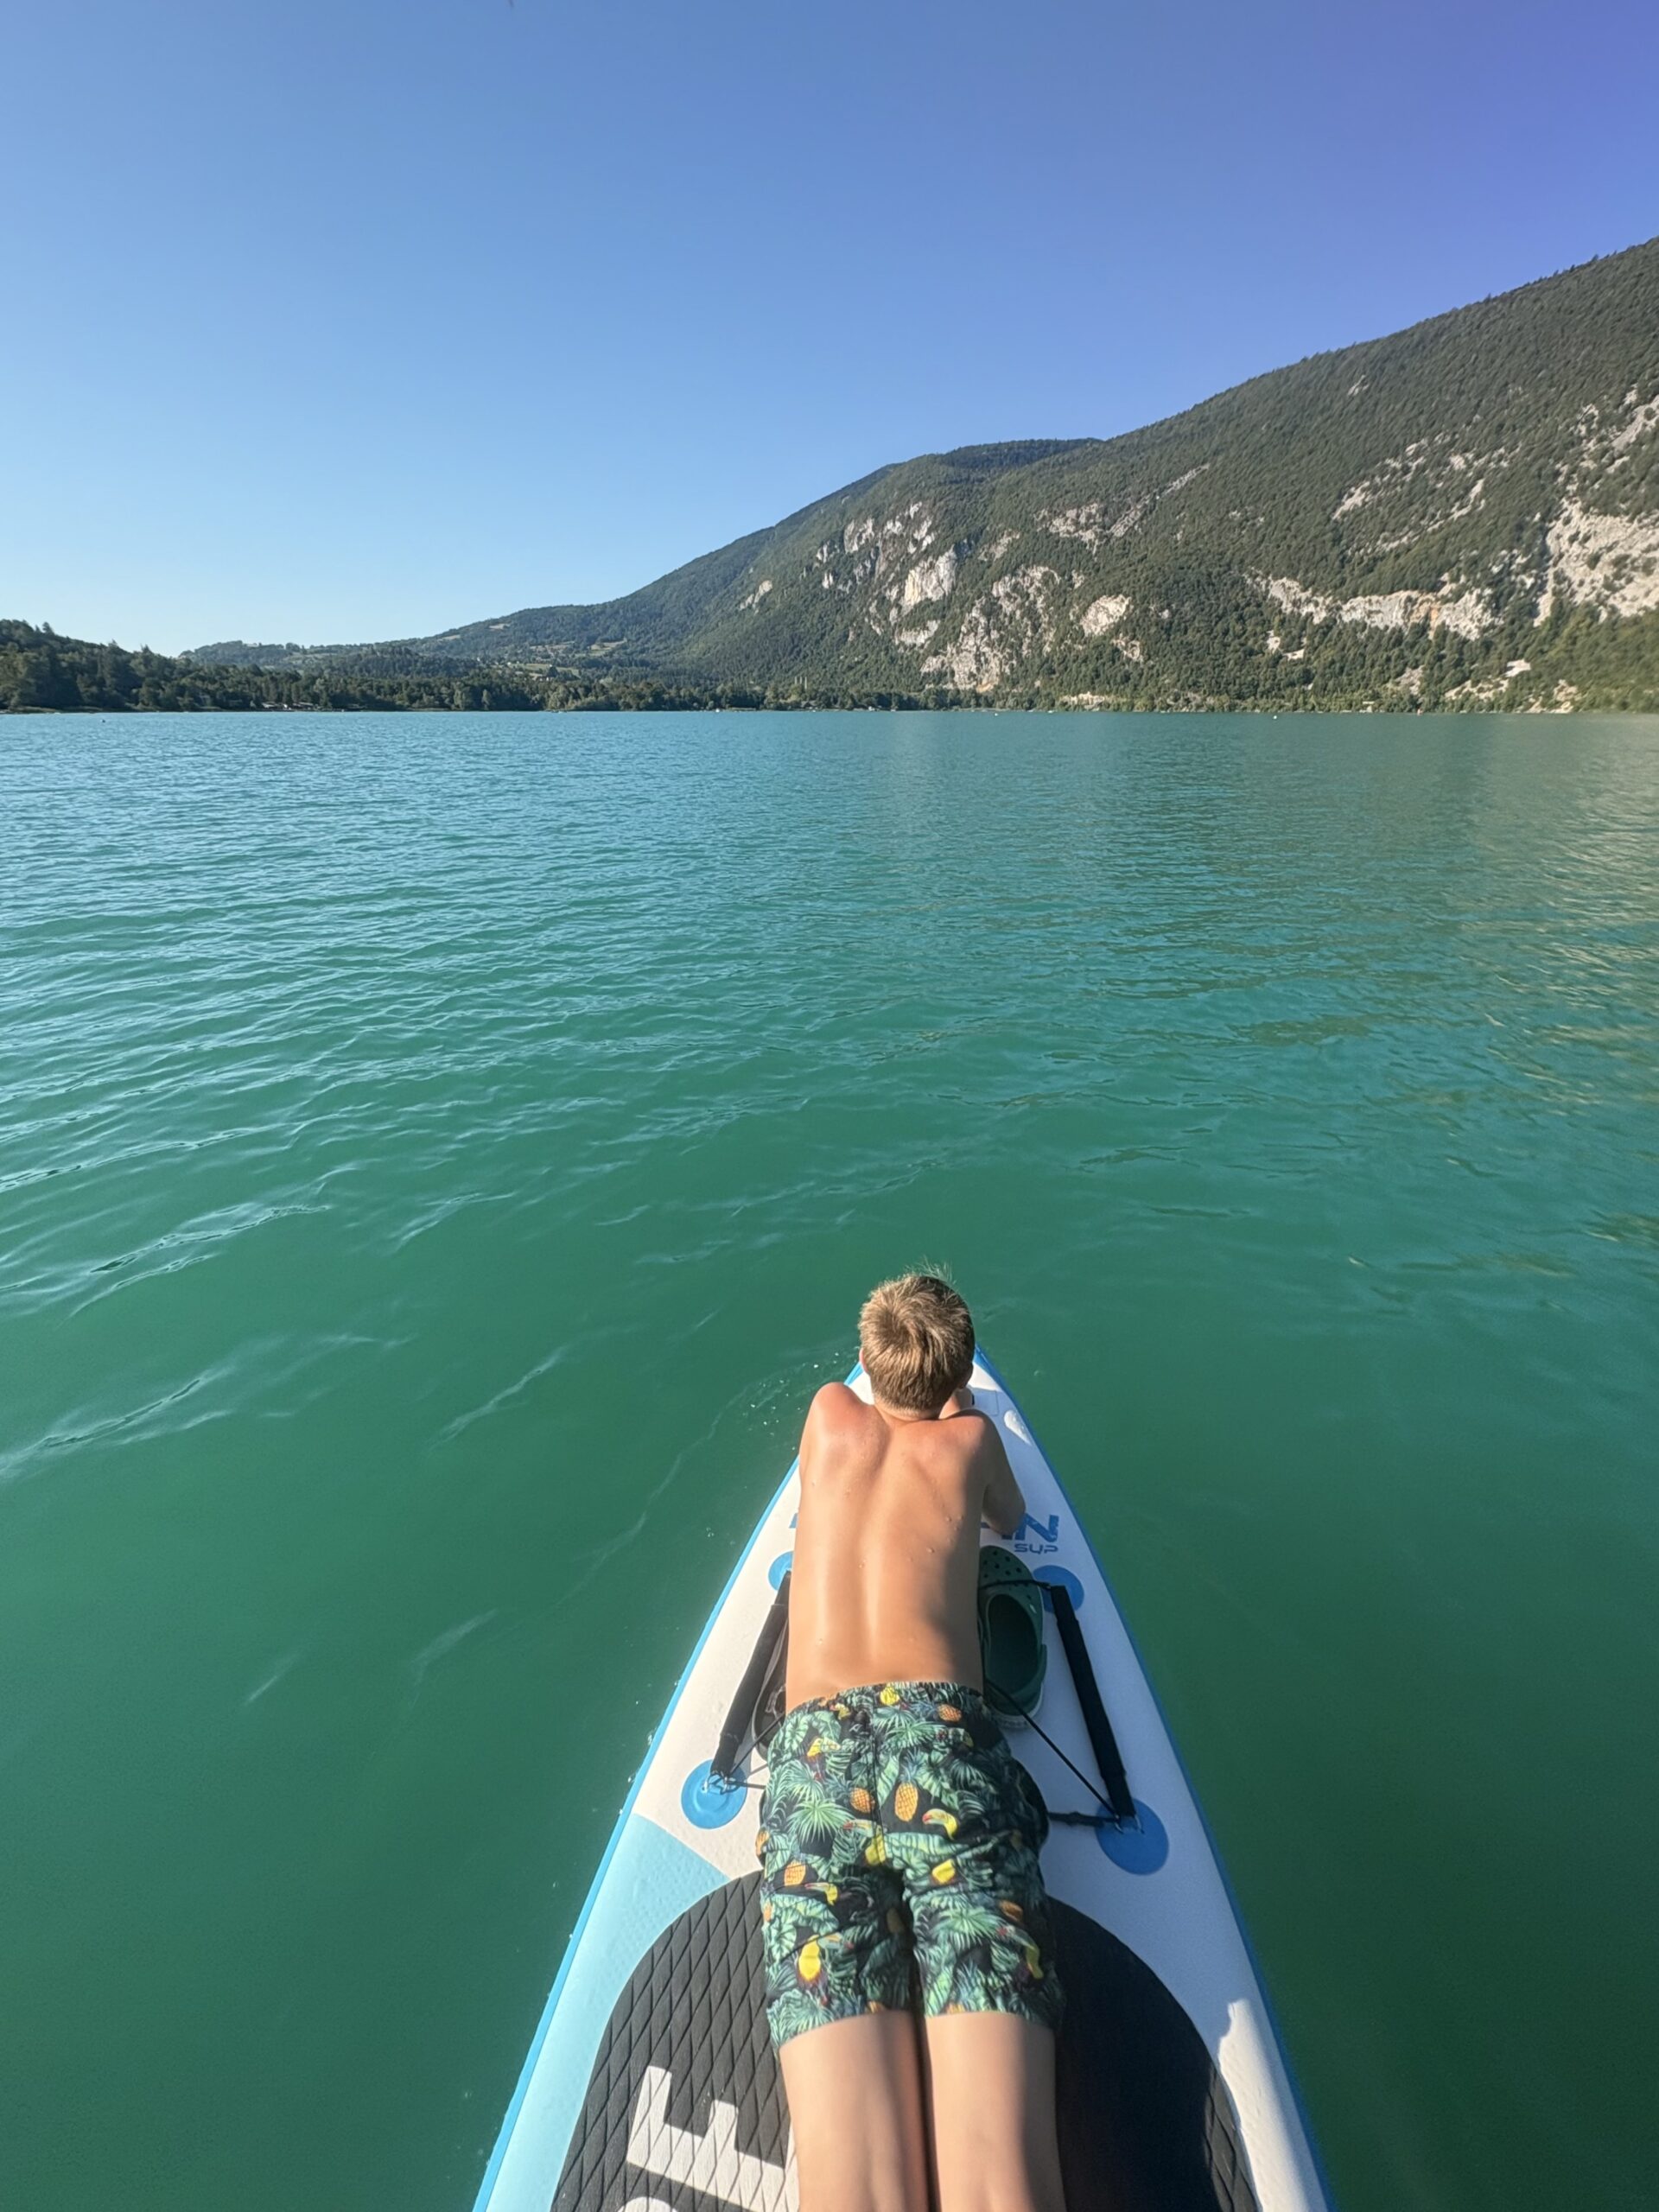
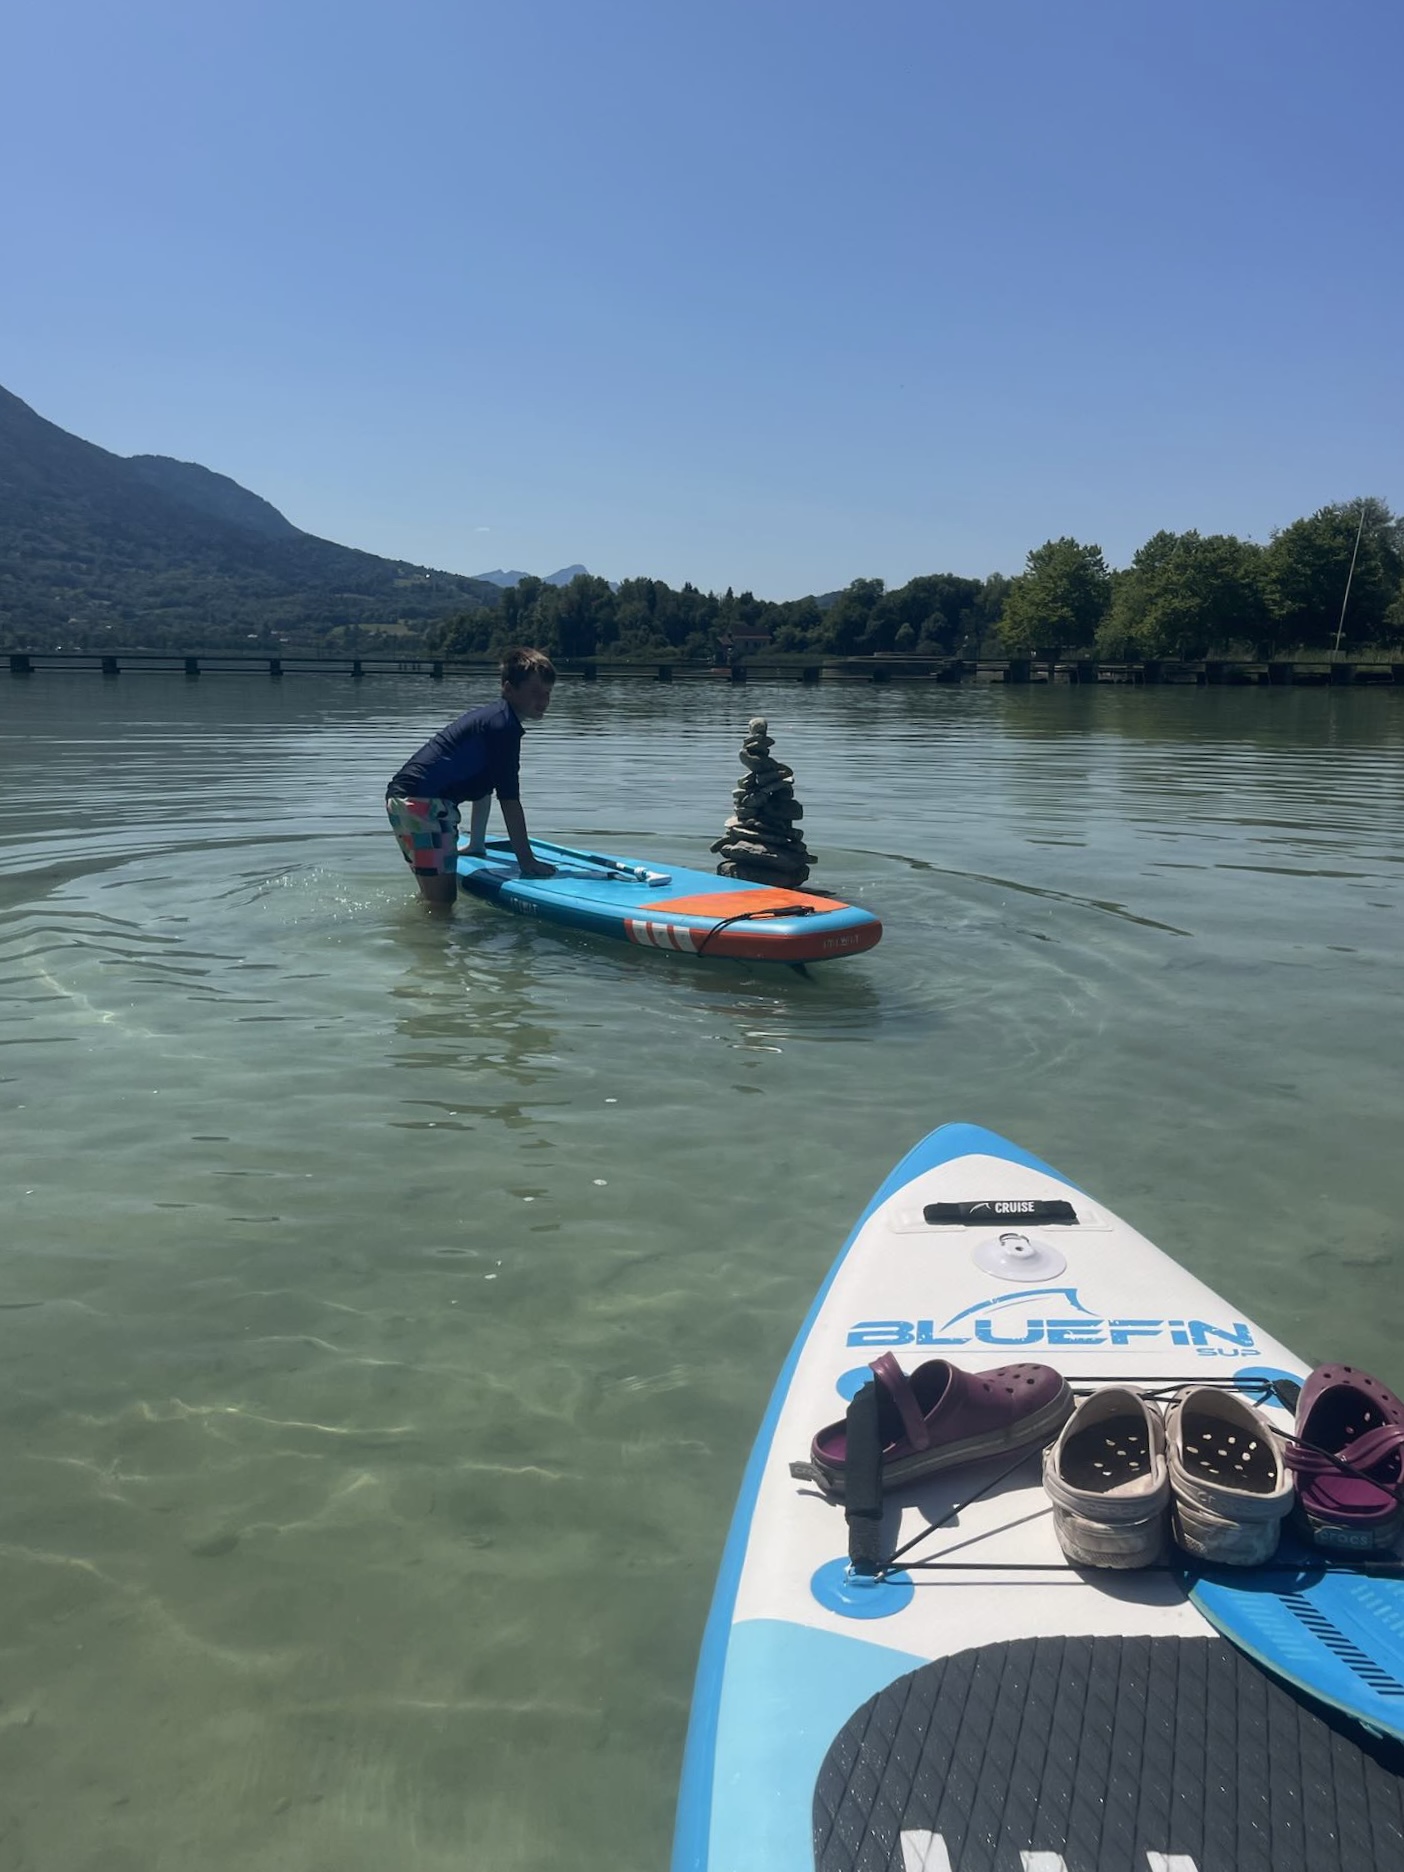
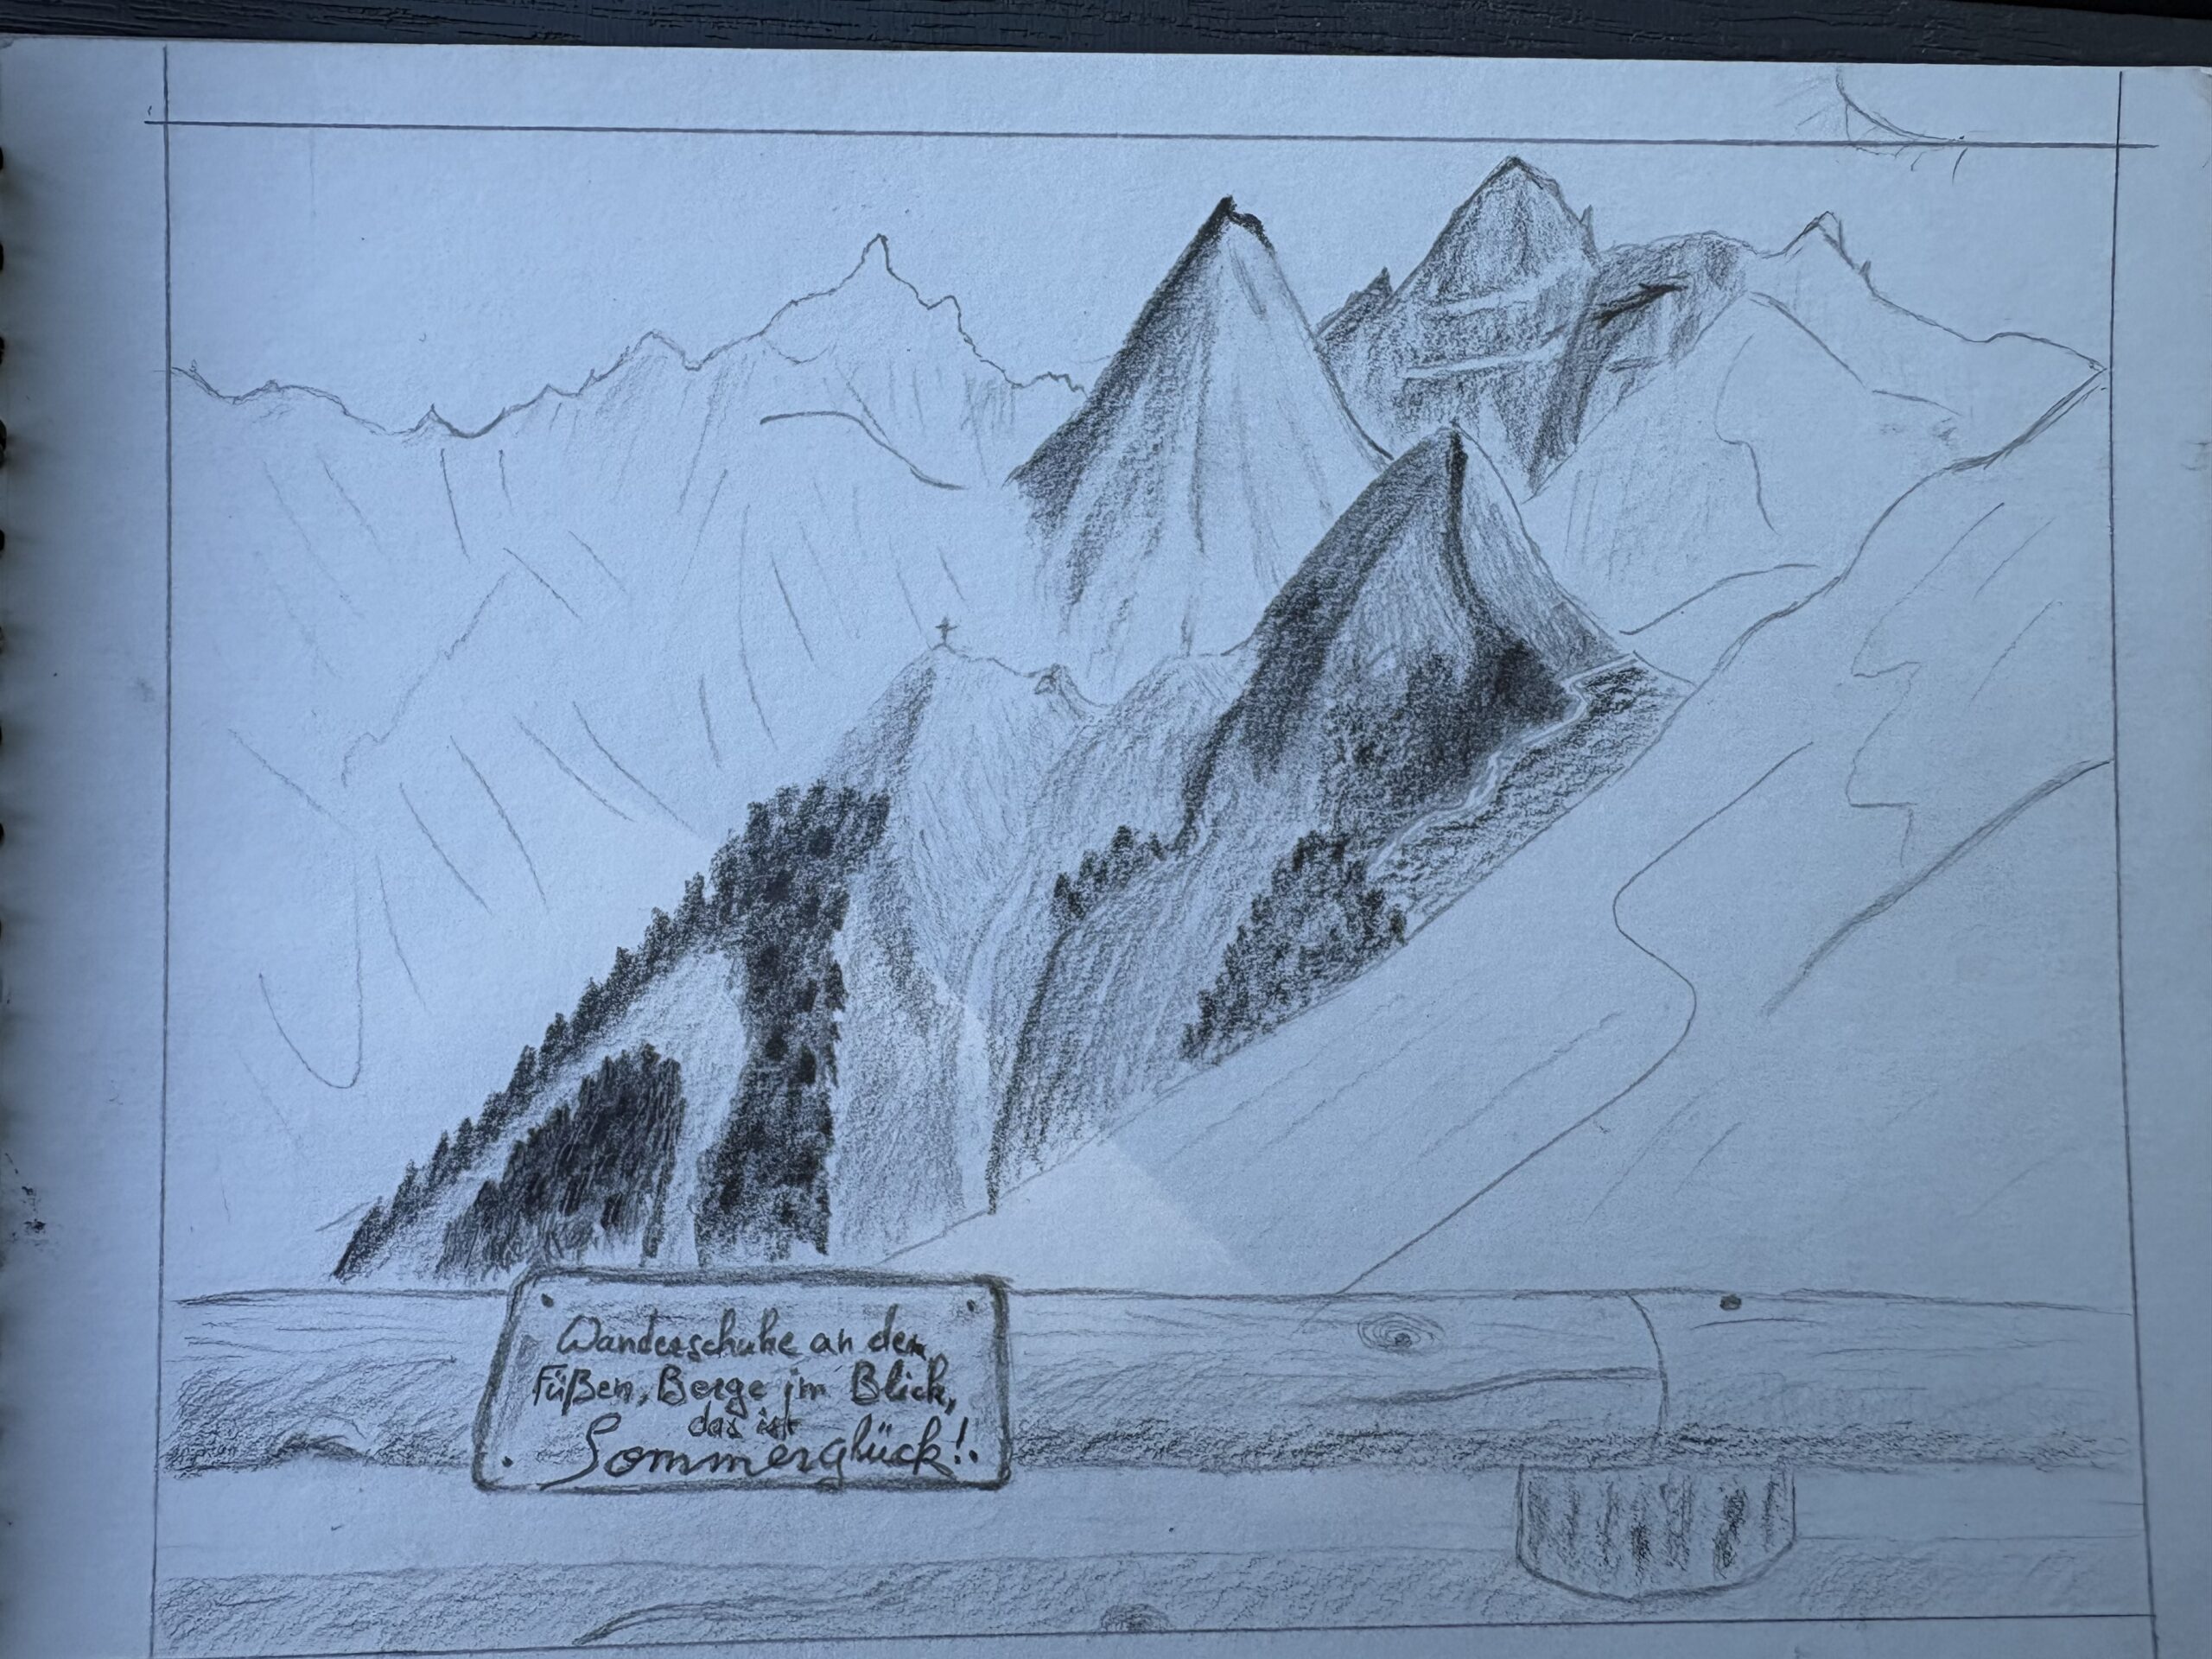
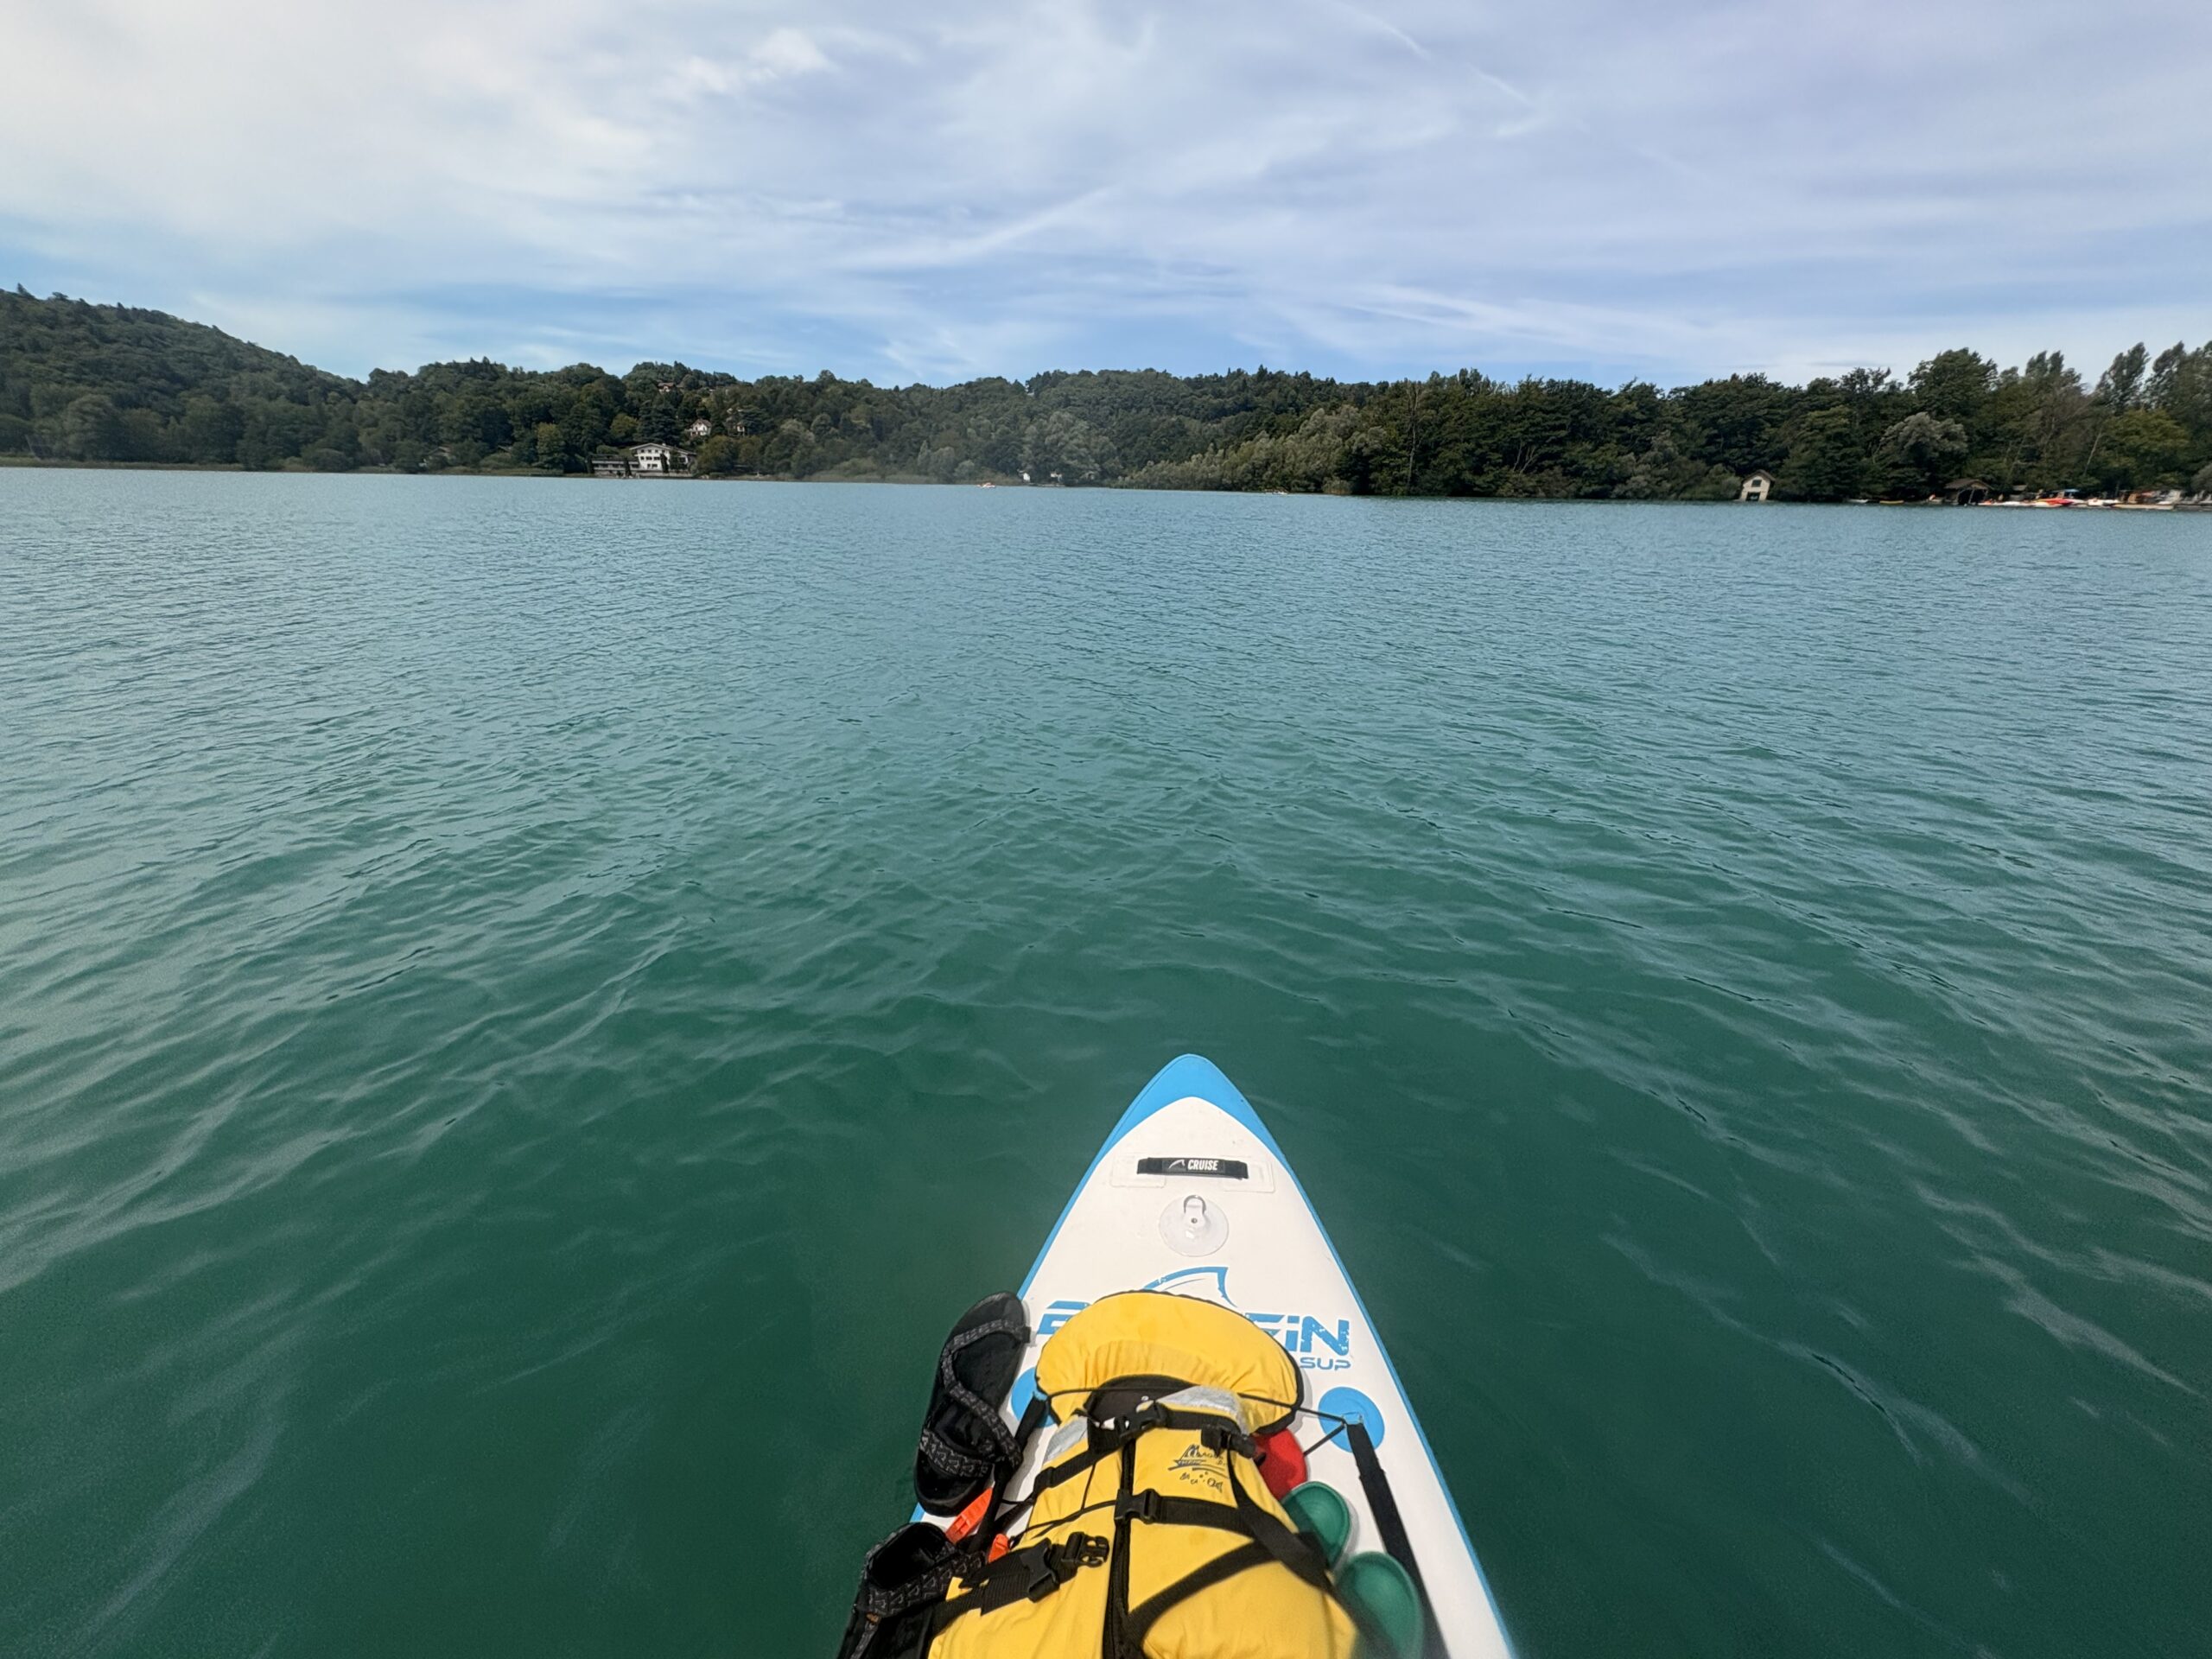
Monday and Tuesday were about beach life and Stand-Up Paddleboarding. JC found time to sketch a mountain landscape from Austria (yes, he brought his pencils, he’s that kind of holidaymaker … and he forgot his reading book at home – now I remember what I had forgotten, no more blissful feelings). The temperature was climbing, but still kind, especially in the shade.
While dad paddles other relaxGetting readyDrawing… (unfinished yet)
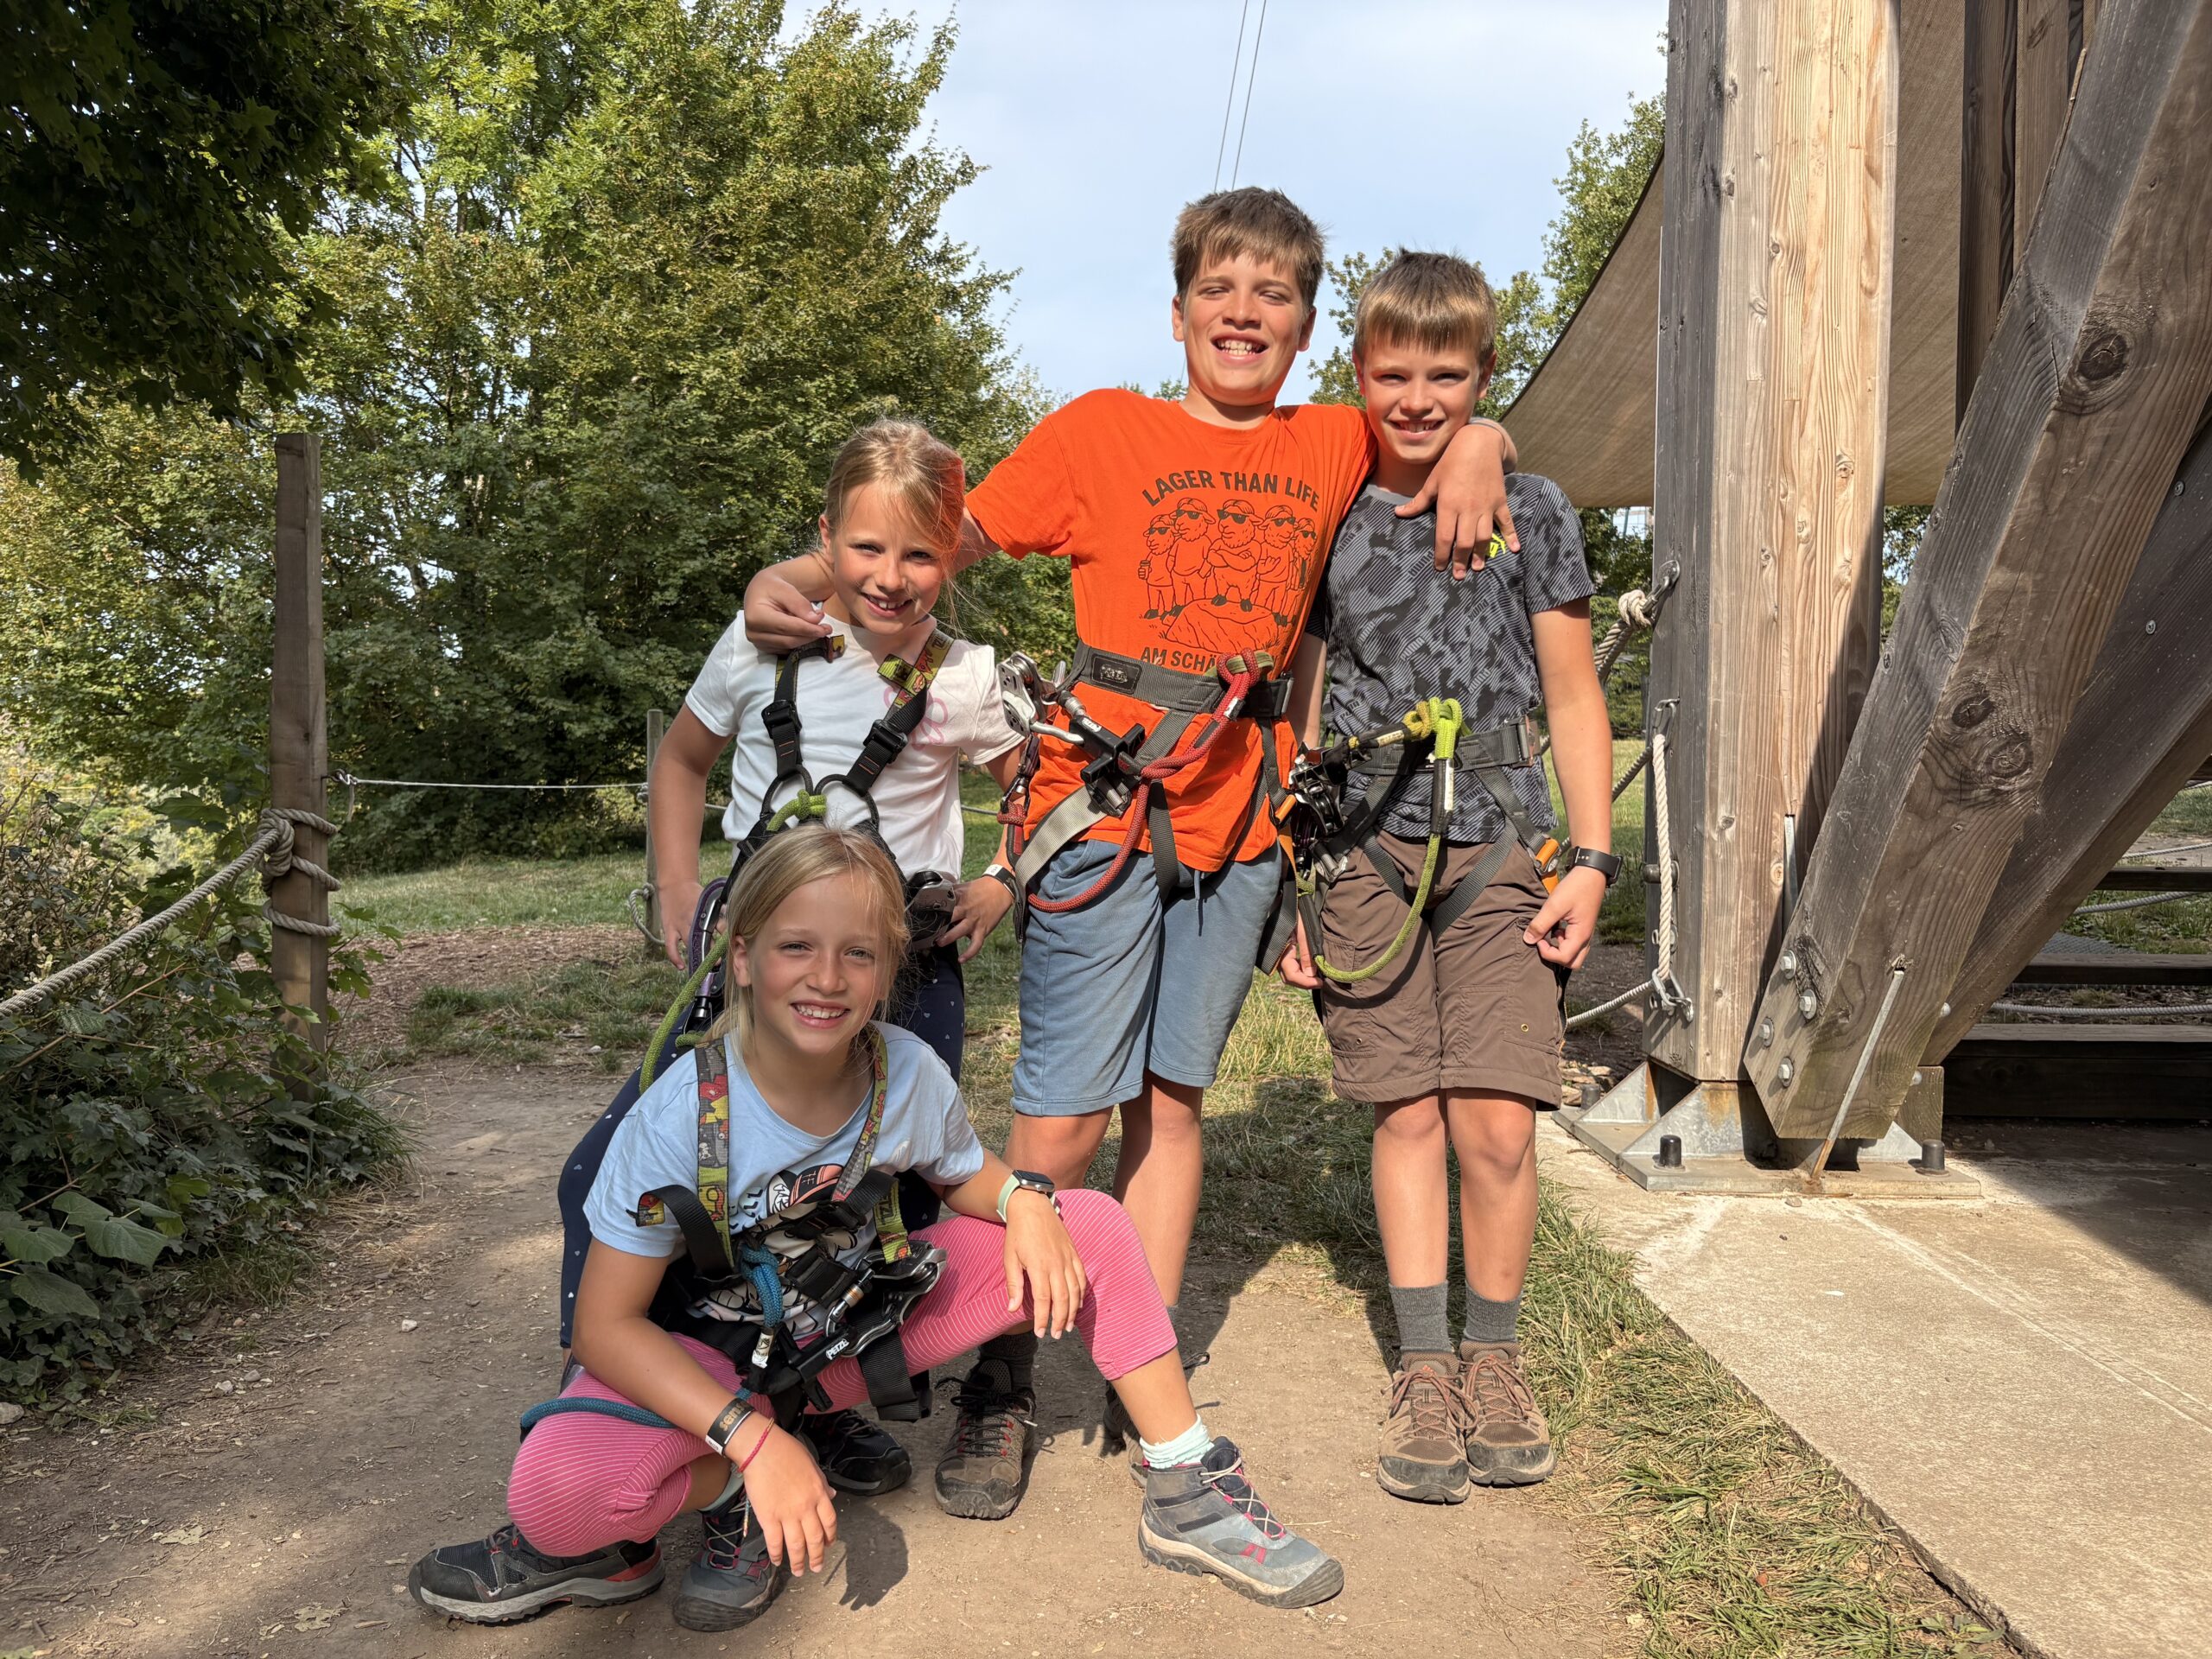
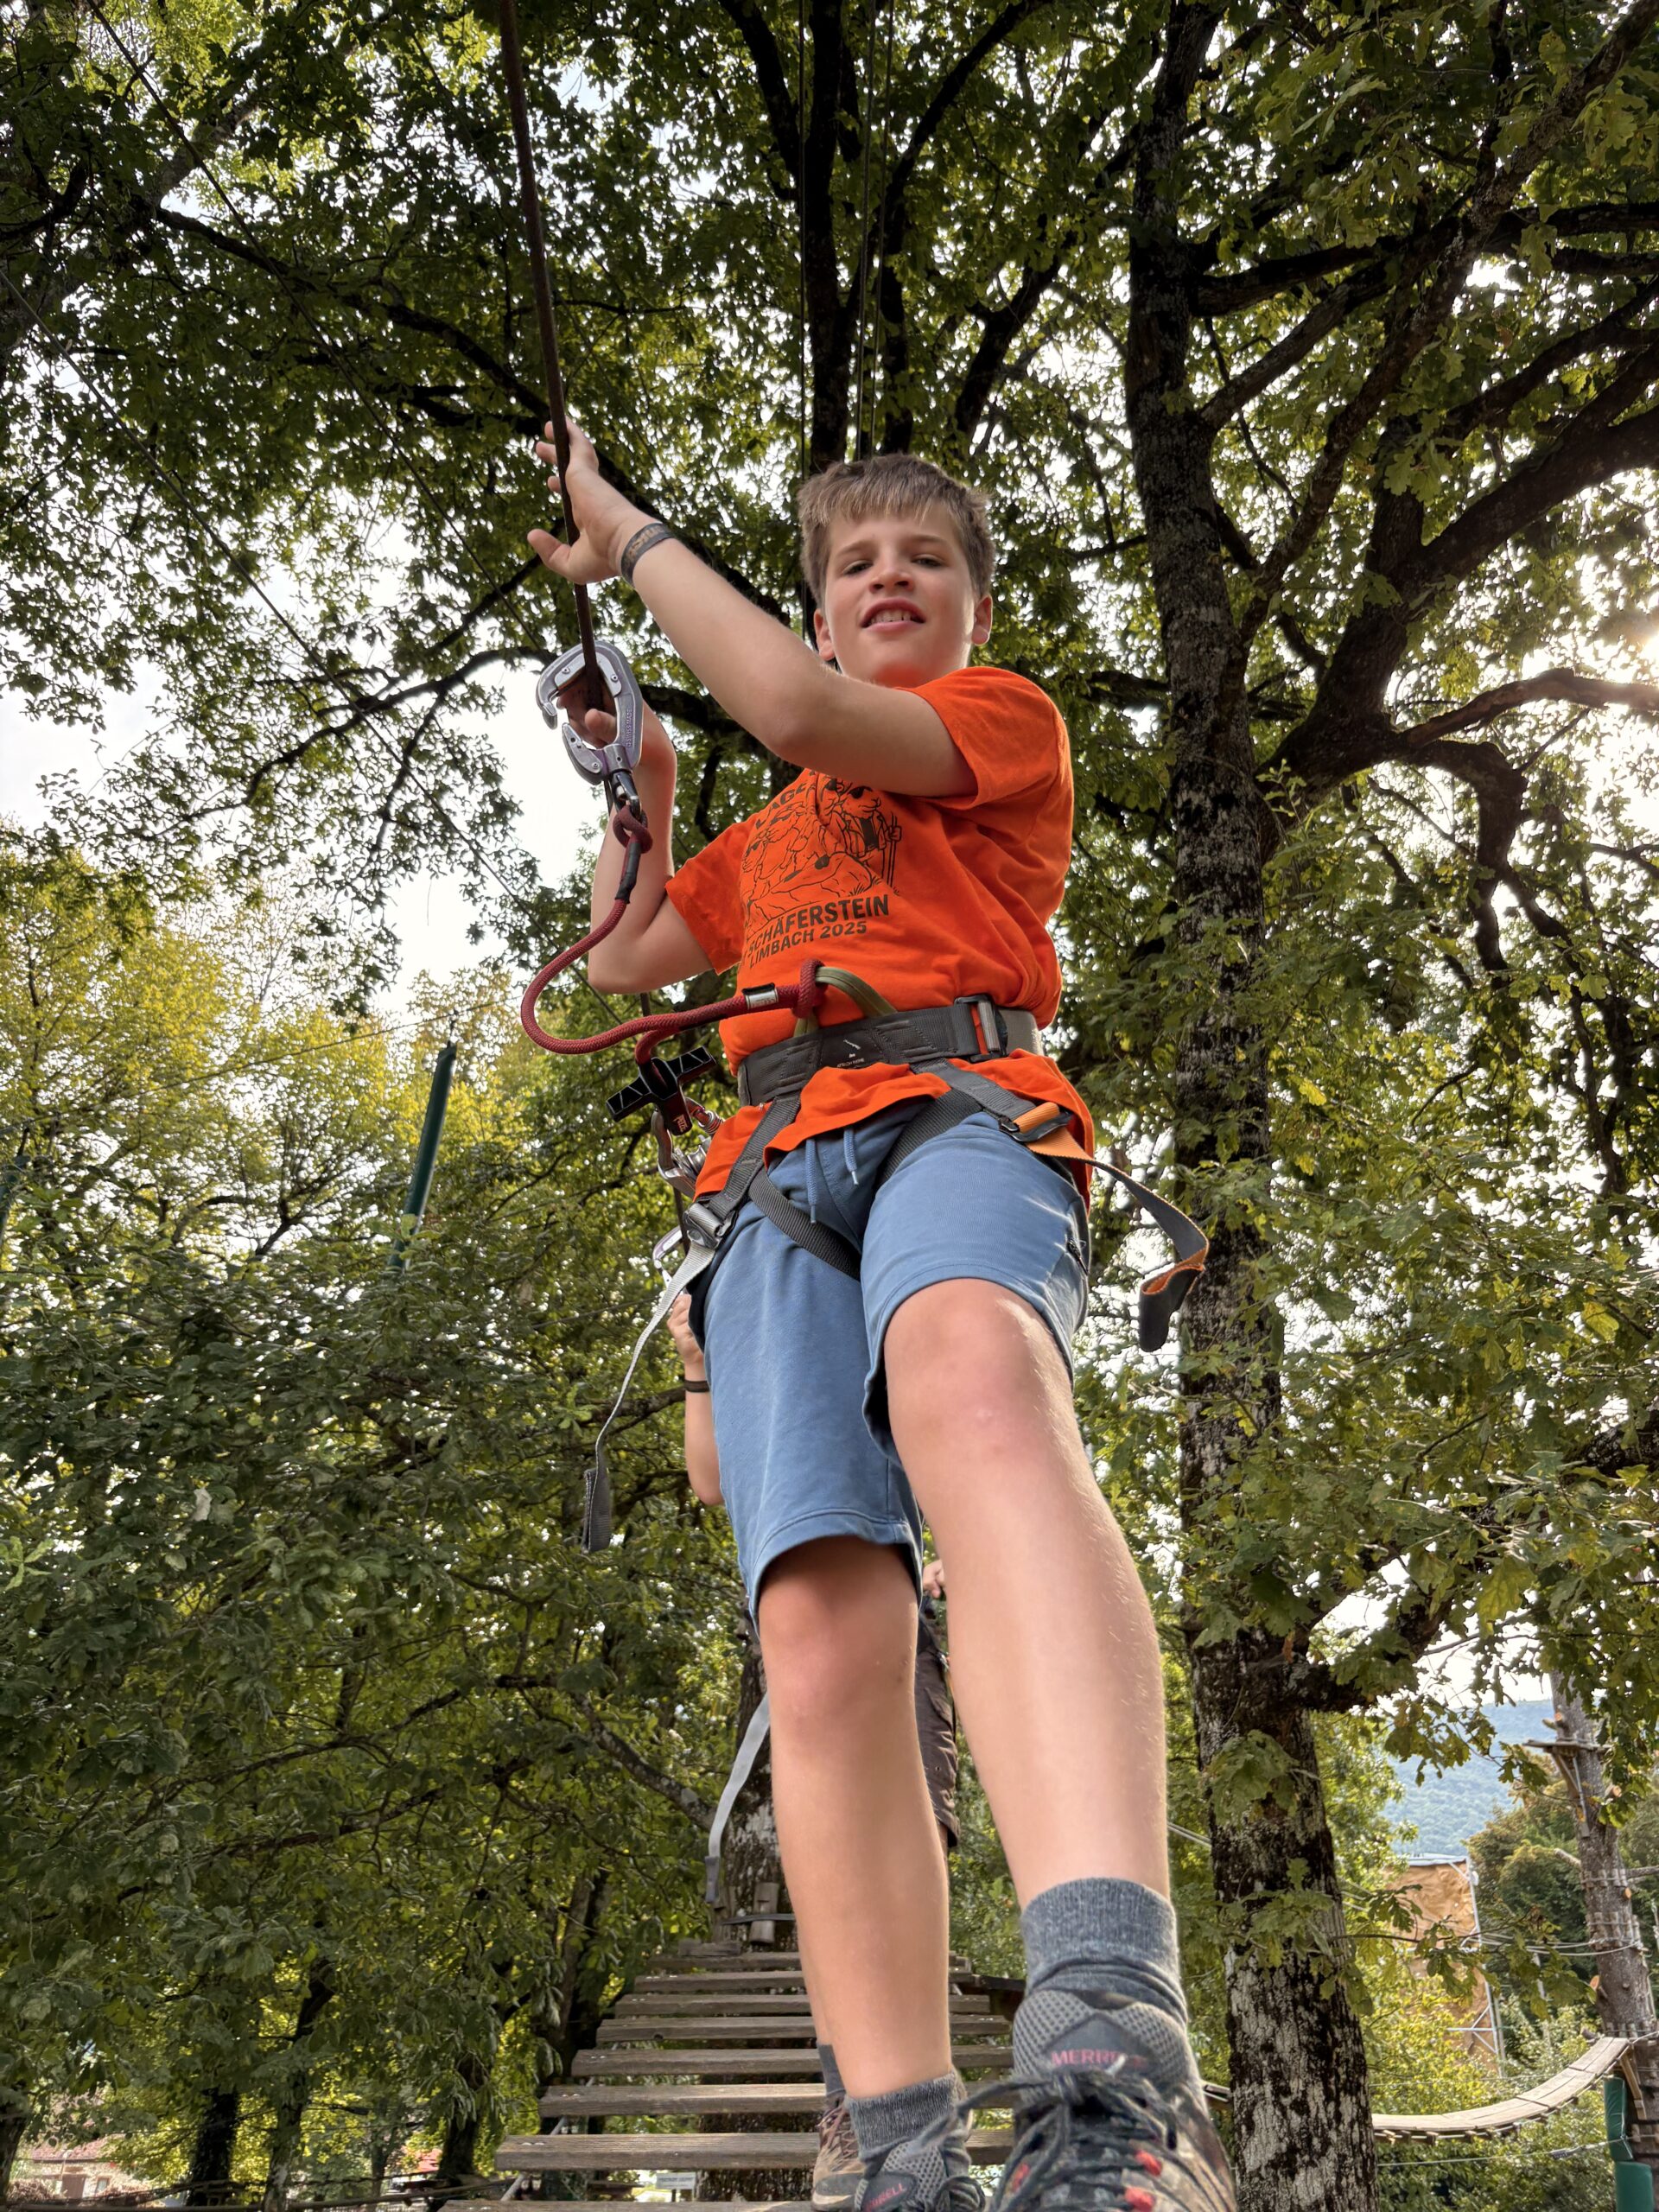
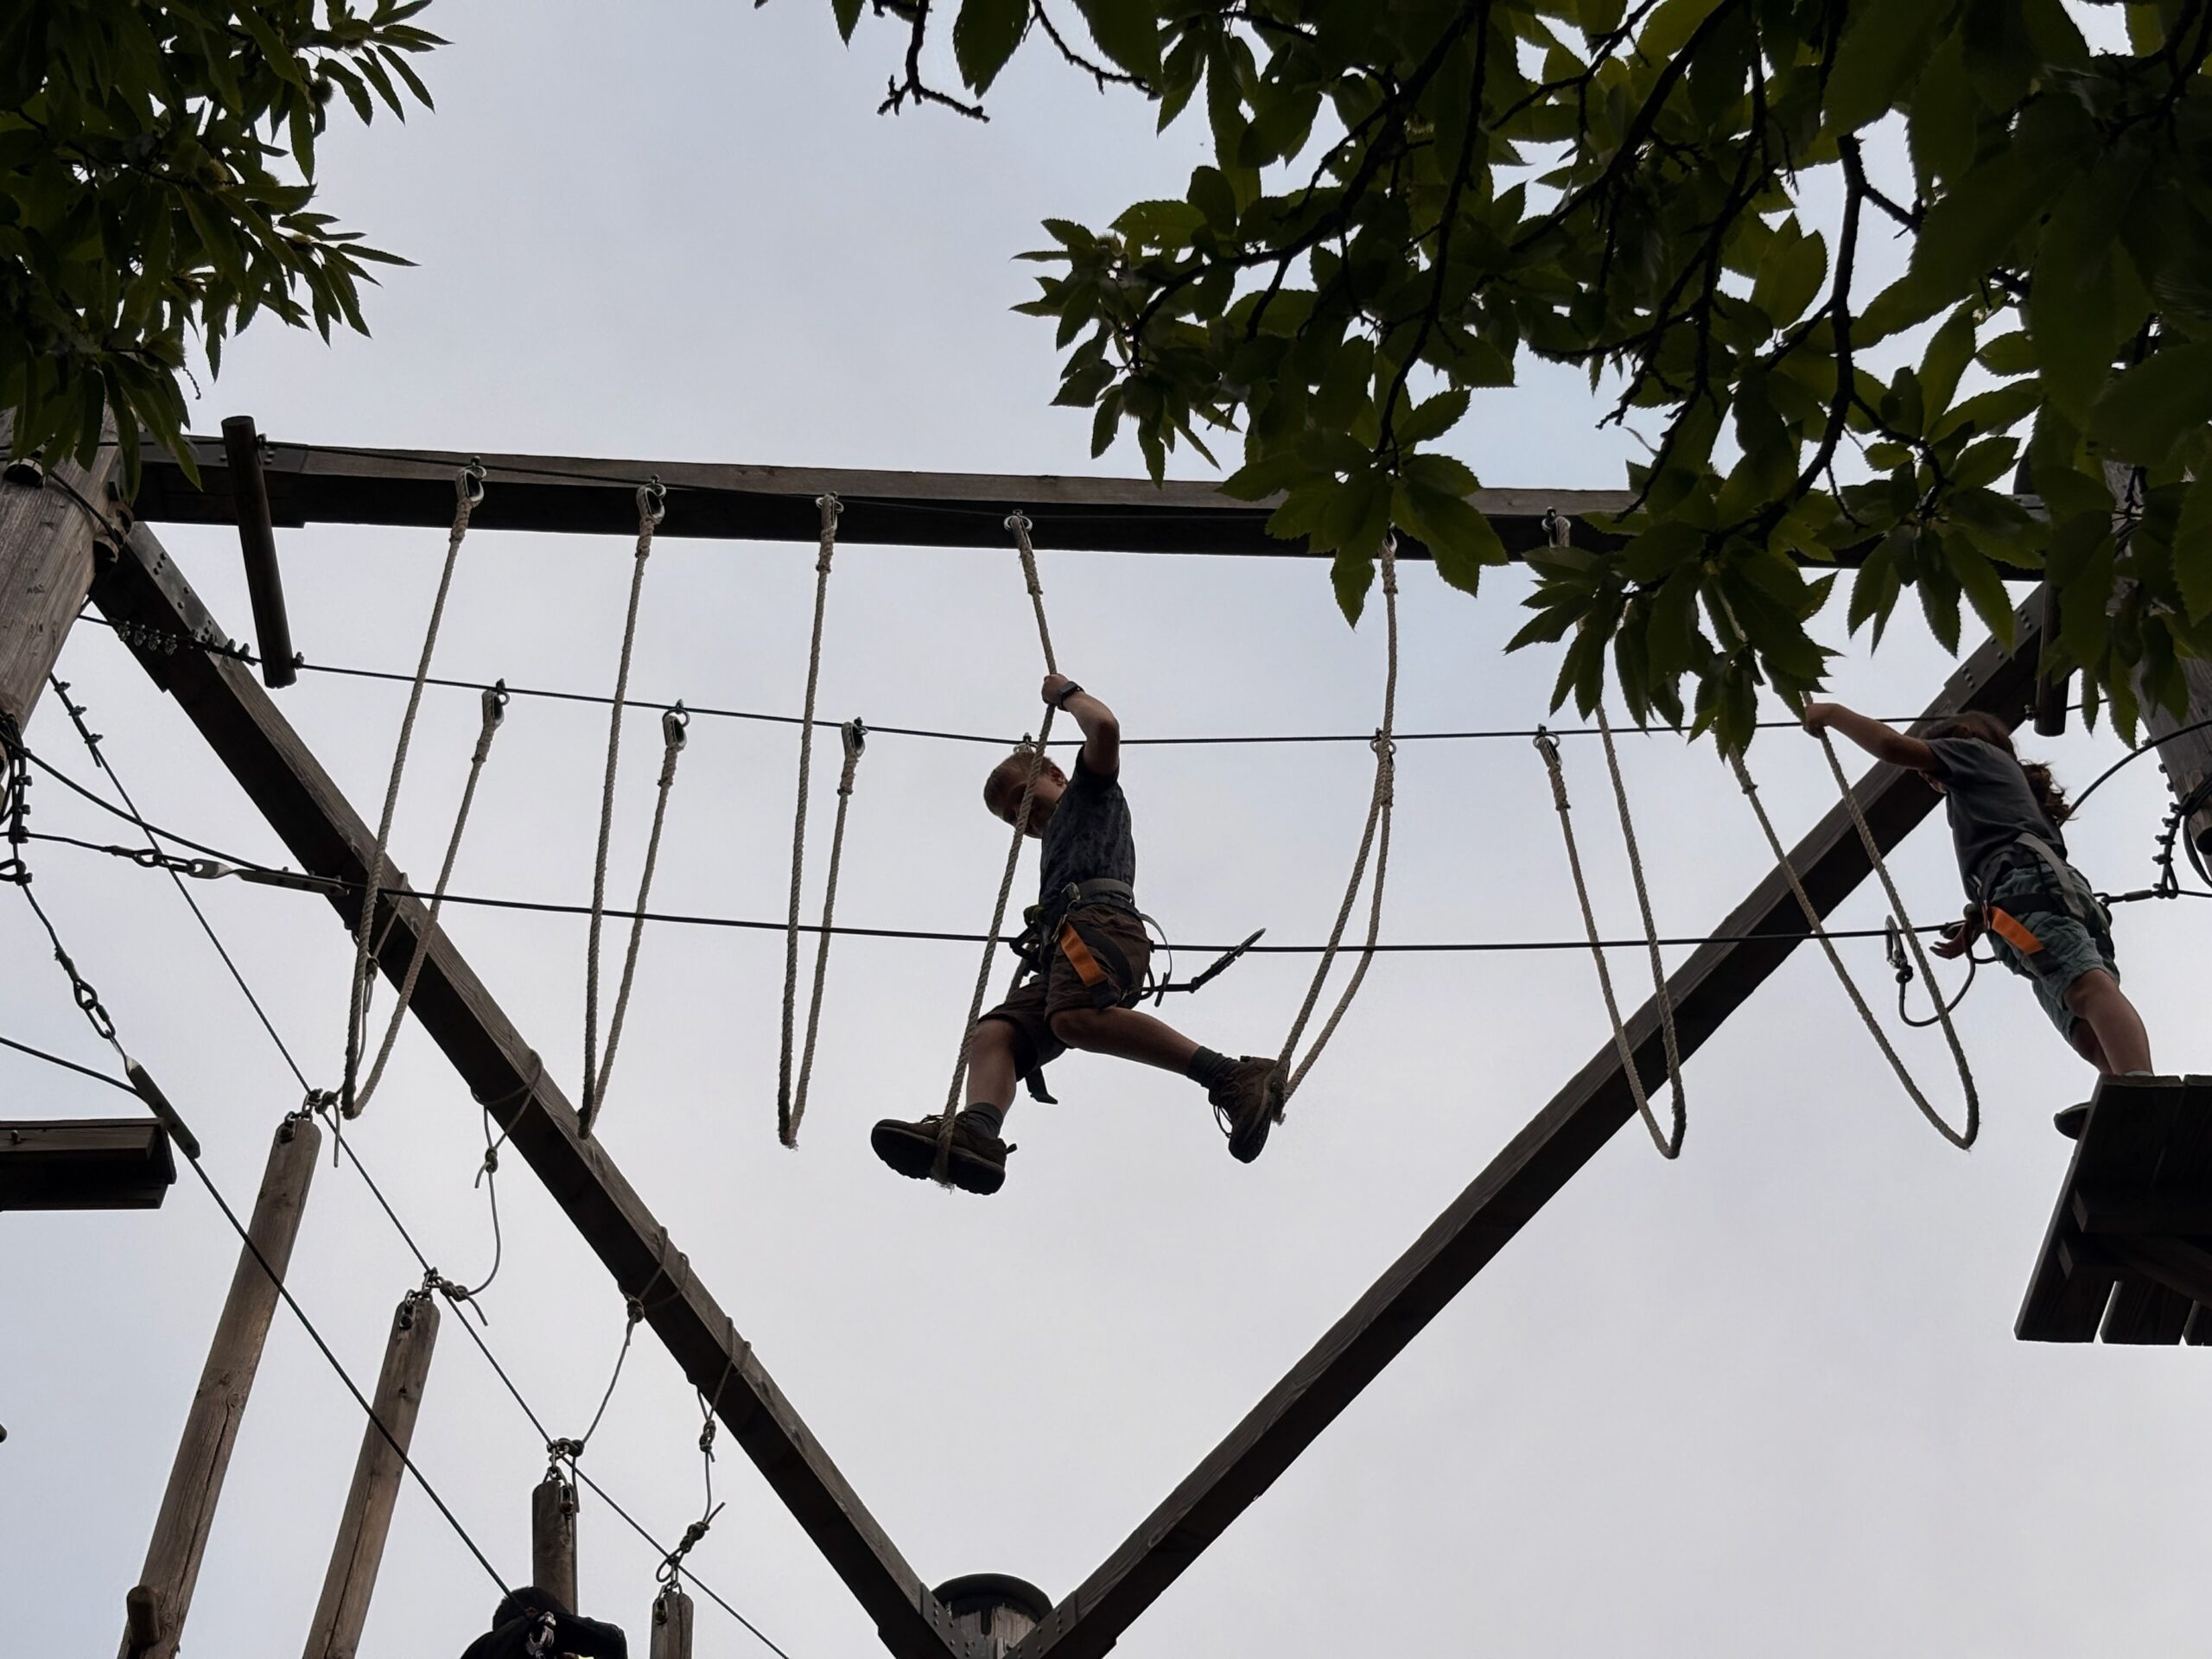
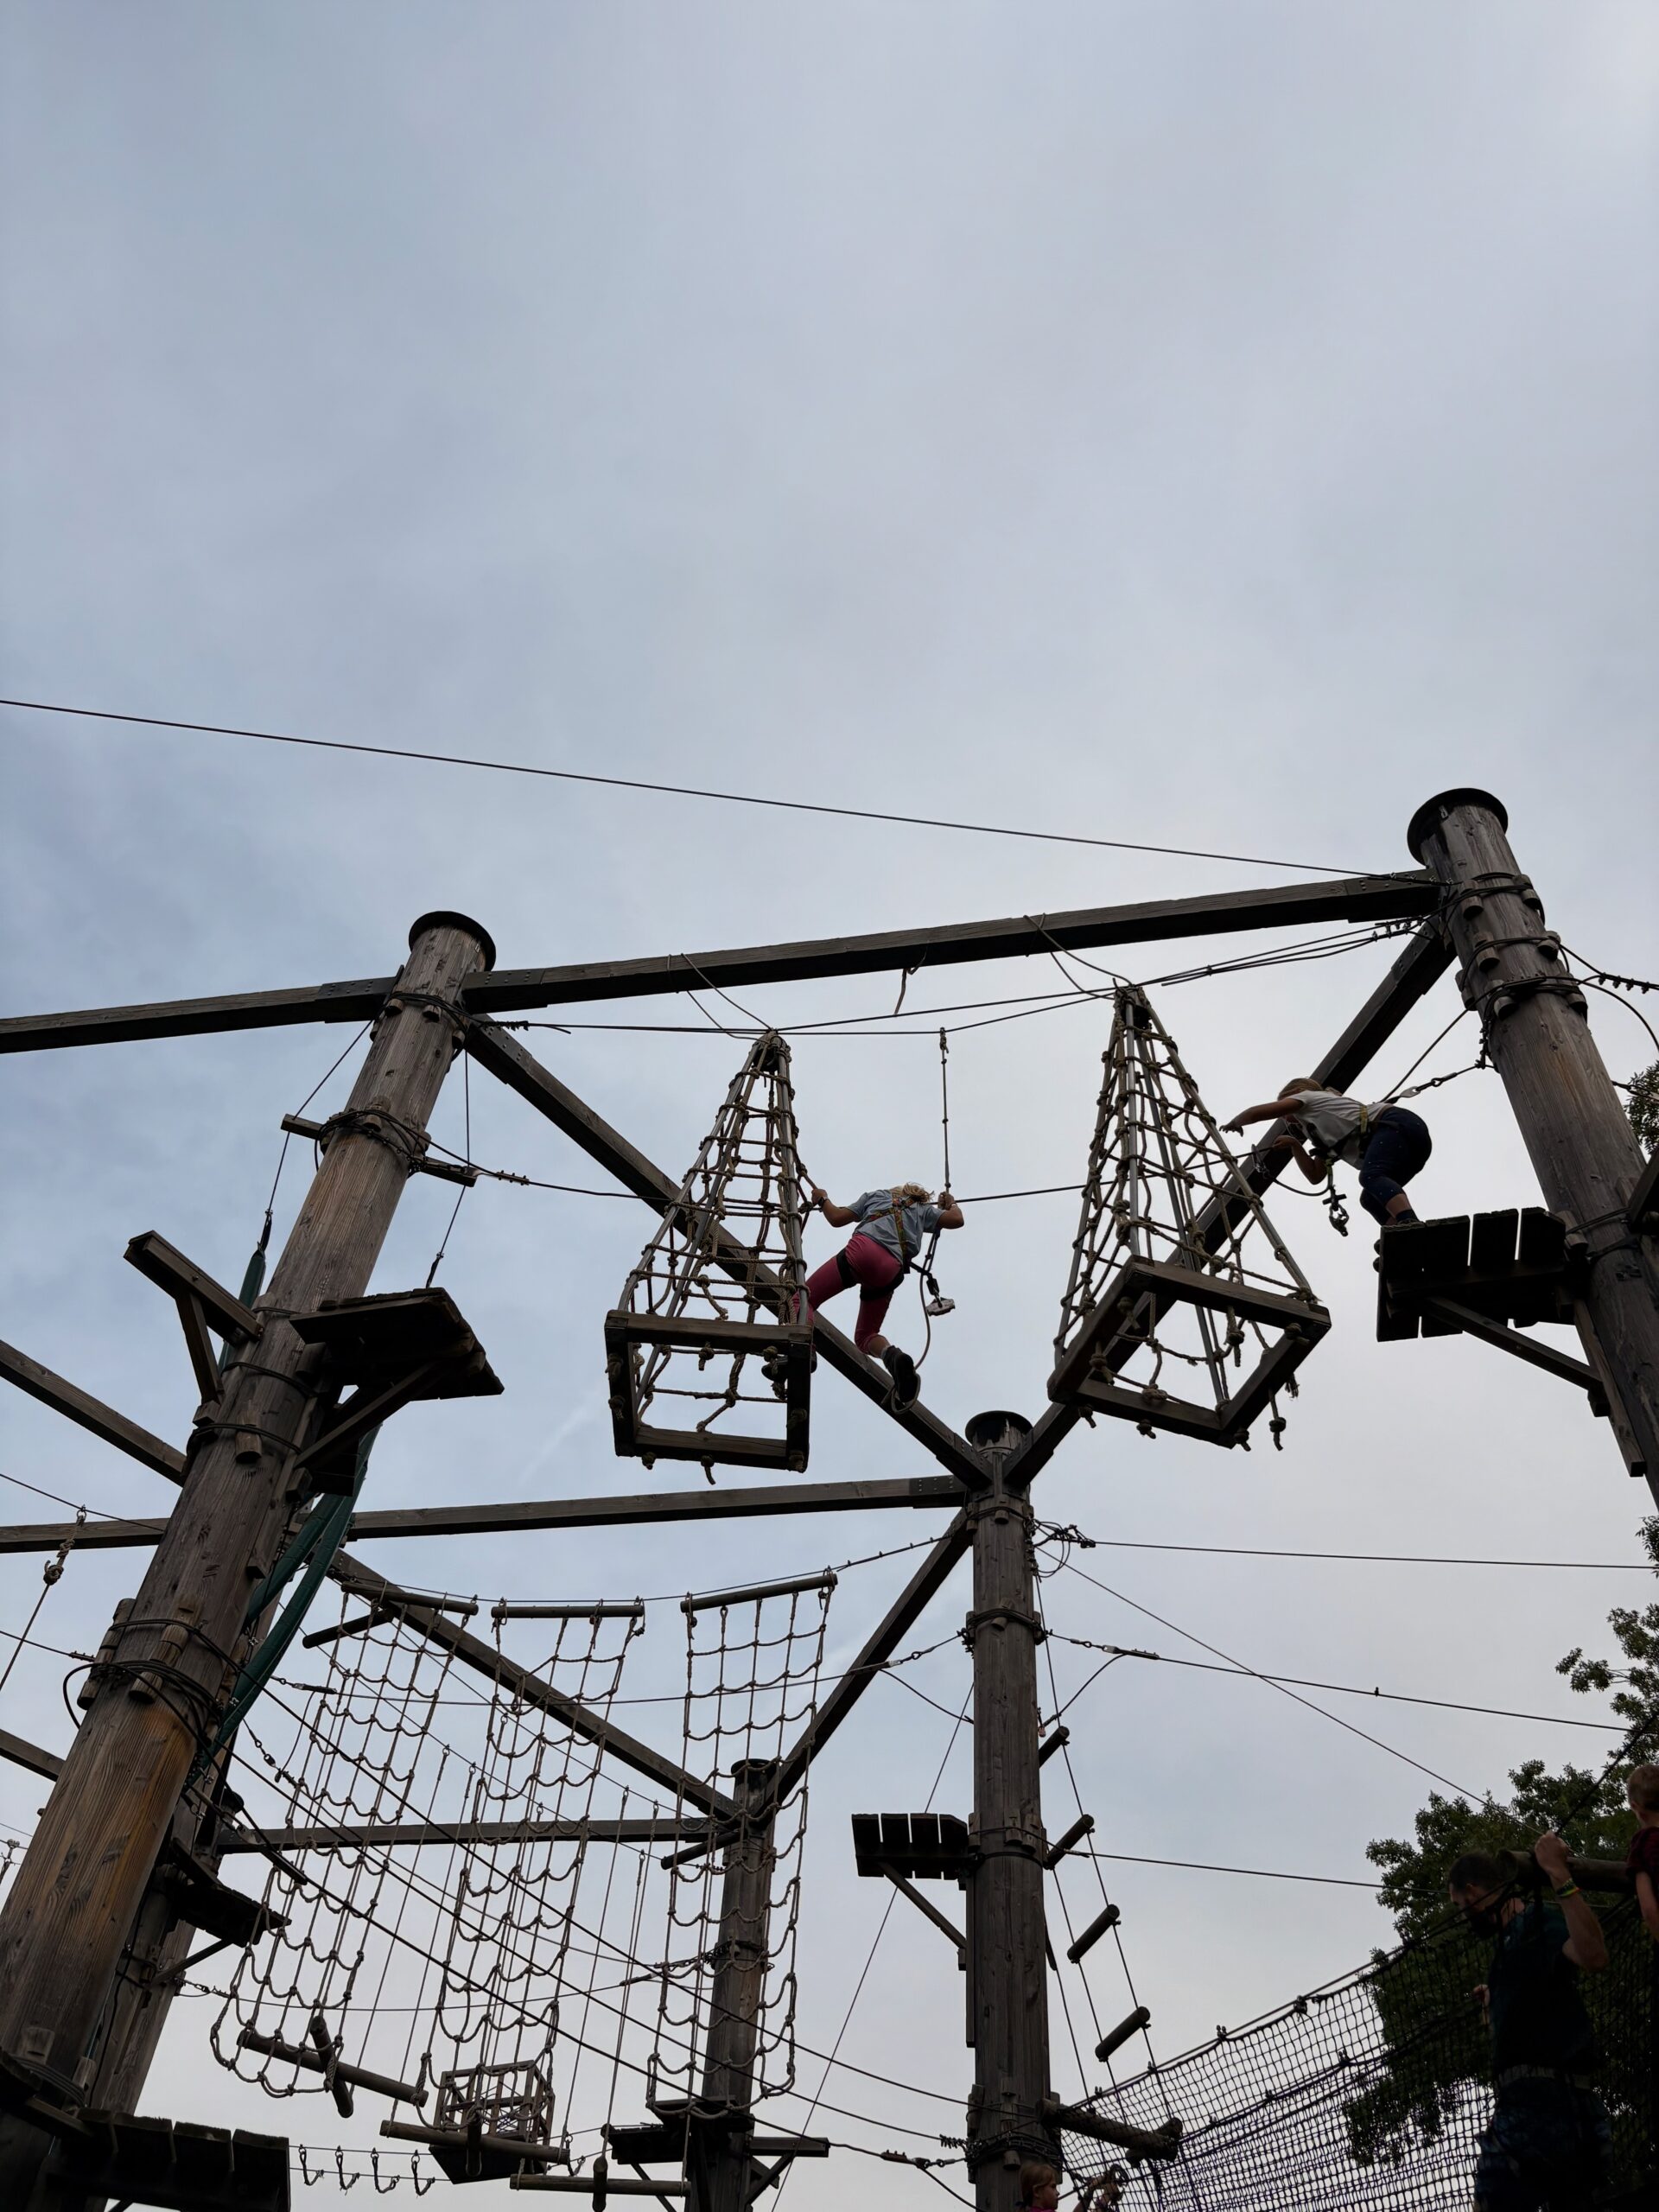
Wednesday was the treetop adventure morning. We lied. Just a little. Told the staff all our kids were over 10 so they could try every routes – including the red and black ones. They all did brilliantly, especially Flynn who tackled the black like a pro. Afterwards, we – guess what – went to the lake. But it was chilly and windy (20°C), and the enthusiasm quickly gave way to shivers. All ask to leave early, except one stubborn soul. (We’re not saying who but he quickly surrendered.)
Ready!Let’s start…Easy…Is it a black route really?That’s definitely a black one!
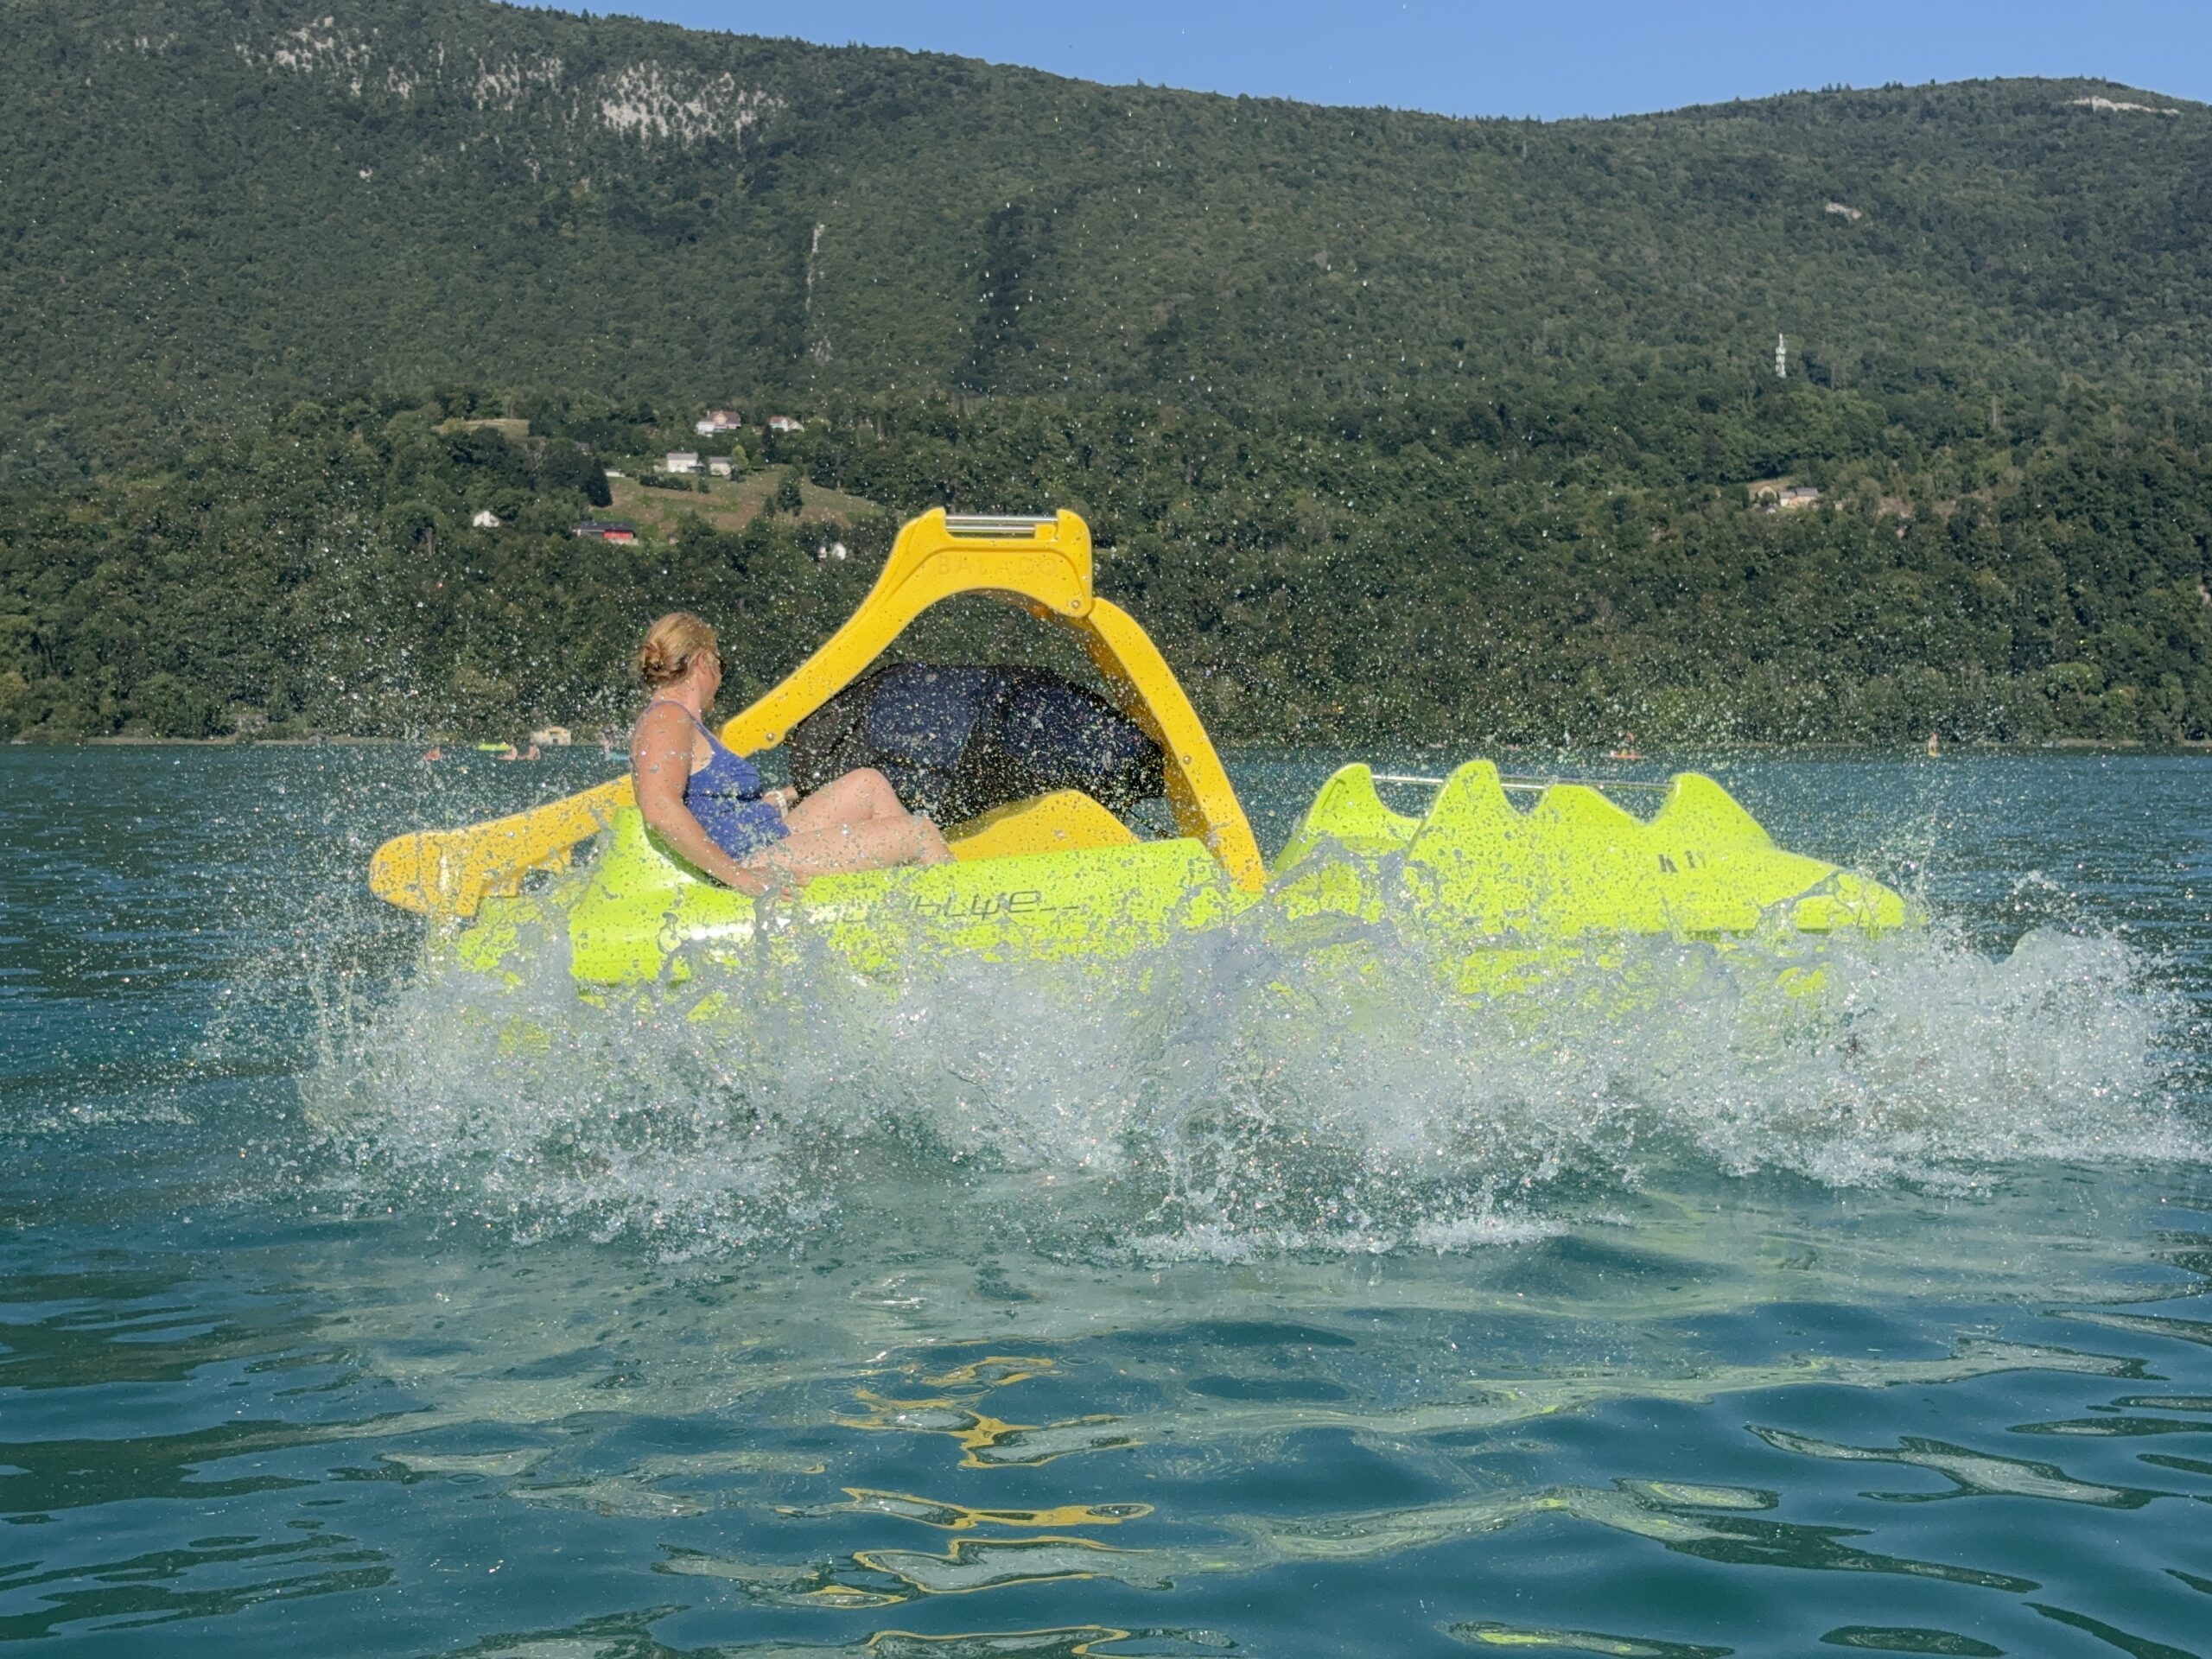
And then came the heatwave.
1 .. 2 .. 3 .. 4 ..Splash!
With 36°C forecast, JC finally understood why Vera and the kids complain above 24°C 🥵. His Mediterranean blood has apparently expired this year. On Friday, he entered full Italian mode: siesta between 12 and 16h, shade, cold drinks, and zero movement. While the rest stayed active. What he didn’t realise was that the next day would be payback time: packing the car in 36°C 🥵🥵, without a single patch of shade. He’d parked by an empty bicycle rack, which he promptly used as a climbing frame to reach the roof box. Then came the “holiday luggage Tetris” championship. By the end, his t-shirt and shorts were completely soaked — the kind of wet you normally associate with jumping into the lake, not loading a car. This year, he really can’t stand the heat… and at last, he truly understands the rest of the family when their summer moaning begins.
Next we will visit my parents the next two days and go home. We all miss our cat. 🐈